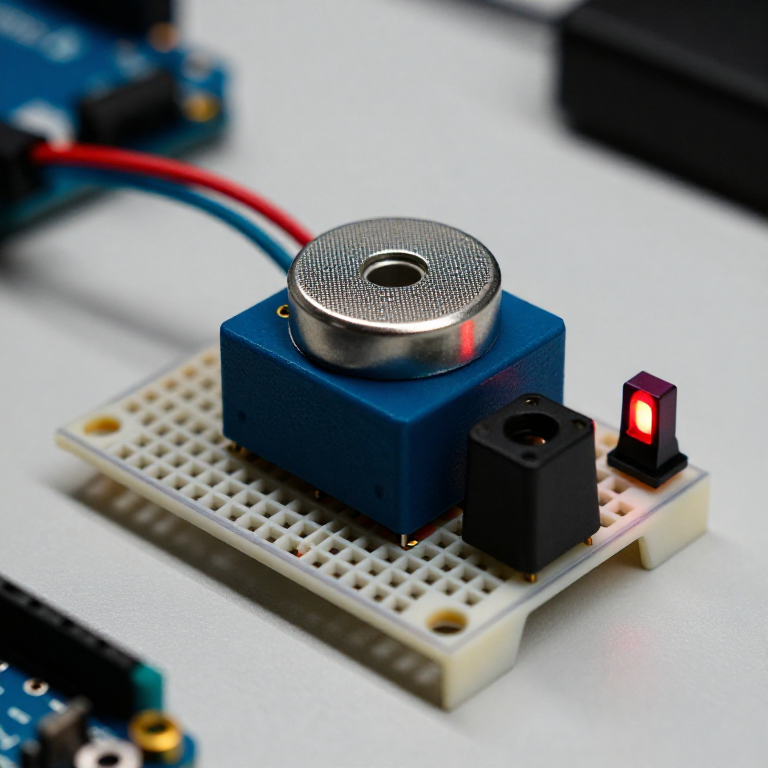


Building a Carbon Monoxide Detector
Build a circuit that senses carbon monoxide (CO) — the invisible, odourless gas from any incomplete combustion — and raises an alarm when it rises. An MQ-7 sensor gives the Arduino a reading that climbs with CO; the code compares it to a clean-air baseline and triggers a buzzer and red LED. A great way to learn gas sensing — but read the safety note: this is a demonstration, NOT a certified life-safety CO alarm.
Instruções
Wire the sensor, buzzer and LED
Wire the sensor, buzzer and LED
On the breadboard: MQ-7 VCC to Arduino 5V, GND to GND, and its analog output (AOUT) to Arduino A0. Active buzzer + to pin 8, - to GND. Red LED anode to pin 7 through a 330 Ω resistor, cathode to GND.
Materiais para este passo:
 Arduino Uno R31 peça
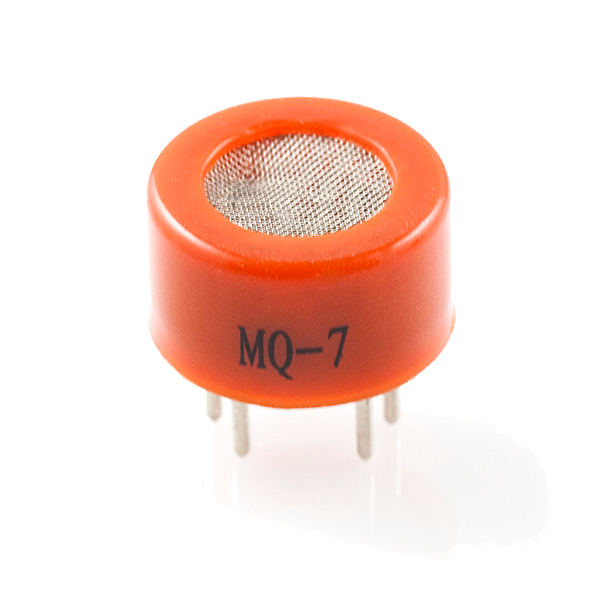 Carbon Monoxide Sensor - MQ-71 peça
 Módulo de besouro ativo1 peça
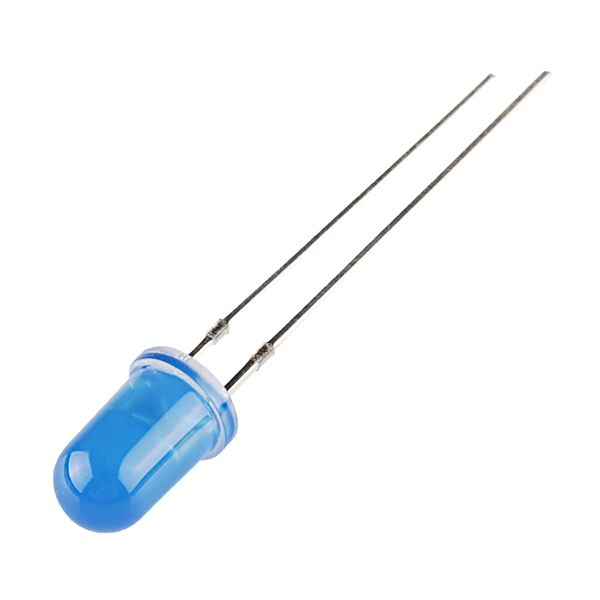 LED - Basic 5mm1 peça
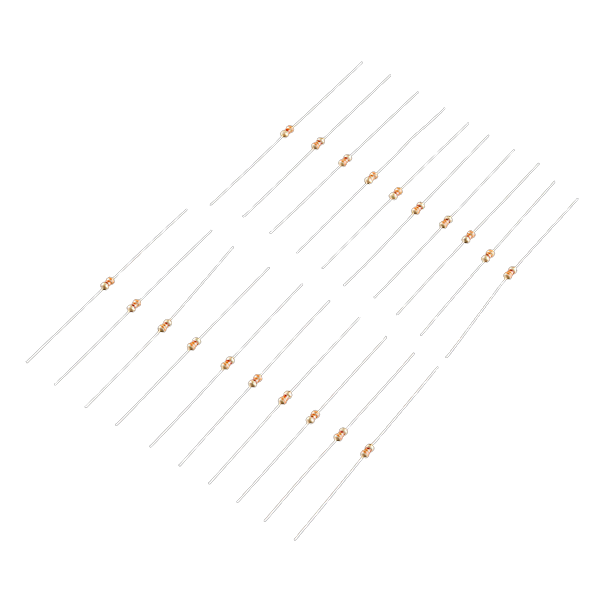 Resistor 330 Ohm 1/6 Watt PTH - 20 pack1 peça
 Breadboard1 peça
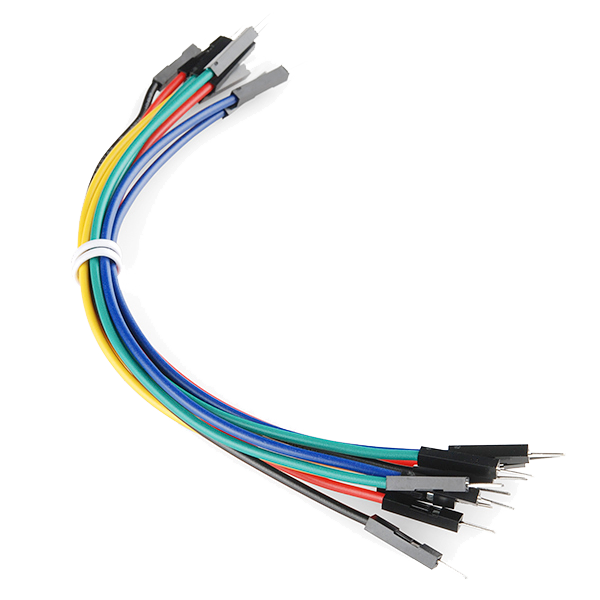 Jumper Wires (Male-to-Male)1 pacote
Connect and open the IDE
Connect and open the IDE
Plug the Arduino into your computer with the USB cable, open the Arduino IDE, and select Arduino Uno and its serial port.
Materiais para este passo:
 USB-B Cable1 peça
Ferramentas necessárias:
 Computador com o IDE Arduino
Upload the detector sketch
Upload the detector sketch
Paste this sketch and upload. It warms the sensor for two minutes, records a clean-air baseline, then sounds the buzzer and lights the LED whenever the reading climbs above that baseline.
Warm up, baseline and test
Warm up, baseline and test
Power it in fresh air and let the 2-minute warm-up set the clean-air baseline (a brand-new MQ-7 also needs a longer 24–48 h burn-in before its readings settle). Then hold a small CO source nearby in a ventilated room — the smoke from a just-blown-out match works — and the buzzer and LED should trigger. Change ALARM_MARGIN to make it more or less sensitive.
Important safety limits
Important safety limits
This is a LEARNING project and, at best, a supplementary indicator — it is NOT a certified life-safety device. A hobby MQ-7 gives a relative reading, not a calibrated ppm; it drifts over time and needs regular re-baselining, and it also responds to smoke and other gases. Carbon monoxide is invisible, odourless and can be fatal: for real protection always use a UL- or EN-certified CO alarm. Never rely on this circuit to keep anyone safe.
Materiais
8- Arduino Uno R3 SMD10% de comissão1 peçaR$138.96
- Carbon Monoxide Sensor - MQ-710% de comissão1 peçaR$36.16
- 1 peçaReferência
- LED - Basic 5mm10% de comissão1 peçaR$3.93
- Resistor 330 Ohm 1/6 Watt PTH - 20 pack10% de comissão1 peçaR$6.10
- Breadboard - Classic10% de comissão1 peçaR$48.79
- Jumper Wires Premium M/M 20 AWG - 15.5 cm (Pack of 10)10% de comissão1 pacoteR$25.70
- SparkFun Cerberus USB Cable - 1.8 meter10% de comissão1 peçaR$29.19
Ferramentas necessárias
2- Referência
- Breadboard - Classic10% de comissãoR$48.79
Blueprints relacionados
Estes blueprints compartilham conhecimento — técnicas, materiais ou princípios


CC0 Domínio Público
Este blueprint é liberado sob CC0. Você é livre para copiar, modificar, distribuir e usar este trabalho para qualquer finalidade, sem pedir permissão.
Apoie o Maker comprando produtos através do Blueprint, onde ele ganha uma Comissão Maker definida pelos vendedores, ou crie uma nova versão deste Blueprint e inclua-o como conexão no seu próprio Blueprint para compartilhar receita.