ARTE
BELEZA E BEM-ESTAR
ARTESANATO
CULTURA E HISTÓRIA
ENTRETENIMENTO
MEIO AMBIENTE
COMIDA E BEBIDAS
ENGENHARIA REVERSA
CIÊNCIAS
ESPORTES
TECNOLOGIA
TECNOLOGIA VESTÍVEL
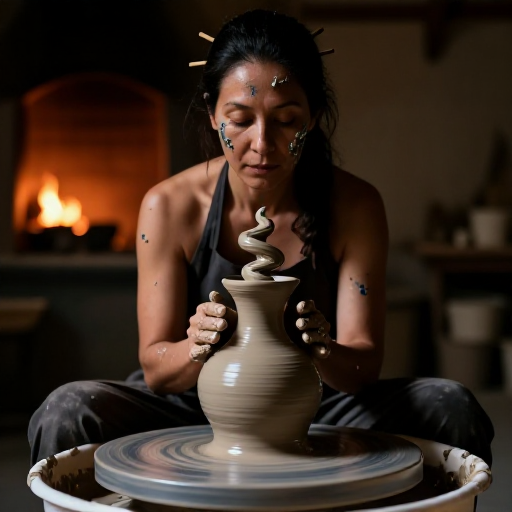

Centring: The One Skill Everything Else on the Wheel Depends On
Clay that is not centred wobbles, and a wobbling wall cannot be pulled evenly — it will be thin on one side and thick on the other before it is halfway up. Nothing later in the process corrects that.
Centring is also the step that is learned by feel rather than by instruction, which makes it the one people give up on. What can be taught is the SETUP: the things that make centring possible, most of which have nothing to do with the hands.
A braced body, a fixed wrist, a wheel turning fast enough, and steady pressure held for long enough. Beginners almost always fail on the last two — they push hard briefly, in changing directions, on a wheel that is turning too slowly.
Intermediário
4 hours
Instruções
1
1
Brace everything against something that cannot move
Brace everything against something that cannot move
Elbows locked into your hips or onto your thighs, forearms resting on the wheel tray, wrists rigid. The force to centre clay comes from your body leaning, not from your arms pushing.
That is why bracing matters more than strength. Muscles tire and tremble within seconds; a skeleton braced against the wheel holds the same position for as long as you like, and STEADINESS is what centring needs.
Sit close and slightly above the wheel head so you can lean in over the clay. Reaching out to a wheel that is too far away or too high makes bracing impossible and is the commonest reason a beginner cannot centre.
Materiais para este passo:
 Argila2 kg
Ferramentas necessárias:
 Roda de oleiro
 Roda de oleiro de pé
 Esponja
2
2
Fast wheel, wet clay, and pressure that does not waver
Fast wheel, wet clay, and pressure that does not waver
Centre at a FAST wheel speed — faster than feels comfortable. Each revolution takes a little off the high side, so a fast wheel gives more corrections per second, and the lump converges quickly rather than wandering.
Keep the clay lubricated but not sodden. Dry clay grabs and tears the skin of the lump; too much water makes it slippery and weakens the clay so it collapses later.
Then apply pressure and HOLD IT. The lump must stop moving under your hands entirely before you ease off. Pushing, checking, pushing again in a slightly different place is what keeps a lump off centre for ten minutes — it never gets the same treatment twice in a row.
Materiais para este passo:
Argila2 kg Água1 litro
Ferramentas necessárias:
Roda de oleiroEsponja3
3
Coning up and down, and knowing when it is centred
Coning up and down, and knowing when it is centred
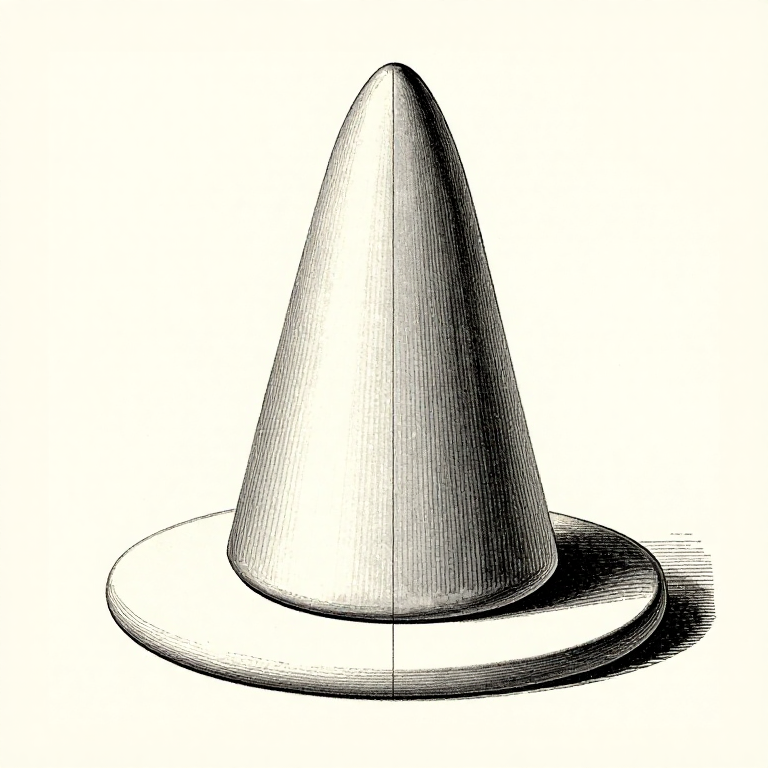
Squeeze the lump inwards and upwards into a tall cone, then press it back down into a dome, and repeat two or three times. Coning finishes the wedging — it aligns the particles spirally — and it brings any remaining hard or soft patches into the middle where they can be evened out.
The test is not visual. Rest a knuckle or the side of a hand lightly against the spinning lump and CLOSE YOUR EYES. If you feel no bump at all, it is centred; if there is a rhythmic tap once per revolution, it is not.
Eyes lie here, because a lump can look symmetrical and still be off. Touch does not, which is why experienced potters always seem to be feeling rather than looking.
Materiais para este passo:
Argila2 kgFerramentas necessárias:
Roda de oleiro Costela de oleiro em madeiraEsponja
4
4
Practise with the same lump, all session
Practise with the same lump, all session
Centre a lump, cone it up and down, and centre it again. Do that for twenty minutes without trying to make anything. Nothing is wasted, the clay is unaffected, and it is the fastest way to learn the feel.
Use the SAME weight of clay every time while learning. A 1 kg lump and a 3 kg lump need different amounts of force, and changing both the technique and the quantity at once means you cannot tell which is responsible for a bad day — which is the one-thing-at-a-time rung on a wheel.
Write down what worked: the seat height, the speed, where your elbows were. The setup that suits your body is worth more than any general advice, and it is easily forgotten between sessions.
Materiais para este passo:
Argila2 kgFerramentas necessárias:
Roda de oleiro Balança de precisão
Blueprints relacionados
Estes blueprints compartilham conhecimento — técnicas, materiais ou princípios
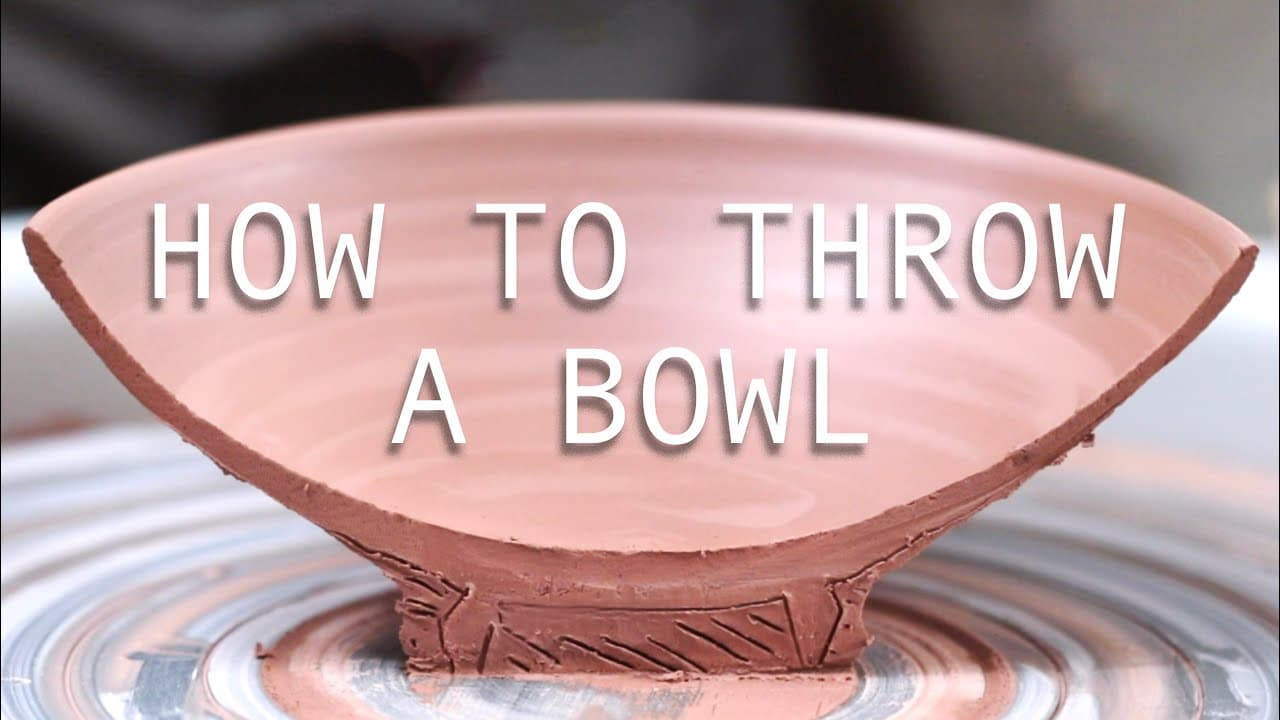
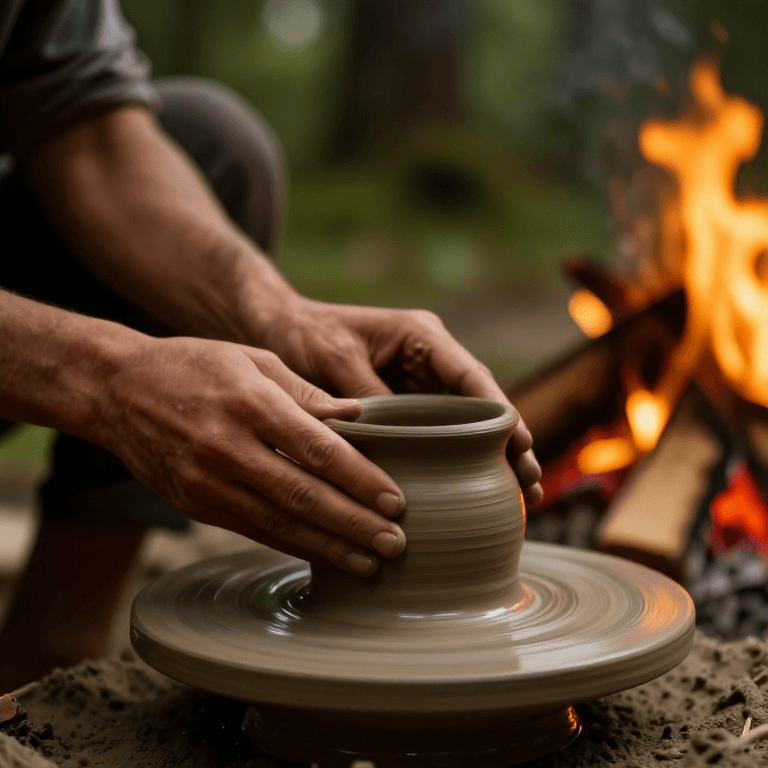
CC0 Domínio Público
Este blueprint é liberado sob CC0. Você é livre para copiar, modificar, distribuir e usar este trabalho para qualquer finalidade, sem pedir permissão.
Apoie o Maker comprando produtos através do Blueprint, onde ele ganha uma Comissão Maker definida pelos vendedores, ou crie uma nova versão deste Blueprint e inclua-o como conexão no seu próprio Blueprint para compartilhar receita.