
ARTE
BELEZA E BEM-ESTAR
ARTESANATO
CULTURA E HISTÓRIA
ENTRETENIMENTO
MEIO AMBIENTE
COMIDA E BEBIDAS
ENGENHARIA REVERSA
CIÊNCIAS
ESPORTES
TECNOLOGIA
TECNOLOGIA VESTÍVEL
Pine Boards with a Chainsaw Mill
Woody

Criado por

Woody

11. outubro 2026NO
39
0
0
0
0

Pine Boards with a Chainsaw Mill

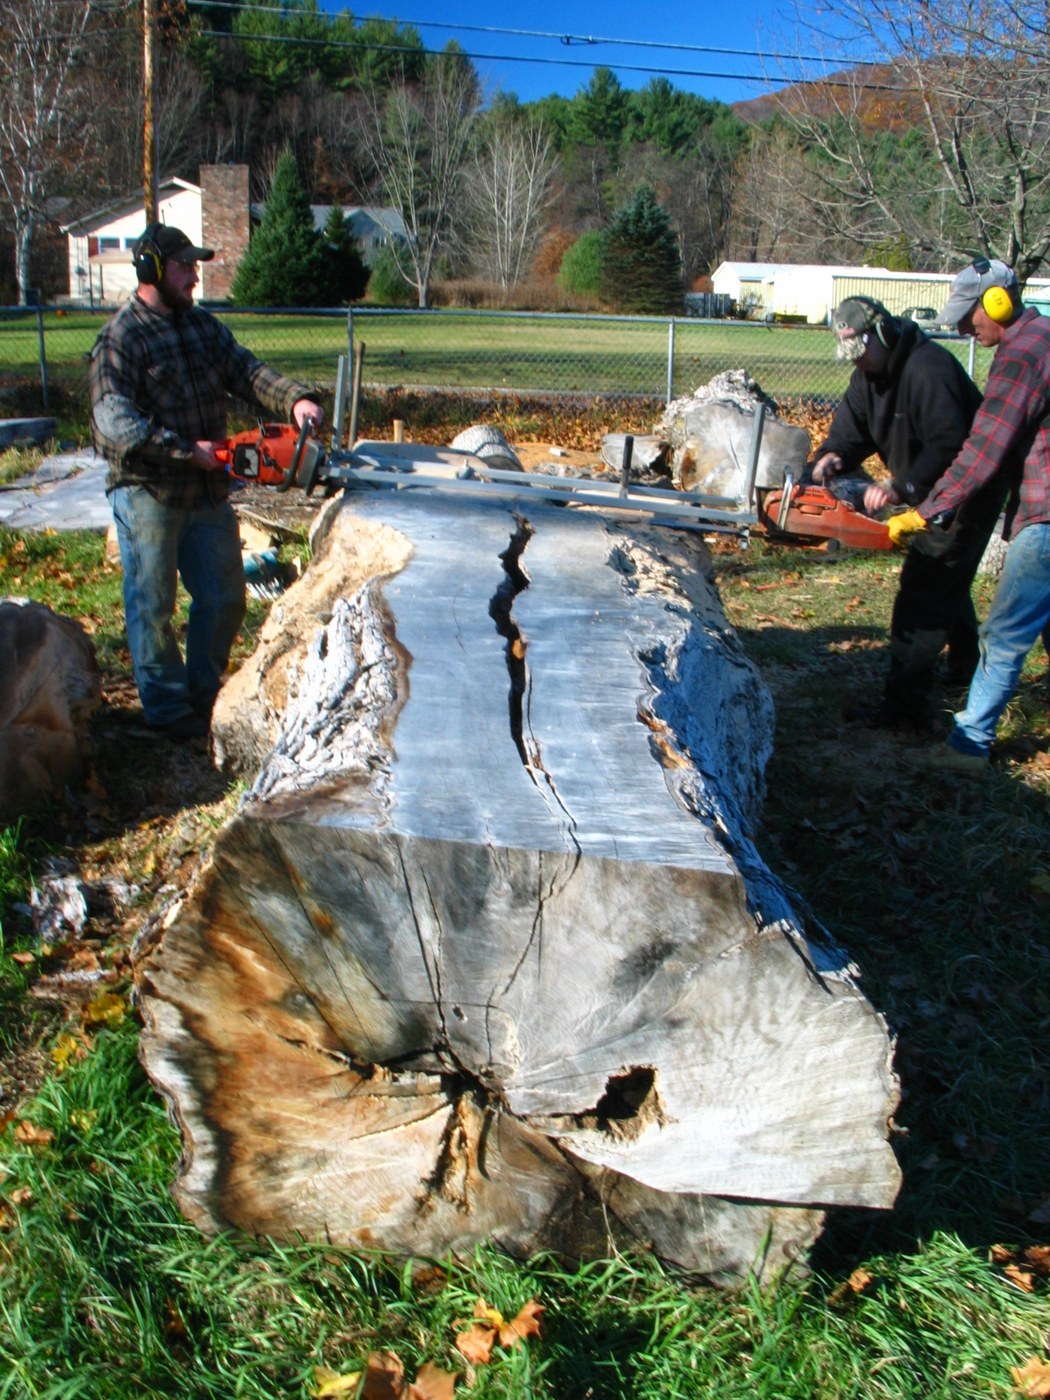
A chainsaw mill is a frame that holds the saw's bar flat at a set height, so the chain rips a log lengthways into boards. The first cut rides on a straight board screwed to the log; every later cut rides on the flat face before it. The green boards are then stacked on stickers to air-dry. Pine dries fast: a 25 mm board can reach about 14 % moisture in 60 to 90 days in good drying weather. Oak and other slow species take far longer.
Intermediário
1 day milling, 2–3 months drying

Instruções

1

Pick and prop the log

Choose a straight pine log, 2.5–3 m long, without large knots. Prop it on two short logs so it cannot roll and the chain will not reach the ground.

Materiais para este passo:

Toros de madeira maciaToros de madeira macia1 peça

Ferramentas necessárias:

Fita métricaFita métrica
2

Fit the mill

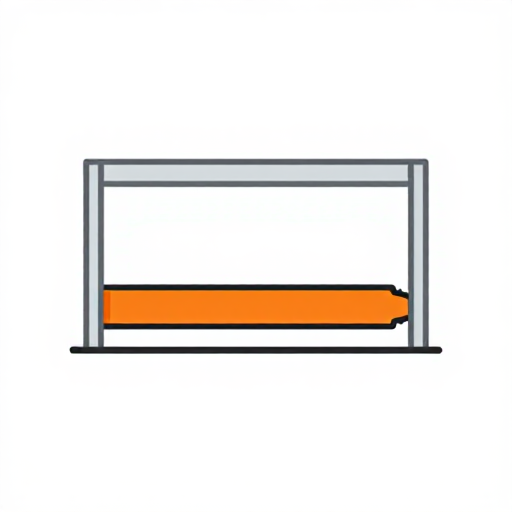
Bolt the mill to the chainsaw bar following its maker's instructions. A ripping chain cuts along the grain faster and smoother than a crosscut chain.

Ferramentas necessárias:

Motosserra (de grau florestal profissional)Motosserra (de grau florestal profissional)
Serração para motosserraSerração para motosserra
3

Screw on the guide board

Screw a straight board along the top of the log, level from end to end, as the rail for the first cut. Check it with the straightedge and level.

Materiais para este passo:

Parafusos para madeiraParafusos para madeira6 peças

Ferramentas necessárias:

Tábua de pinhoTábua de pinho
Berbequim sem fiosBerbequim sem fios
Régua de traçarRégua de traçar
Nível de bolhaNível de bolha
4

First cut

Wearing helmet with visor, ear protection, gloves and boots, run the mill along the guide board and take off the top slab. Remove the guide board.

Ferramentas necessárias:

Motosserra (de grau florestal profissional)Motosserra (de grau florestal profissional)
Serração para motosserraSerração para motosserra
Capacete de segurançaCapacete de segurança
Auscultadores de proteção auditivaAuscultadores de proteção auditiva
Luvas de trabalho em couroLuvas de trabalho em couro
Botas de segurança com biqueira de açoBotas de segurança com biqueira de aço
5

Cut the boards

Set the mill a few millimetres thicker than the finished board, to allow for shrinking and planing. Run each cut on the flat face left by the one before.

Ferramentas necessárias:

Motosserra (de grau florestal profissional)Motosserra (de grau florestal profissional)
Serração para motosserraSerração para motosserra
Fita métricaFita métrica
6

Seal the ends

Paint both ends of every board with end sealer the same day, to stop them splitting as they dry.

Materiais para este passo:

Vedante de topo (parafina)Vedante de topo (parafina)0.5 litro
7

Sticker the stack

On a level base at least 30 cm off the ground, lay the boards in layers with a gap between them, each layer on stickers every 40–60 cm, the stickers one above the other.

Materiais para este passo:

Sarrafo de madeira (espaçador de secagem)Sarrafo de madeira (espaçador de secagem)30 peças

Ferramentas necessárias:
Palete de madeiraPalete de madeira
Nível de bolhaNível de bolha
8

Cover and weight

Cover the top of the stack against rain and lay weight on it to keep the top boards flat; leave the sides open to the air.

Ferramentas necessárias:

LonaLona
9

Measure the moisture

After 2 months, read a board from the middle of the stack. Air-dry outdoors reaches about 12–15 %; bring boards for furniture indoors to settle at 6–8 % before working them.

Ferramentas necessárias:

Medidor de humidadeMedidor de humidade
10

Troubleshooting

Chainsaw milling troubleshooting.

Flow

Loading...

Materiais

4

Ferramentas necessárias

14

Blueprints relacionados

Estes blueprints compartilham conhecimento — técnicas, materiais ou princípios
CC0 Domínio Público

Este blueprint é liberado sob CC0. Você é livre para copiar, modificar, distribuir e usar este trabalho para qualquer finalidade, sem pedir permissão.

Apoie o Maker comprando produtos através do Blueprint, onde ele ganha uma Comissão Maker definida pelos vendedores, ou crie uma nova versão deste Blueprint e inclua-o como conexão no seu próprio Blueprint para compartilhar receita.

Discussão

(0)

Entrar para participar da discussão

Carregando comentários...