Colaboração
ARTE
BELEZA E BEM-ESTAR
ARTESANATO
CULTURA E HISTÓRIA
ENTRETENIMENTO
MEIO AMBIENTE
COMIDA E BEBIDAS
ENGENHARIA REVERSA
CIÊNCIAS
ESPORTES
TECNOLOGIA
TECNOLOGIA VESTÍVEL
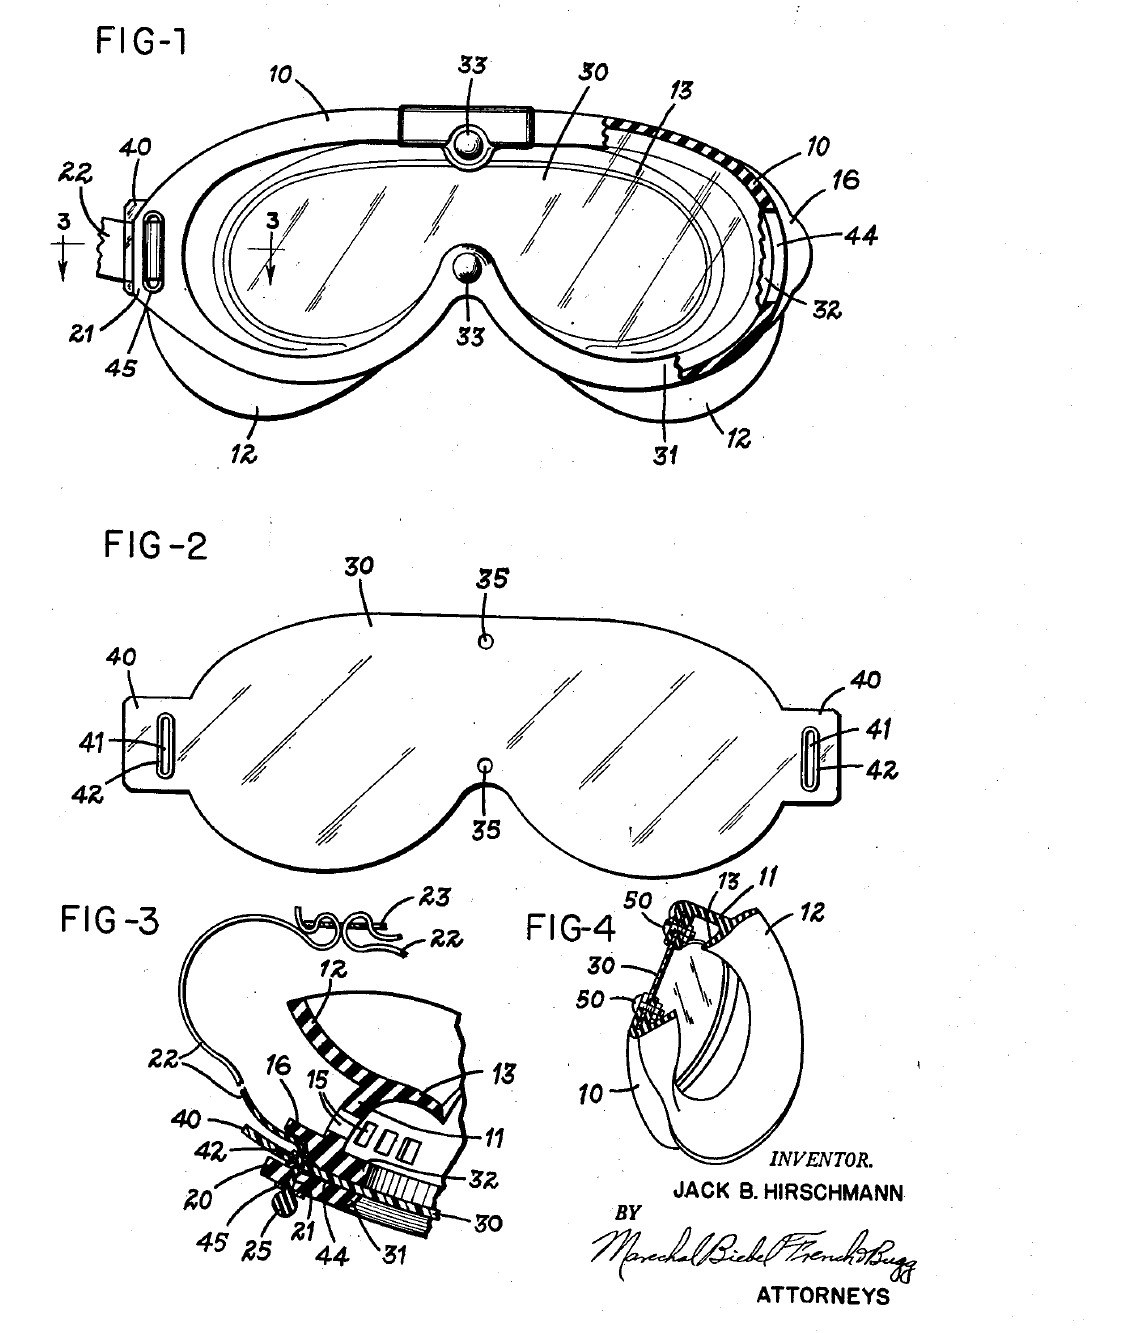


Chemical Splash Goggles: One Sealed Lens in a Moulded Rubber Frame (Hirschmann, 1954)
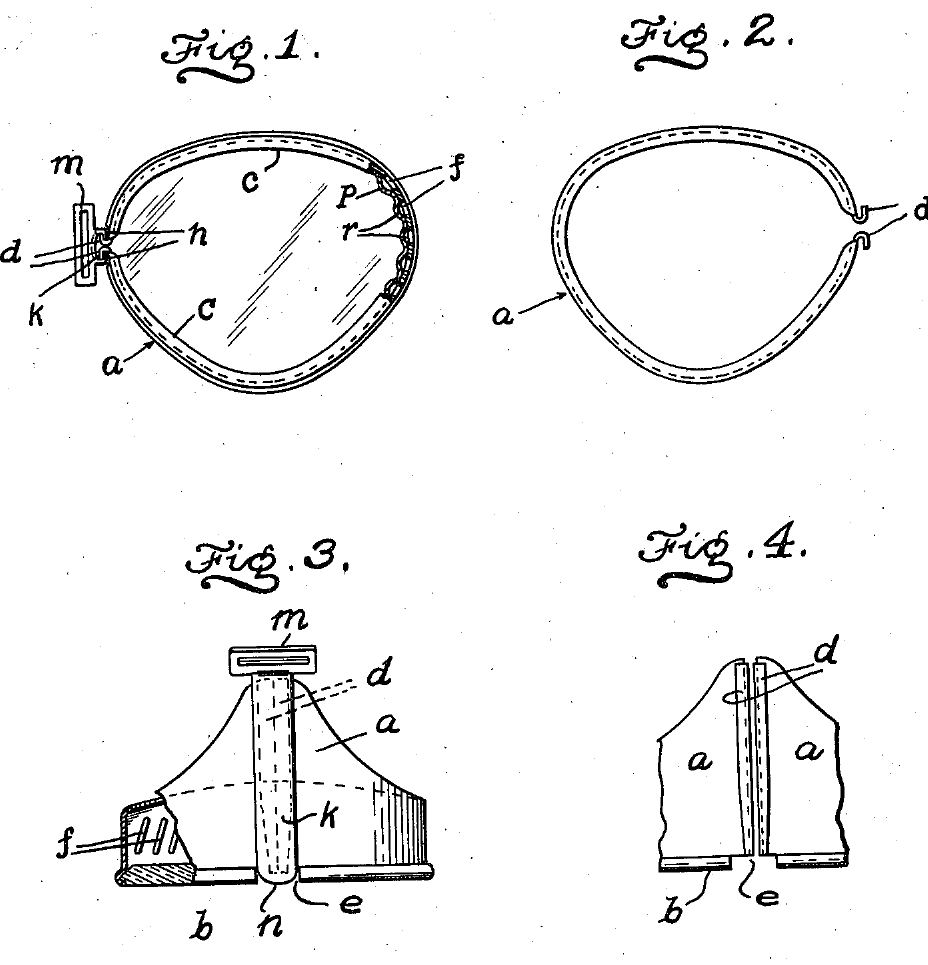
Goggles for work with corrosive liquids. One clear plastic lens covers both eyes and sits sealed all round in a soft moulded rubber frame that seals against the face. The version for gas and corrosive liquids has no vent holes at all, and the strap passes through tabs outside the lens, so nothing can leak through or around the part you look through.
Result: chemical splash goggles with a lens you can pull out and replace, and a strap pull shared evenly between lens and frame, so neither warps.
Source: J. B. Hirschmann, US Patent 2,680,846 (1954), Fig. 4 version. Unknown: sizes, the rubber compound, the strap material and how the frame is moulded. Ours: the mould; the patent tested a cellulose acetate lens. Picture: patent drawing.
Intermediário
2 days
Instruções
1
1
Mould the rubber frame
Mould the rubber frame
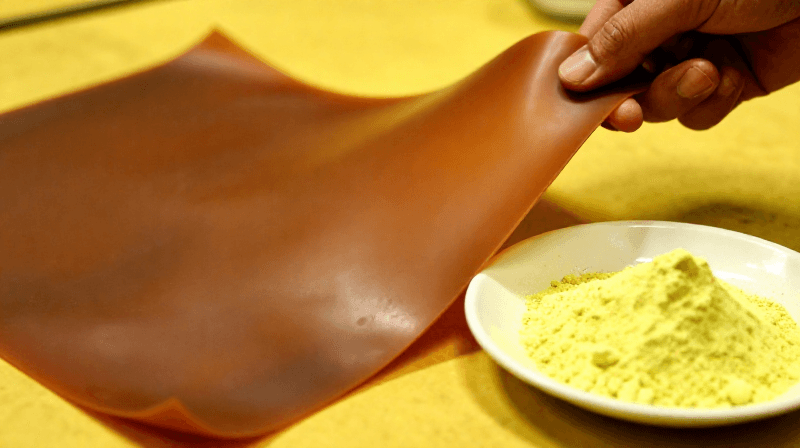
Mould the frame in one piece from rubber. The front rim has one opening shaped for both eyes, narrower above the nose. Behind it, a wall forms the eye chamber and ends in a double flange that seals against the face. Inside the rim, form a channel between an outer and an inner flange to hold the lens edge. At each end, mould a lug with a strap slot and a slit through the channel for the lens tab. For corrosive liquids, leave out all vent holes. Ours: a compression mould.
Materiais para este passo:
 Composto de borracha1 frame
Ferramentas necessárias:
 Molde de compressão
 Dimensões desconhecidas
2
2
Cut the lens
Cut the lens
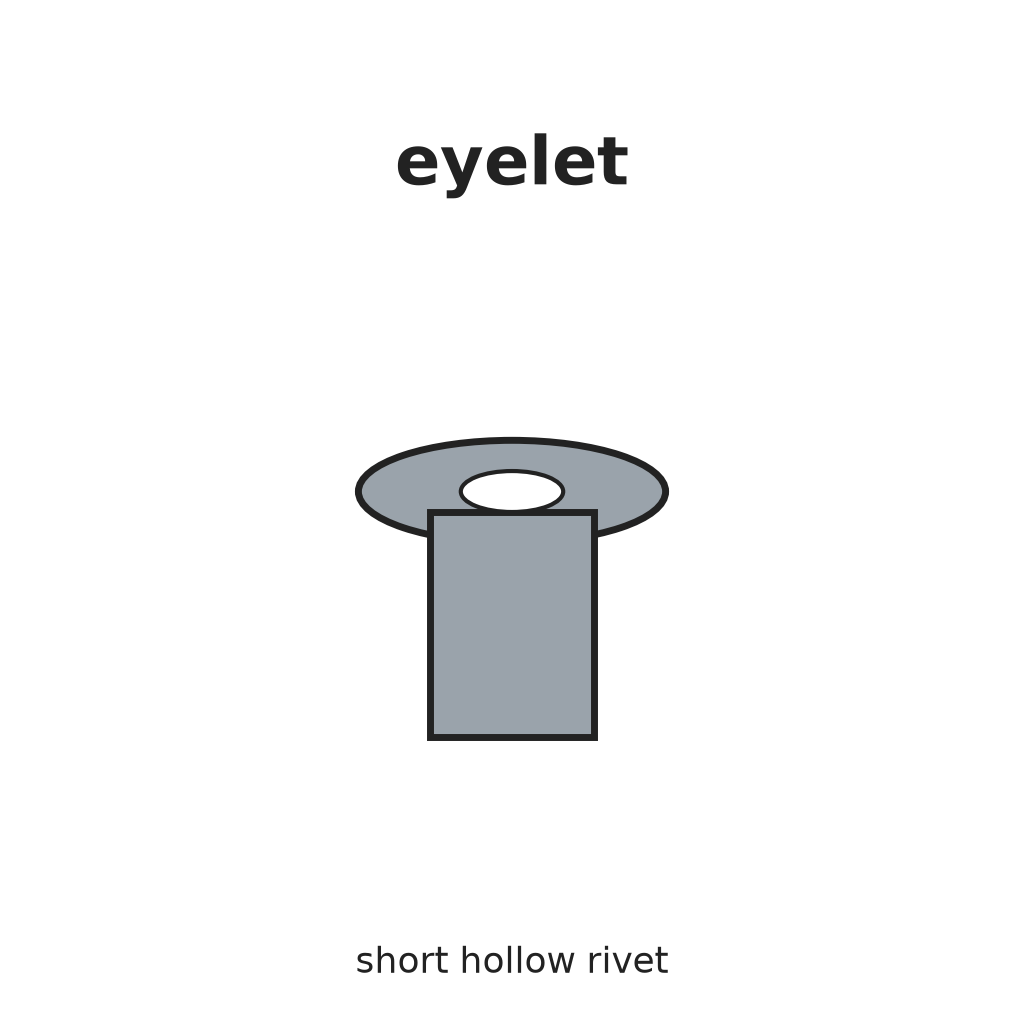
Cut one lens from flexible clear plastic, shaped to match the rim. The patent tested cellulose acetate. Leave a tab at each end, outside the area you look through. Cut a closed slot in each tab and line it with a grommet. Make two holes at the centre for the bolts. Leave no other holes in the viewing area.
Materiais para este passo:
 Chapa de plástico transparente1 lens
 Ilhós2 tab grommets
Ferramentas necessárias:
 Tesoura de chapa
 Punção de centro
3
3
Seal the lens in the frame
Seal the lens in the frame
Spring the lens edge into the channel all the way round, pushing each tab out through its slit so it lies under the lug, slot over slot. Fasten the centre with two stainless-steel bolts and nuts. (The vented version uses snap fasteners here.)
Materiais para este passo:
 Parafusos de máquina2 stainless steel
 Porca sextavada2 stainless steel
Ferramentas necessárias:
 Conjunto de chaves de fendas
4
4
Fit the head strap
Fit the head strap
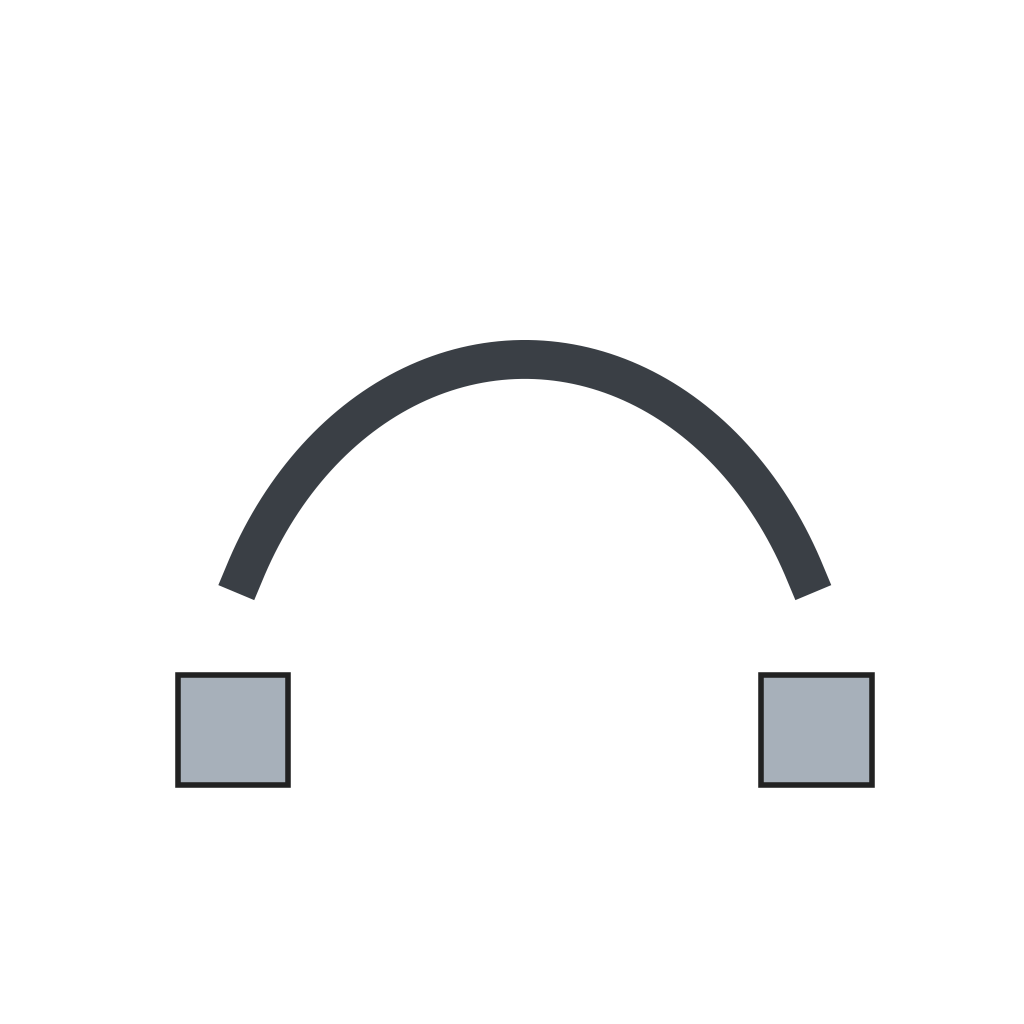
Use a strap in two halves, joined at the back by a buckle, each half with a thickened end. Slide a slotted plate of metal or plastic onto each half, then thread it from the front through the lug slot and the lens-tab slot. The thick end stops against the plate and lug. The pull of the strap now goes into both lens and frame, holds the lens in, and stays outside the field of view.
Materiais para este passo:
 Fita de cabeça para óculos de proteção1 two halves
 Fivela de latão com agulha1 peça
 Material desconhecido1 two slotted plates
Ferramentas necessárias:
Dimensões desconhecidasMateriais
8- 1 frameReferência
- Referência
- 2 tab grommetsReferência
- 2 stainless steelReferência
- 2 stainless steelReferência
- 1 two halvesReferência
- Referência
- 1 two slotted platesReferência
Ferramentas necessárias
5- Referência
- Referência
- Referência
- Referência
- Referência
Materiais de Blueprints conectados
Este projeto faz

Blueprints relacionados
Estes blueprints compartilham conhecimento — técnicas, materiais ou princípios

CC0 Domínio Público
Este blueprint é liberado sob CC0. Você é livre para copiar, modificar, distribuir e usar este trabalho para qualquer finalidade, sem pedir permissão.
Apoie o Maker comprando produtos através do Blueprint, onde ele ganha uma Comissão Maker definida pelos vendedores, ou crie uma nova versão deste Blueprint e inclua-o como conexão no seu próprio Blueprint para compartilhar receita.