ARTE
BELEZA E BEM-ESTAR
ARTESANATO
CULTURA E HISTÓRIA
ENTRETENIMENTO
MEIO AMBIENTE
COMIDA E BEBIDAS
ENGENHARIA REVERSA
CIÊNCIAS
ESPORTES
TECNOLOGIA
TECNOLOGIA VESTÍVEL
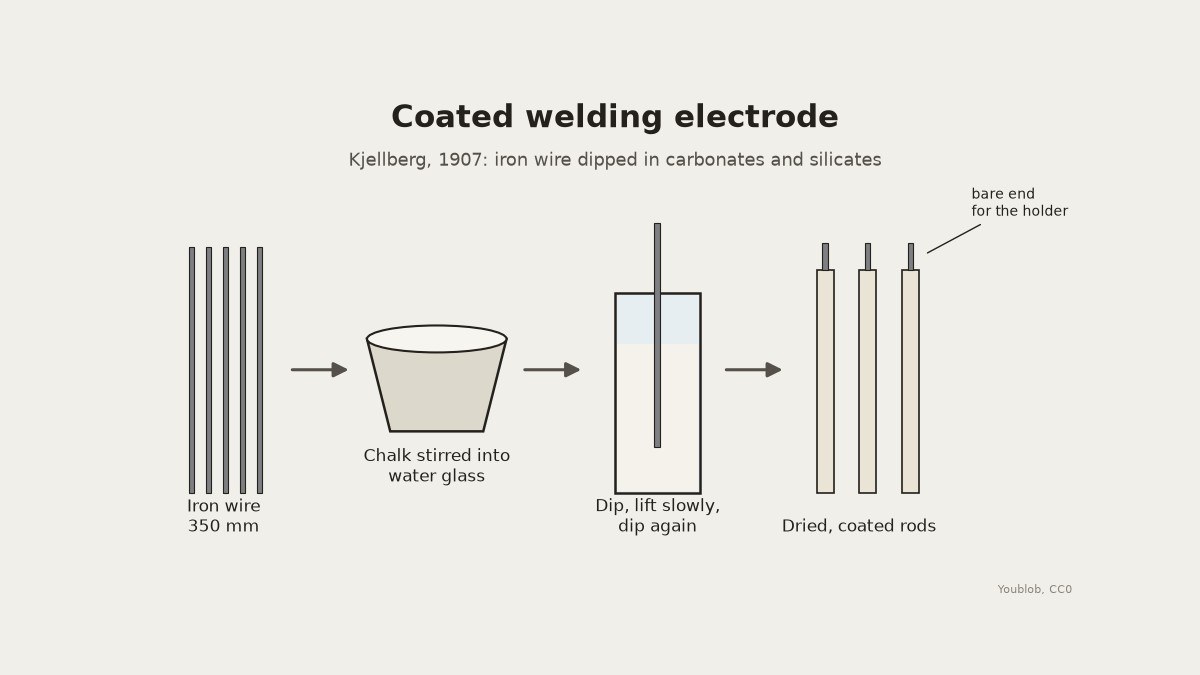


Coated Welding Electrode: Iron Wire Dipped in Chalk and Water Glass (Kjellberg, 1907)
In 1907 Oscar Kjellberg patented a welding electrode made by dipping bare iron wire in a thick mixture of carbonates and silicates. In the arc the coating gives off a fume that keeps air away from the molten metal while it cools. Here the carbonate is chalk and the silicate is water glass. Cut the wire to length, dip it in the paste, and dry the rods well before use.
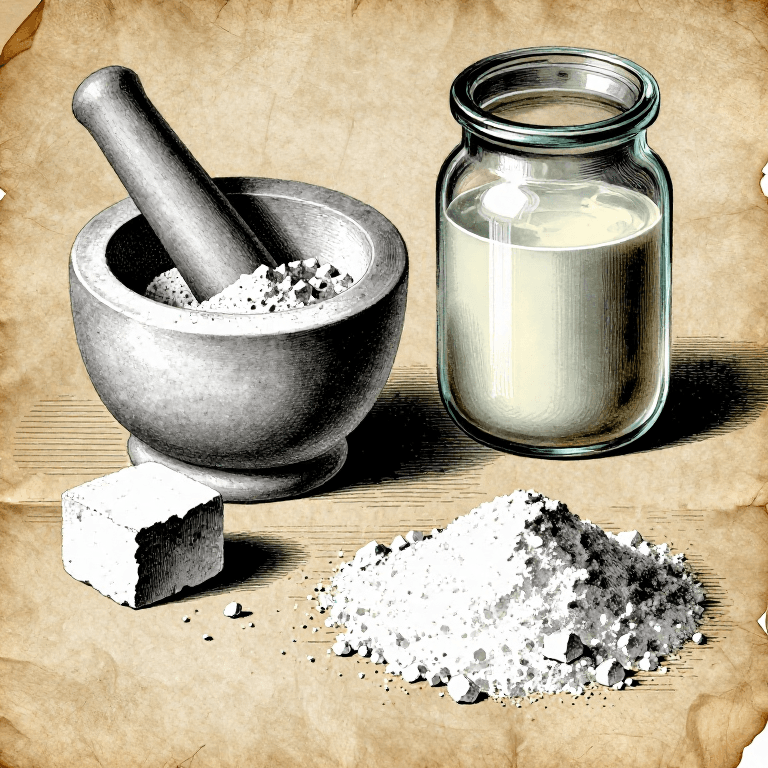
The picture: our diagram of the wire, the dip and the coated rod.
Iniciante
An hour, then drying overnight
Instruções
1
1
Cut the wire
Cut the wire
Cut straight iron wire about 3 mm thick into 350 mm lengths and wipe it clean.
Materiais para este passo:
 Arame de ferro7 m
Ferramentas necessárias:
 Alicate de corte
 Torno de bancada
 Fita métrica
2
2
Mix the coating
Mix the coating
Stir sifted chalk into water glass, a little at a time, until the paste is thick enough to cling to the wire.
Materiais para este passo:
 Vidro solúvel (solução de silicato de sódio)300 g
 Carbonato de cálcio (branco de espanha)400 g
Ferramentas necessárias:
 Conjunto de tigelas para misturar
 Balança digital de cozinha
 Luvas de borracha
3
3
Dip the rods
Dip the rods
Pour the paste into a tall jar. Dip each rod, leaving the top 30 mm bare for the holder, and lift it out slowly. When the first coat has set, dip again for a thicker coat.
Ferramentas necessárias:
 Frasco de vidroLuvas de borracha
4
4
Dry
Dry
Hang the rods bare end up until the coating is hard, then dry them in a warm oven before welding. Keep them dry.
Ferramentas necessárias:
 Secador
 Forno
5
5
Wire for a batch
Wire for a batch
A carregar o notebook Jupyter…
Materiais
3- Referência
- Referência
- Referência
Ferramentas necessárias
9- Referência
- Referência
- 1 vendor sell this, none ship to you yetReferência
- Referência
- Referência
- Referência
- Referência
- Referência
- Referência
Este projeto faz
Blueprints relacionados
Estes blueprints compartilham conhecimento — técnicas, materiais ou princípios

CC0 Domínio Público
Este blueprint é liberado sob CC0. Você é livre para copiar, modificar, distribuir e usar este trabalho para qualquer finalidade, sem pedir permissão.
Apoie o Maker comprando produtos através do Blueprint, onde ele ganha uma Comissão Maker definida pelos vendedores, ou crie uma nova versão deste Blueprint e inclua-o como conexão no seu próprio Blueprint para compartilhar receita.