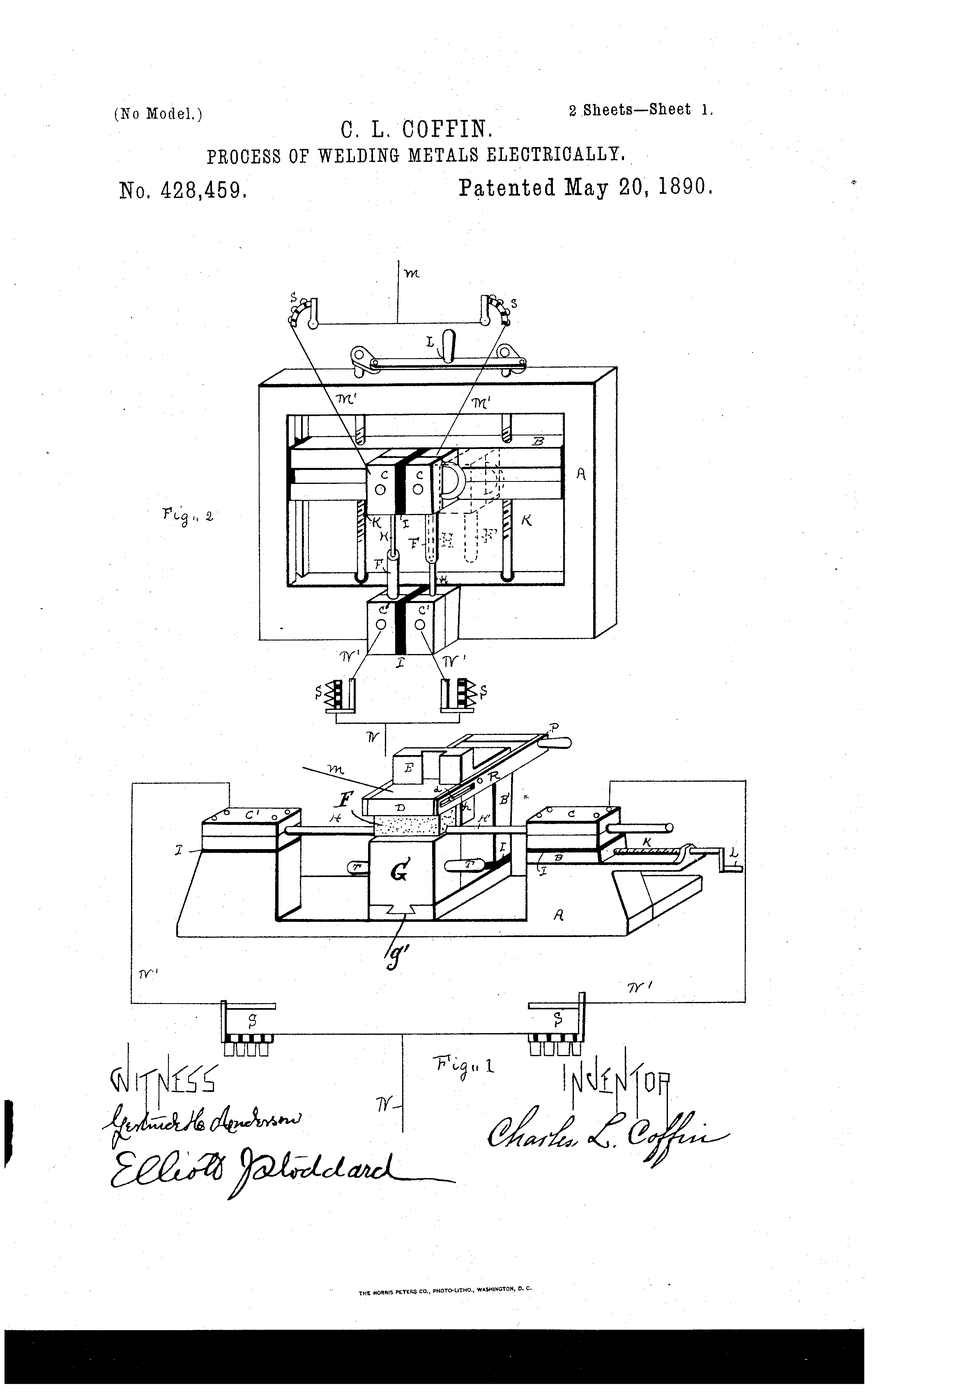


Metal Electrode Arc Welding
Carbon arc welding needs two hands: one holds the arc, the other feeds filler wire into the pool. The improvement is almost embarrassingly simple once stated — make the electrode out of the filler. Now the rod that carries the arc also melts into the joint, one hand does the work of two, and the metal crosses the arc as fine droplets rather than being pushed in cold from the side.
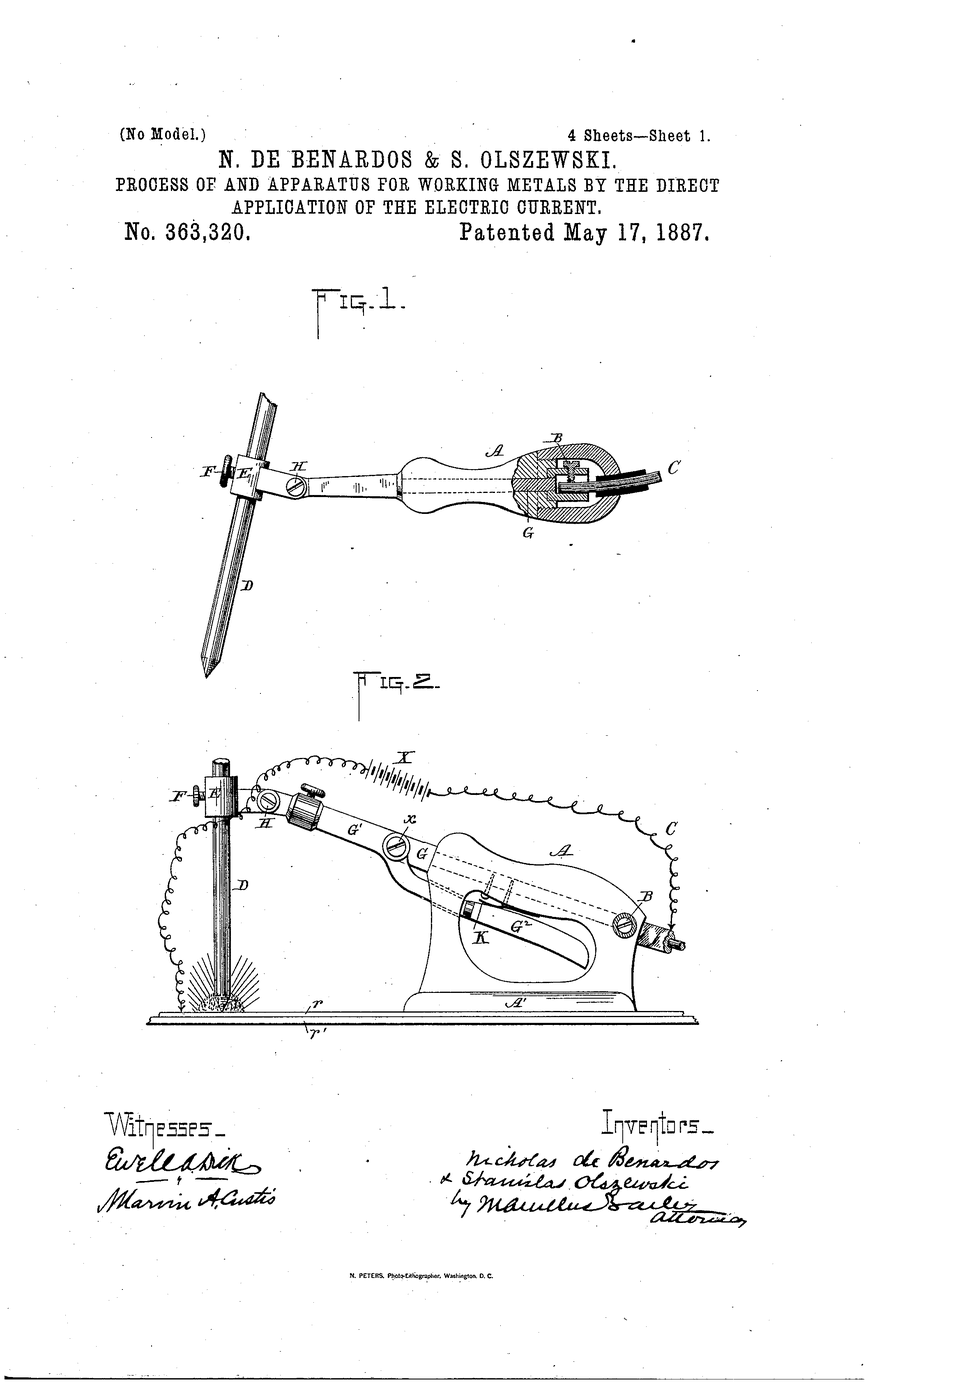
Charles L. Coffin patented it as US 428,459, “Process of Welding Metals Electrically”, granted 20 May 1890. It is the first verifiable patent for metal-electrode arc welding, and it describes the transfer directly: metal is carried across the arc from the electrode to the work.
Priority is not the same as patent, and this blueprint says so. Nikolay Gavrilovich Slavyanov demonstrated a consumable metal electrode at Perm in 1888, two years earlier, casting metal into a mould with the arc. No citable patent number for that work could be verified from any source, so the blueprint is built on the document that exists and credits the man who was first. Function is the payload; attribution is metadata, and both are reported honestly.
The experiment below is a measurement, not a weld: you will weigh the electrode before and after and prove that the missing mass is now in the joint.
Instruções
Read the safety step first
Read the safety step first
Read step 12 before striking anything. Arc ultraviolet injures eyes faster than you can decide to look away.
Weigh the electrode to 0.01 g
Weigh the electrode to 0.01 g
Weigh a single bare steel electrode. Record the mass. This number is the whole experiment.
Materiais para este passo:
 Metal Electrode Set1 peça
Ferramentas necessárias:
 Digital Scale (0.01g)
Weigh the test coupon
Weigh the test coupon
Clean a steel flat bar coupon with 220 grit until bright, then weigh it. Rust and scale would falsify the mass balance.
Materiais para este passo:
 Mild Steel Flat Bar1 peça
 Sandpaper (220 Grit)1 folha
Ferramentas necessárias:
Digital Scale (0.01g)Set the work on firebrick and clamp the return
Set the work on firebrick and clamp the return
Lay the coupon on firebrick. Clamp the return lead to the coupon itself, not to the bench.
Materiais para este passo:
Mild Steel Flat Bar1 peça Firebricks2 peças
Ferramentas necessárias:
 C-Clamp
Gear up and check the helmet
Gear up and check the helmet
Auto-darkening helmet, leather gloves, covered arms. Test the lens before striking.
Ferramentas necessárias:
 Auto-Darkening Welding Helmet
 Leather Gloves
Run a single short bead
Run a single short bead
Strike by scratching, hold a short arc, and run one 40 mm bead along the coupon at a steady pace. Stop. Do not chase a second pass.
Materiais para este passo:
Metal Electrode Set1 peçaMild Steel Flat Bar1 peçaFerramentas necessárias:
Auto-Darkening Welding HelmetLet everything cool, then re-weigh both
Let everything cool, then re-weigh both
Cool to room temperature. Weigh the remaining electrode stub and the coupon again. Record both.
Ferramentas necessárias:
Digital Scale (0.01g)Do the mass balance
Do the mass balance
Electrode lost, coupon gained. Compare the two numbers. The coupon gains less than the electrode loses — the difference left as spatter and oxide.
Materiais para este passo:
 Graph Paper1 folha
Calculate the deposition efficiency
Calculate the deposition efficiency
Divide the coupon's gain by the electrode's loss and multiply by 100. That percentage is deposition efficiency, a number every welding consumable is still sold on.
Materiais para este passo:
Graph Paper1 folhaMeasure the bead and find the spatter
Measure the bead and find the spatter
Measure bead width and length with the caliper. Look at the plate around the bead: the scattered beads of frozen metal are the missing mass.
Ferramentas necessárias:
 Vernier Caliper
 Magnifying Glass
Record what a bare electrode cannot do
Record what a bare electrode cannot do
Note the bead's appearance: porous, dark, irregular. Nothing protected the pool from the air. Kjellberg fixes this seventeen years later.
Safety awareness — arc eye and fume
Safety awareness — arc eye and fume
An electric arc emits ultraviolet light strong enough to burn the cornea in seconds. The injury is called photokeratitis, or “arc eye”. It is not felt at the time — the pain arrives six to twelve hours later, typically in the middle of the night, and feels like sand under the eyelids. It normally heals in a day or two, but repeated exposure is cumulative.
Nobody in the room may look at an arc unshielded, including bystanders. Ordinary safety glasses do not protect against it and neither does a quick glance. Use an auto-darkening helmet, screen the work so passers-by cannot see it, and warn anyone nearby before striking. The same ultraviolet burns exposed skin like strong sunburn, so cover arms and neck.
Fume. Arc welding steel makes a metal-oxide smoke that should never be breathed. Ventilate, keep your head out of the plume, and use plain mild steel only — galvanised coatings release zinc oxide and cause metal fume fever.
Hot metal has no colour. Steel stops glowing at around 500 °C and is still hot enough to cause an immediate deep burn. Assume anything you have welded is hot until measured otherwise.
Ferramentas necessárias:
Auto-Darkening Welding HelmetLeather Gloves Infrared Thermometer
History & Context
History & Context
US 428,459, “Process of Welding Metals Electrically”, Charles L. Coffin, granted 20 May 1890. Coffin, of Detroit, is the first person to hold a verifiable American patent for using a metal electrode that is itself consumed into the joint.
Slavyanov came first and this blueprint says so. Nikolay Gavrilovich Slavyanov (1854-1897), chief of the Perm cannon works, demonstrated arc welding with a consumable metal electrode in 1888 and used it to repair castings and to cast metal directly in a mould under the arc. He also introduced a molten-slag blanket over the pool — an idea that reappears in 1936 as submerged arc welding. What is missing is a patent number that any source could confirm. The honest position is that Slavyanov was first to the technique and Coffin was first to the document, and the blueprint prints both.
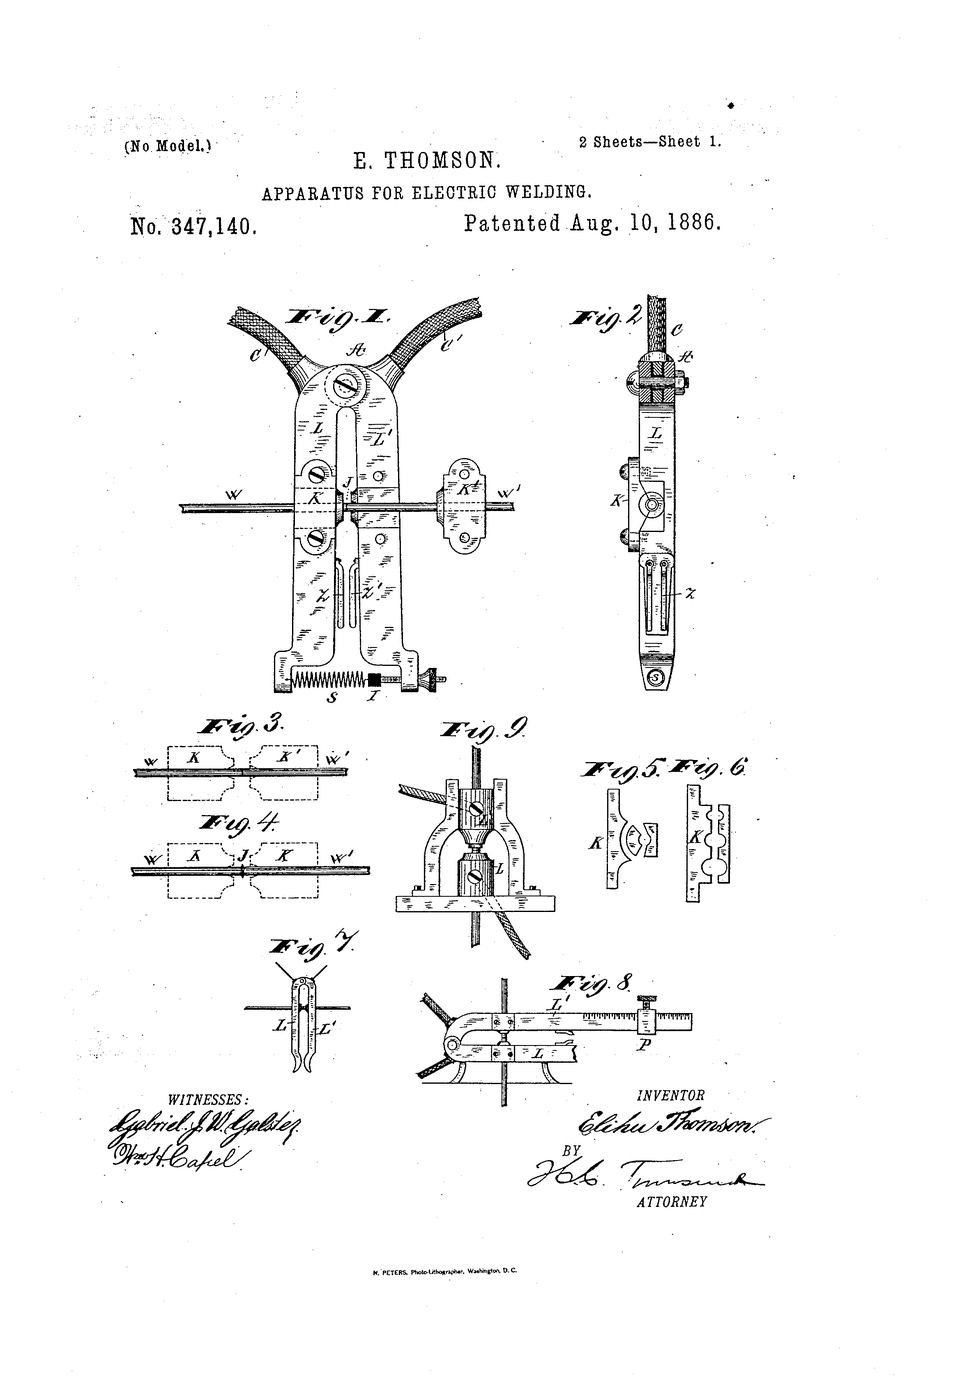
Why metal transfer changes everything. With a carbon electrode the filler arrives cold and unmixed. With a consumable electrode the metal crosses as droplets that have passed through the arc's own plasma, arriving superheated and alloyed. That is why consumable-electrode processes penetrate deeper at the same current, and why every dominant welding process today — stick, MIG, flux-cored, submerged arc — is a consumable electrode process. TIG, in 1942, is the deliberate exception.
What Coffin's bare rod could not solve. A bare electrode leaves the pool naked in the atmosphere. Nitrogen and oxygen dissolve into it, giving porosity, brittleness and a weld with perhaps half the parent metal's ductility. Almost every welding process developed after Coffin is, one way or another, an answer to that single problem.
Materiais
5- 1 peçaReferência
- 1 peçaReferência
- 1 folhaReferência
- 2 peçasReferência
- 1 folhaReferência
Materiais de Blueprints conectados

Blueprints relacionados
Estes blueprints compartilham conhecimento — técnicas, materiais ou princípios

CC0 Domínio Público
Este blueprint é liberado sob CC0. Você é livre para copiar, modificar, distribuir e usar este trabalho para qualquer finalidade, sem pedir permissão.
Apoie o Maker comprando produtos através do Blueprint, onde ele ganha uma Comissão Maker definida pelos vendedores, ou crie uma nova versão deste Blueprint e inclua-o como conexão no seu próprio Blueprint para compartilhar receita.