ARTE
BELEZA E BEM-ESTAR
ARTESANATO
CULTURA E HISTÓRIA
ENTRETENIMENTO
MEIO AMBIENTE
COMIDA E BEBIDAS
ENGENHARIA REVERSA
CIÊNCIAS
ESPORTES
TECNOLOGIA
TECNOLOGIA VESTÍVEL



Distortion and Sequence: The Weld Pulls, So Decide Where It Pulls To
Every weld shrinks as it cools, and it drags the parts with it. A frame that was square when it was tacked comes out of the jig as a parallelogram; two plates butted flat come out as a shallow roof; a long seam in sheet makes the sheet ripple.
None of that is a beginner's fault. Steel expands about twelve micrometres per metre per degree, the weld metal is restrained while it is hot, and it therefore ends up shorter than it started.
Since the pull cannot be prevented, the work is to predict it, balance it, and use less heat. This rung puts numbers on all three.
Intermediário
4 hours
Instruções
1
1
Three shrinkages, in three directions
Three shrinkages, in three directions
**Transverse shrinkage** closes the joint across the seam. Two plates tacked with a 3 mm gap end up with less. It follows the amount of metal deposited, so it is worst in thick multi-pass joints.
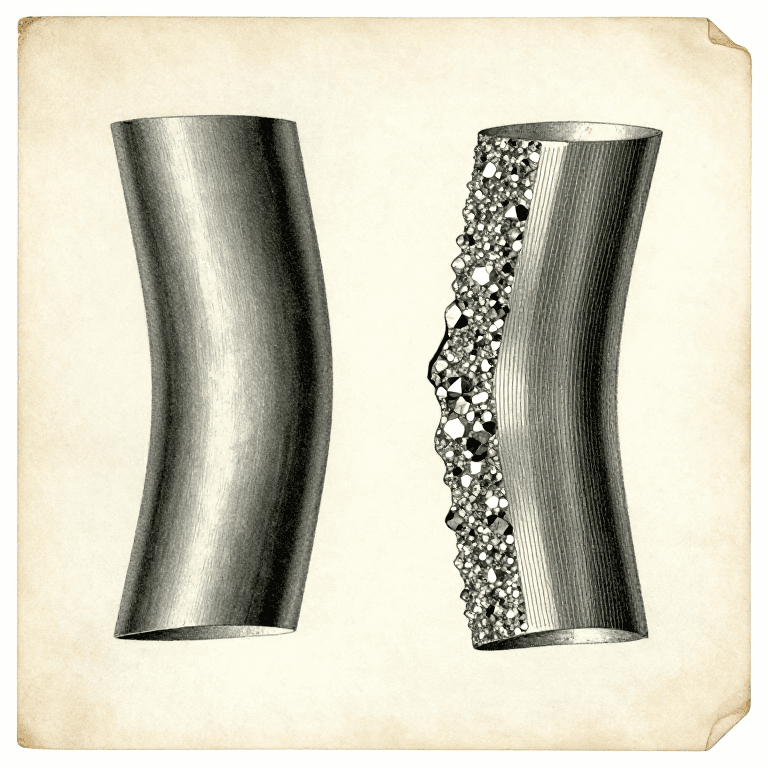
**Longitudinal shrinkage** shortens the seam along its length. It is much smaller than the transverse figure, but on a long member it bows the whole piece towards the weld — which is why a beam welded on one flange only ends up curved.
**Angular distortion** is the fold along the seam. It happens because a single-sided weld has more metal near one face, so that face shrinks more. This is the one that ruins frames, and it is the one the sequence can actually cancel.
All three are worse with more heat, and heat per unit length is the number the bead rung worked out.
Materiais para este passo:
 Chapa grossa de aço macio2 peças
 Barra chata de aço macio2 peças
Ferramentas necessárias:
 Esquadro combinado
 Régua
Régua2
2
How far it moves
How far it moves
A carregar o notebook Jupyter…
Ferramentas necessárias:
 Computador de secretária
3
3
Tack, then think about the order
Tack, then think about the order
**Tack from the middle outwards**, not from one end. Tacking from one end pushes the accumulated shrinkage ahead of you and the far end closes up before you get there.
**Back-step.** Weld short lengths, each one laid in the opposite direction to the overall progress: start 100 mm along and weld back to the start, then start 200 mm along and weld back to 100, and so on. Each short run shrinks into metal already welded instead of into the open joint.
**Balance across the neutral axis.** On a tee, weld one side then the other. On a box, weld opposite corners alternately. Never finish one whole side before starting the other.
**Skip around.** On a frame with many joints, never weld two adjacent joints one after the other. Move to the far side and let the first cool.
**Pre-set.** For a distortion you cannot cancel, set the parts up bent the opposite way by the amount the notebook predicts and let the weld pull them straight. That is how a fabricator makes a straight beam out of a process that always bends one.
Materiais para este passo:
Chapa grossa de aço macio2 peças Cantoneira de aço macio2 peças
 Eletrodo de solda1 pacote
Ferramentas necessárias:
 Máquina de solda a arco
 Máscara de soldar de escurecimento automático
 Luvas de soldador
 Grampo em CEsquadro combinado
 Bloco de esteatite
4
4
Clamping helps less than you think, and costs something
Clamping helps less than you think, and costs something
The obvious answer to distortion is to hold the work rigidly. It works, but only while the clamps are on.
Restraint does not remove the shrinkage — it converts it into **residual stress** locked into the joint. Release the clamps and some of the movement happens anyway. Worse, a heavily restrained joint in a thick or hardenable steel can crack as it cools, because the contracting weld has nowhere to go.
So use clamps and jigs to hold **alignment** — to keep the gap and the angle where you set them — and control distortion with sequence, balance and less heat instead. Those work by reducing the shrinkage rather than fighting it.
If a piece still comes out bent, it can be pulled back by flame straightening: heating a small wedge-shaped area, letting the surrounding cold metal upset it, and letting it shrink on cooling. That is the same physics used deliberately — and it puts yet more residual stress in, so it is a repair, not a plan.
Materiais para este passo:
Chapa grossa de aço macio2 peçasFerramentas necessárias:
Grampo em C Sargento de barraEsquadro combinado
 Goniómetro digital
Materiais
4- 2 peçasReferência
- 2 peçasReferência
- 2 peçasReferência
- 1 pacoteReferência
Ferramentas necessárias
10- Referência
- Referência
- Referência
- Referência
- Referência
- Referência
- Referência
- Referência
- Referência
Blueprints relacionados
Estes blueprints compartilham conhecimento — técnicas, materiais ou princípios

CC0 Domínio Público
Este blueprint é liberado sob CC0. Você é livre para copiar, modificar, distribuir e usar este trabalho para qualquer finalidade, sem pedir permissão.
Apoie o Maker comprando produtos através do Blueprint, onde ele ganha uma Comissão Maker definida pelos vendedores, ou crie uma nova versão deste Blueprint e inclua-o como conexão no seu próprio Blueprint para compartilhar receita.