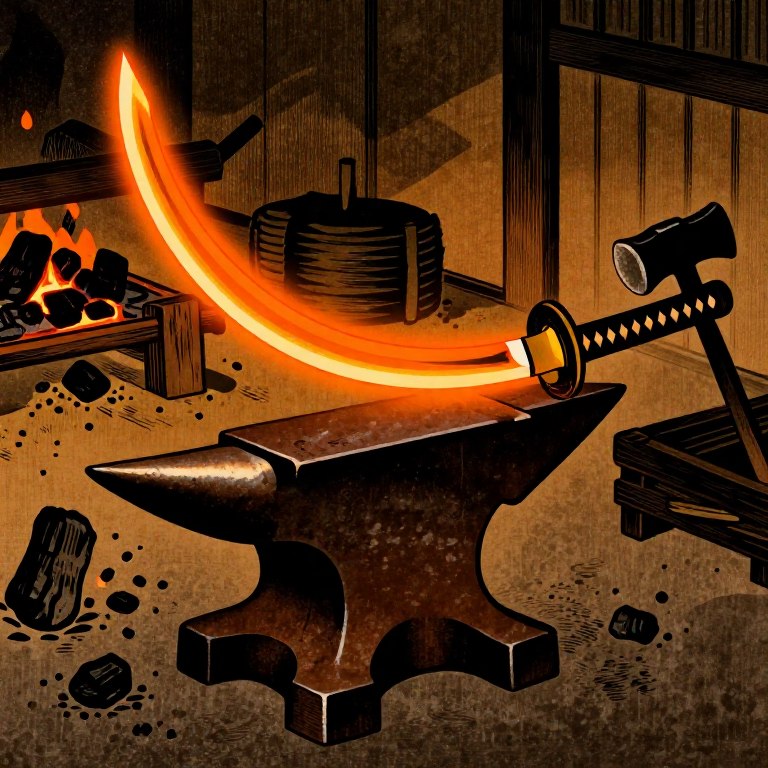
Folding and Forging a Katana Blade — Nihonto Swordsmithing
Instruções
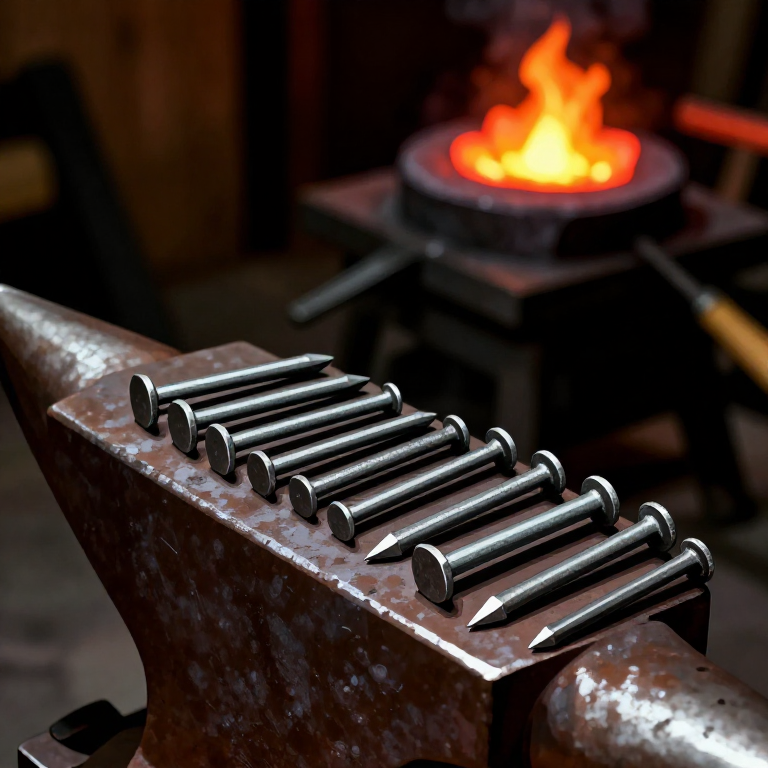
Consolidate and Stack the Tamahagane
Consolidate and Stack the Tamahagane
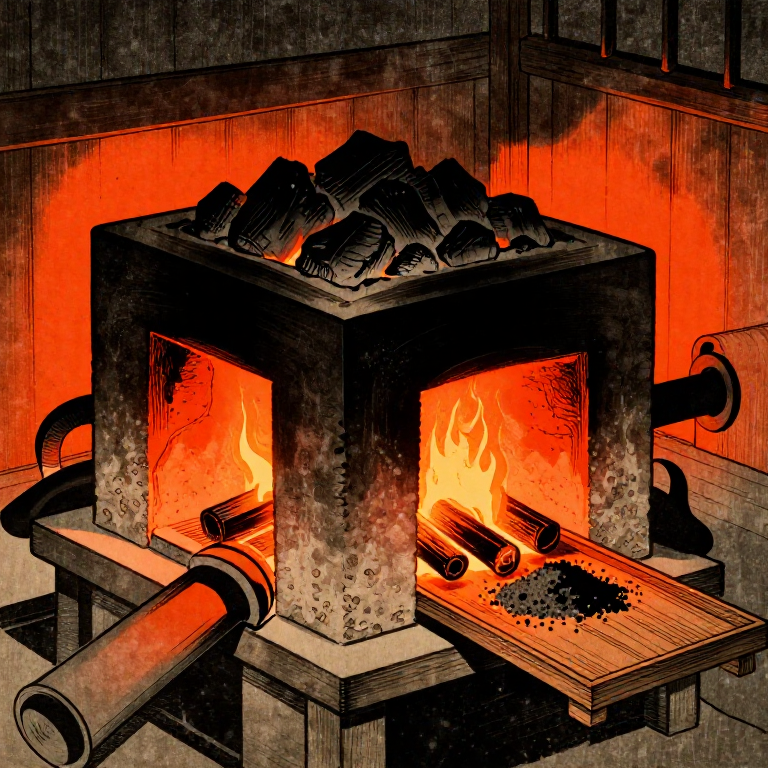
Select tamahagane pieces of similar carbon content and forge-weld them into a solid block called a kobuse. Heat the pieces to bright yellow-white (approximately 1300 degrees C) in the charcoal forge, sprinkle rice straw ash mixed with clay powder as flux to prevent oxidation, and hammer the pieces together on the anvil. The flux melts into a glassy coating that shields the steel from oxygen. Continue heating and hammering until all pieces are solidly welded into a single rectangular billet approximately 6cm x 3cm x 15cm. Test the weld by examining the edges for delamination after each heat.
Materiais para este passo:
 Wild Clay1 kg kg
Ferramentas necessárias:
 Anvil
Anvil Forge Tongs
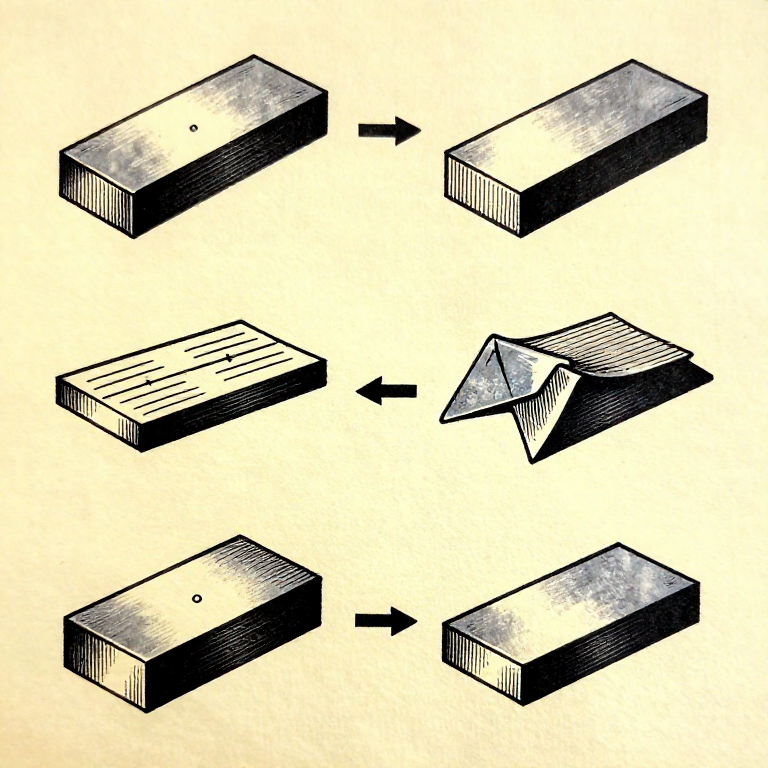
Fold and Weld the Billet
Fold and Weld the Billet
Draw the consolidated billet out to approximately double its length by hammering. Score a line across the centre with a chisel, fold the billet back on itself, apply flux, and forge-weld the fold closed. This constitutes one fold, creating two layers. Repeat this process 12-15 times, producing between 4,096 and 32,768 theoretical layers. Each fold homogenizes carbon distribution and welds out inclusions and slag pockets. The folding direction alternates between longitudinal and transverse folds to create different hada (grain) patterns: itame (wood-grain), masame (straight-grain), or mokume (burl). Excessive folding beyond 15 times decarburizes the steel and should be avoided.
Shape the Blade (Sunobe)
Shape the Blade (Sunobe)
Forge the folded billet into the rough blade shape (sunobe). Draw out the billet to the desired blade length (typically 60-73cm for a katana) by hammering at yellow heat. Form the tang (nakago) by narrowing one end. Establish the triangular cross-section by hammering bevels on alternating sides. Introduce the gentle curvature (sori) by differential hammering — striking the spine side more aggressively draws the edge side forward, creating an arc. At this stage the blade is left oversized by 2-3mm on all surfaces to allow for finishing with the sen scraper and grinding stones.
Apply Clay and Differentially Harden (Yaki-ire)
Apply Clay and Differentially Harden (Yaki-ire)
Mix a clay coating (yakibatsuchi) from refractory clay, charcoal powder, and ground sandstone. Apply a thin layer along the cutting edge (ha) and a thick layer along the spine (mune) and flat sides (ji). The thin clay at the edge allows it to cool rapidly during quenching, forming hard martensite (approximately 60 HRC). The thick clay insulates the spine, which cools slowly and forms softer pearlite (approximately 40 HRC). Heat the coated blade in near darkness to judge temperature by colour — cherry-red (approximately 780 degrees C) is correct. Plunge the blade edge-first into a trough of water at approximately 28-30 degrees C. The differential cooling creates the visible hamon temper line and increases the blade curvature as martensite expands.
Rough Polish and Inspect
Rough Polish and Inspect
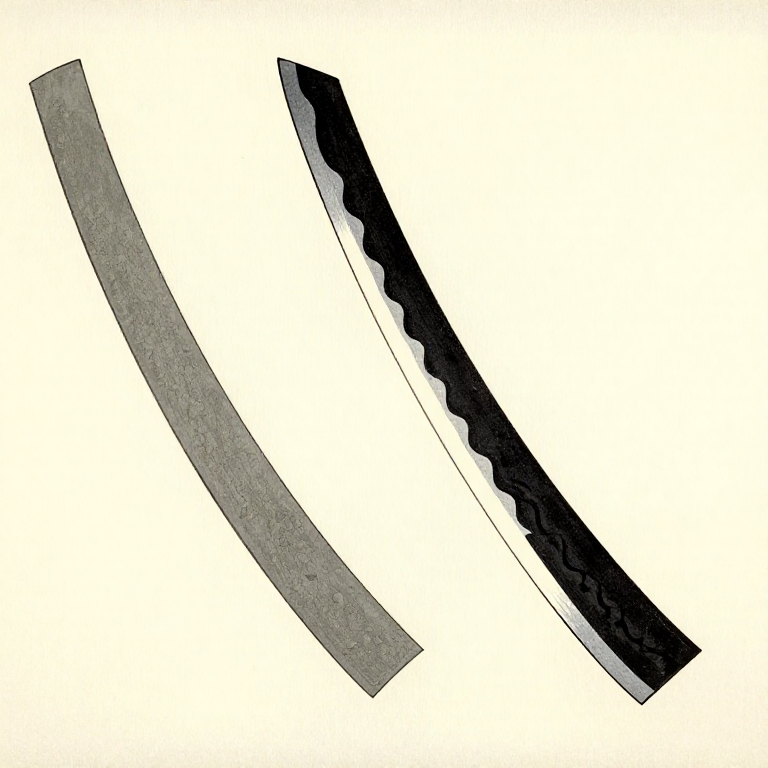
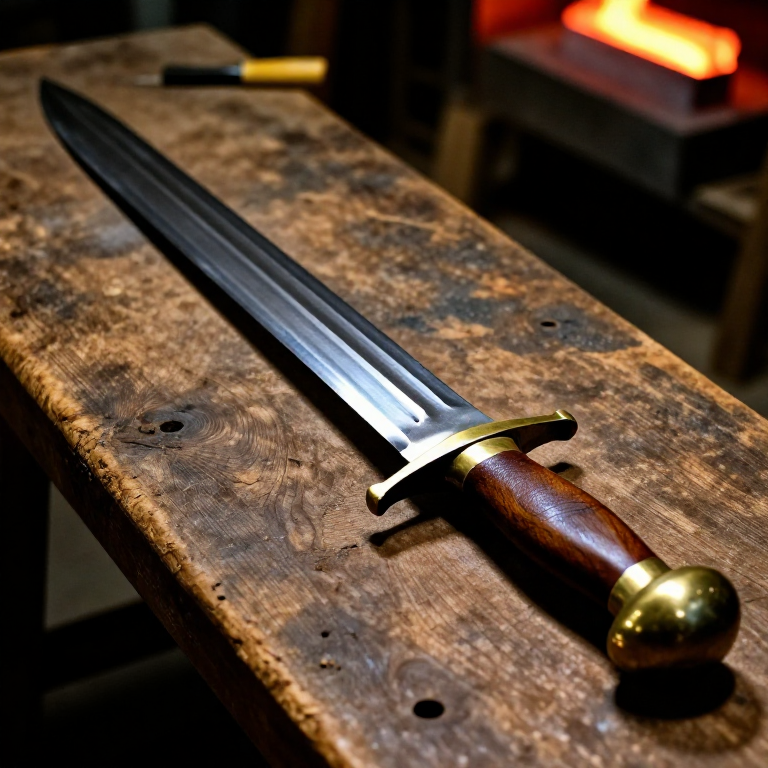
After successful quenching, carefully remove the clay coating and inspect the blade for cracks or warping. Minor warps can be corrected by gentle bending at low temperature. Begin rough polishing with a coarse grinding stone (arato, approximately 80 grit) to establish the final geometry and reveal the hamon line and hada grain pattern. The polishing sequence traditionally uses progressively finer natural stones up to hazuya and jizuya finger stones, but even rough polishing reveals the structural quality. A successful blade shows a clear hamon temper line, visible folding grain, no cracks, and rings clearly when tapped — a dull sound indicates internal flaws or incomplete welds.
Materiais
5- 1.5-2 kg peçaReferência
- 0.5-1 kg peçaReferência
- 500g peçaReferência
Ferramentas necessárias
6- Referência
- Referência
- Referência
- Referência
Related blueprints
Other builds that share materials, tools, or techniques with this one.
CC0 Domínio Público
Este blueprint é liberado sob CC0. Você é livre para copiar, modificar, distribuir e usar este trabalho para qualquer finalidade, sem pedir permissão.
Apoie o Maker comprando produtos através do Blueprint, onde ele ganha uma Comissão Maker definida pelos vendedores, ou crie uma nova versão deste Blueprint e inclua-o como conexão no seu próprio Blueprint para compartilhar receita.