Colaboração
ARTE
BELEZA E BEM-ESTAR
ARTESANATO
CULTURA E HISTÓRIA
ENTRETENIMENTO
MEIO AMBIENTE
COMIDA E BEBIDAS
ENGENHARIA REVERSA
CIÊNCIAS
ESPORTES
TECNOLOGIA
TECNOLOGIA VESTÍVEL
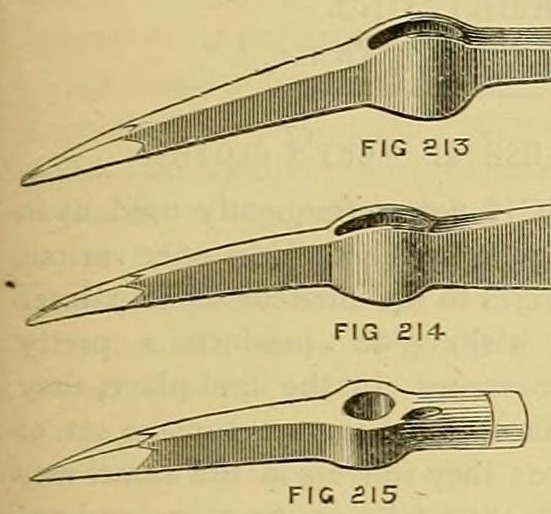


Steeled Picks: Common Pick, Pickaxe and Miner's Pick, Iron Eye with Steel Points Welded In (Edwinson, 1886)
How a village smith made picks in the 1880s, from George Edwinson's smithing series in Amateur Work: an iron head welded round its eye, the ends split hot and steel wedges welded in, then hardened and tempered. Variants: the common pick, the pickaxe with a steel-laid axe blade, and the miner's pick with a steel-faced hammer end.
Avançado
A day at the forge
Instruções
1
1
Read Edwinson
Read Edwinson
"The eye or hole for the shaft is formed by first shaping the two sides ... and then welding the two parts together."
2
2
Form the eye
Form the eye
Forge the two halves of the head with a hollow for the eye in each (his fig. 216), lay them together and weld them into one head round the eye (fig. 217).
Materiais para este passo:
 Barra de ferro forjado1 peça
Ferramentas necessárias:
 Forja de ferreiro
 Bigorna
 Martelo
 Tenazes de ferreiro
 Mandril de alargar furo
3
3
Draw the ends
Draw the ends
Forge the two ends down to the size you need: a pointed bill and a chisel bill for the common pick, an axe and a point for the pickaxe, a point and a hammer for the miner's pick. For the miner's pick leave the eye massive and oval, tapering from both sides as in a hammer.
Ferramentas necessárias:
Forja de ferreiroBigornaMartelo Marreta
4
4
Steel the points
Steel the points
Split each bill end with a hot chisel (his hot sett, fig. 218), insert a wedge of steel in the cleft and weld it in under borax, then draw it out to shape. Do not heat cast steel above a cherry red.
Materiais para este passo:
 Aço de cadinho1 peça
 Bórax em pó1 peça
Ferramentas necessárias:
Forja de ferreiro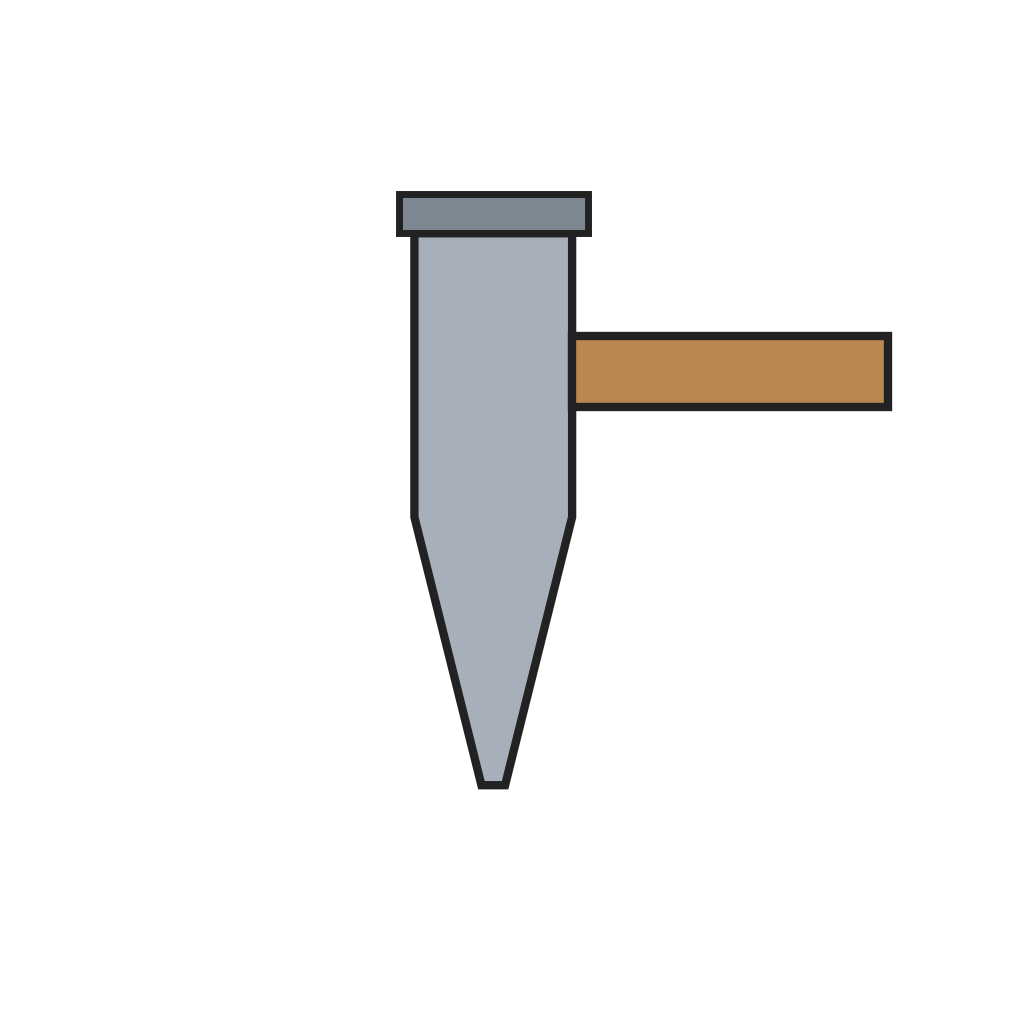 Talhadeira a quenteMarretaBigornaTenazes de ferreiro
5
5
Steel the axe or hammer end
Steel the axe or hammer end
Pickaxe: enclose a slice of shear steel between the folding leaves of iron at the axe end and forge them down together to form the axe. Miner's pick: face the hammer end with steel.
Materiais para este passo:
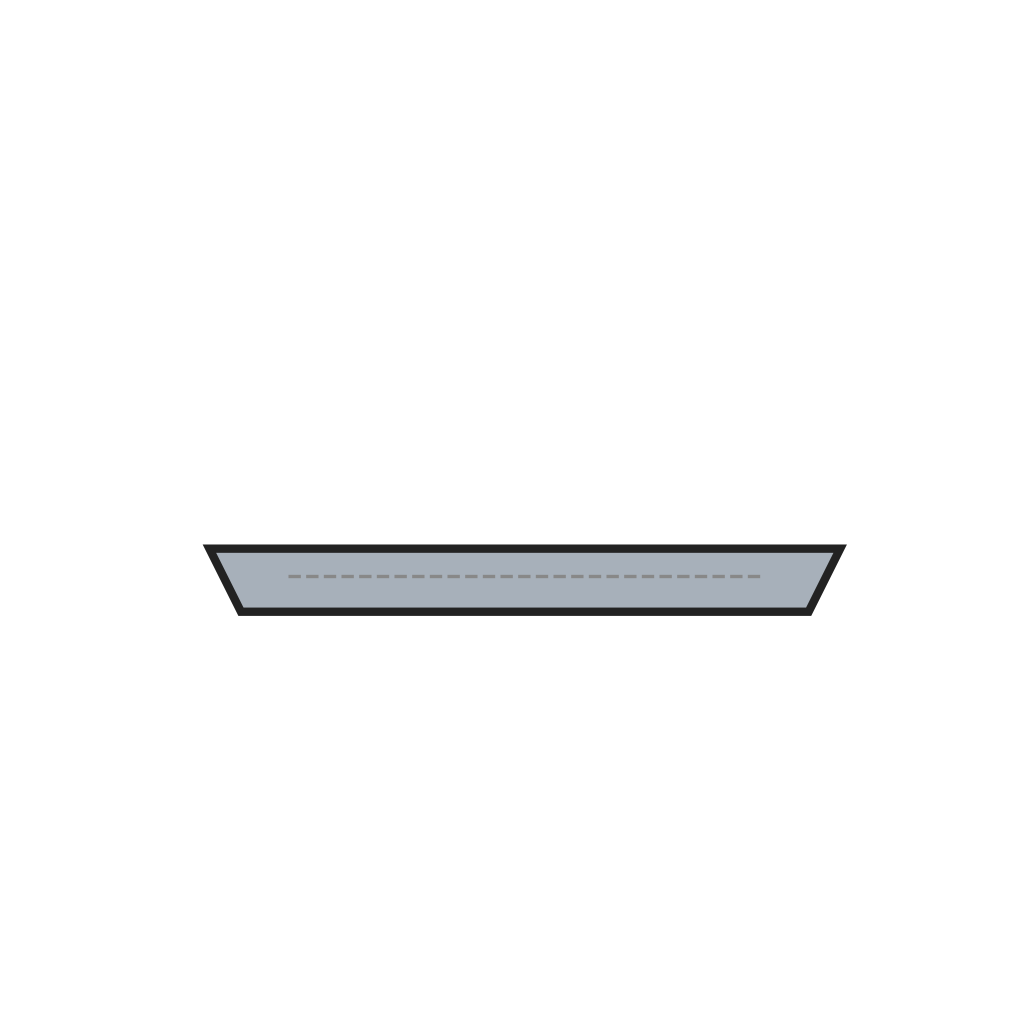 Placa de aço caldeado (shear steel)1 peçaBórax em pó1 peça
Ferramentas necessárias:
Forja de ferreiroBigornaMarteloTenazes de ferreiro6
6
Harden and temper
Harden and temper
Harden the points and temper them to a brown tint tending to straw at the very point. Temper the pickaxe blade purple where steel meets iron, running to straw at the edge.
Ferramentas necessárias:
Forja de ferreiro Balde de têmpera
7
7
Handle it (ours)
Handle it (ours)
He does not cover the handle. Ours: shape an ash handle to the eye, drive it in and wedge it.
Materiais para este passo:
 Tarugo de freixo1 peça
 Cunhas de madeira1 peça
Ferramentas necessárias:
 Faca de dois cabosMartelo
8
8
Troubleshooting
Troubleshooting
Pick troubleshooting.
Flow
Loading...
9
9
History and honest limits
History and honest limits
From George Edwinson, "Smithing and Forging" (part X), **Amateur Work, Illustrated**, vol. VI (Ward, Lock & Co., 1886-87), pp. 211-214 (checked on the archive.org scan amateurworkillus06lond). He gives no dimensions or weights; the sizes, the handle and the tools listed are ours.
Materiais
6- 1 peçaReferência
- 1 peçaReferência
- 1 peçaReferência
- Referência
- 1 peçaReferência
- 1 peçaReferência
Este projeto faz

Blueprints relacionados
Estes blueprints compartilham conhecimento — técnicas, materiais ou princípios
CC0 Domínio Público
Este blueprint é liberado sob CC0. Você é livre para copiar, modificar, distribuir e usar este trabalho para qualquer finalidade, sem pedir permissão.
Apoie o Maker comprando produtos através do Blueprint, onde ele ganha uma Comissão Maker definida pelos vendedores, ou crie uma nova versão deste Blueprint e inclua-o como conexão no seu próprio Blueprint para compartilhar receita.