Colaboração
ARTE
BELEZA E BEM-ESTAR
ARTESANATO
CULTURA E HISTÓRIA
ENTRETENIMENTO
MEIO AMBIENTE
COMIDA E BEBIDAS
ENGENHARIA REVERSA
CIÊNCIAS
ESPORTES
TECNOLOGIA
TECNOLOGIA VESTÍVEL
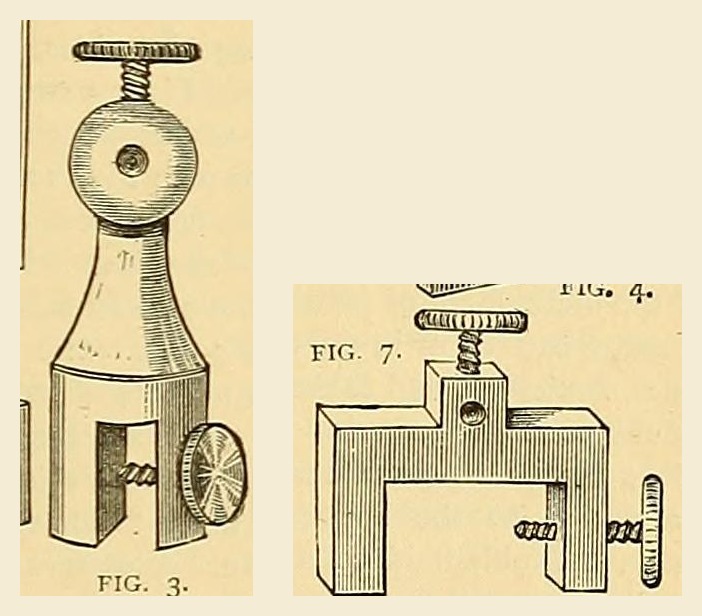


Brass Binding-Screw: Body Turned from 5/8 in. Rod, Thumb Screws from 3/8 in. Rod, and a Bent Brass Clamp (Edwinson, 1881)
The Victorian battery terminal, from George Edwinson's Electro-plating at Home (Amateur Work, 1881): a brass body turned from 1 1/2 in. of 5/8 in. rod, slotted for the plate and bored for the wire, with thumb screws turned from 3/8 in. rod; or a clamp bent hot from a brass strip with a soldered-on wire piece.
Intermediário
Two hours at the lathe
Instruções
1
1
His sizes
His sizes
A carregar o notebook Jupyter…
2
2
Read Edwinson
Read Edwinson
"Those who may have lathes ... may easily turn up a binding-screw ... out of a 1 1/2 in. length of 5/8 in. brass rod."
3
3
Turn the body
Turn the body
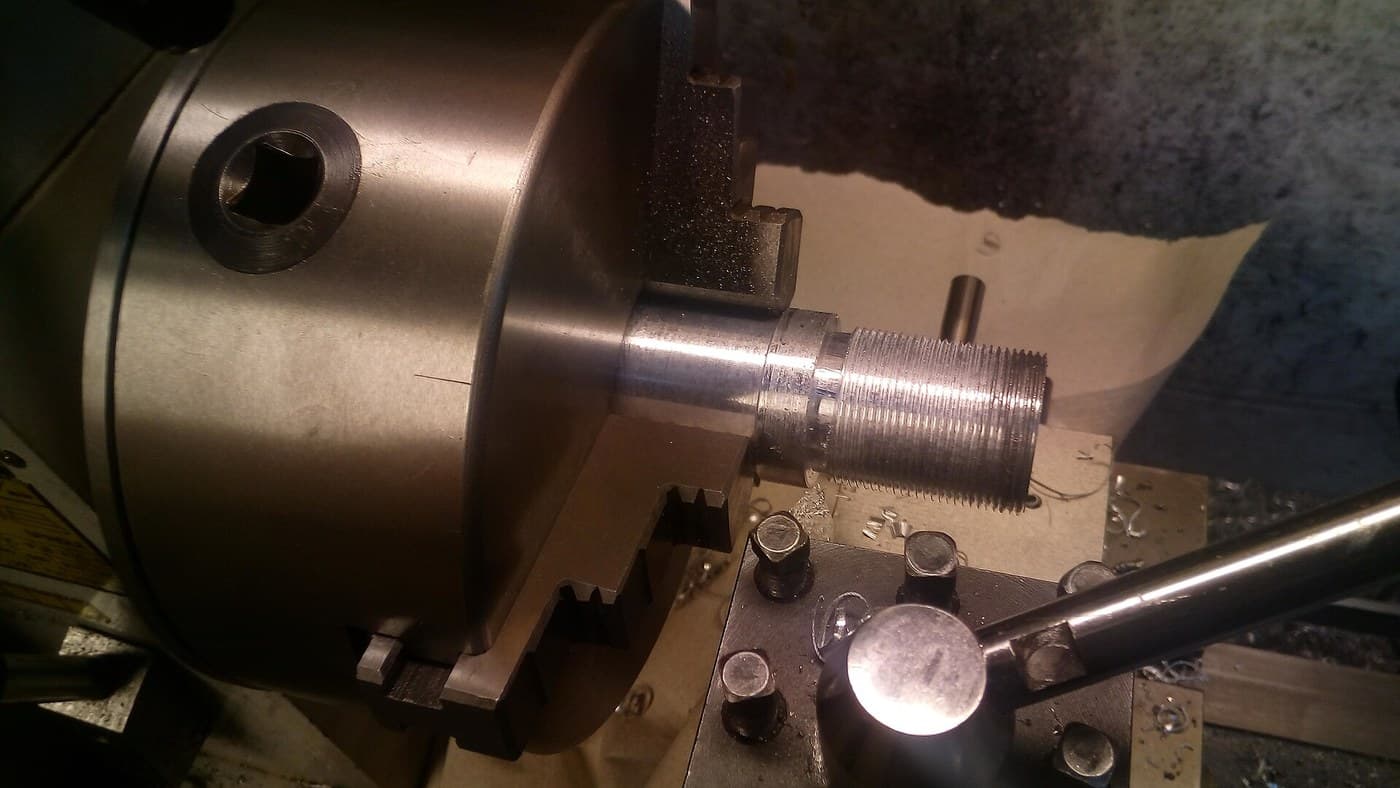
Cut 1 1/2 in. (38 mm) of 5/8 in. (16 mm) brass rod and turn the body to shape first (his fig. 3: a round head on a tapering neck over a forked foot).
Materiais para este passo:
 Varão de latão1 peça
Ferramentas necessárias:
 Serra de arco para metais
 Torno mecânico
 Goiva de sangrar
4
4
Slot and bore
Slot and bore
Cut the slot that grips the plate. Bore a hole for the wire through the head, then bore the holes for the screws.
Ferramentas necessárias:
 Torno de bancadaSerra de arco para metais
 Limas (lima de mão)
 Berbequim de mão
5
5
Turn the thumb screws
Turn the thumb screws
Turn the screws from 3/8 in. (9.5 mm) brass rod with plain thumb-screw heads (he says milled heads are a mistake). Cut a fine thread on them and tap the holes to match.
Materiais para este passo:
Varão de latão1 peçaFerramentas necessárias:
Torno mecânicoGoiva de sangrar Jogo de machos e cossinetes
6
6
Bent clamp (variant)
Bent clamp (variant)
From good malleable brass take a strip 3 in. long, 1/2 in. wide and 1/4 in. thick (76 x 13 x 6 mm). Heat it to a dull red and bend it over a former of hot iron. Cut the piece for the wire and centre screw separately, hard-solder it on and trim it. Fit thumb screws as above. (A clamp may also be cast from a wooden pattern.)
Materiais para este passo:
 Tira de latão1 peça
 Solda de prata1 peça
Ferramentas necessárias:
 Forja de ferreiro
 Tenazes de ferreiro
 Martelo
 Maçarico de brasagemLimas (lima de mão)Berbequim de mãoJogo de machos e cossinetes
7
7
Clean and keep it working
Clean and keep it working
Clean the slot with folded emery cloth and the wire hole with the tang of a file. Now and then oil the screw, work it in and out, and wipe the oil off. Do not screw up too tight.
Ferramentas necessárias:
Limas (lima de mão)8
8
Troubleshooting
Troubleshooting
Binding-screw troubleshooting.
Flow
Loading...
9
9
History and honest limits
History and honest limits
From George Edwinson, "Electro-plating at Home", **Amateur Work, Illustrated**, vol. I (1881), p. 81 figs. 3 and 7 and p. 99 (checked on the archive.org scan amateurworkillus11881lond). He gives no thread size. Modern panel binding posts add an insulating bush and a banana-plug socket; this is the 1881 brass terminal. The metric figures and the tools are ours.
Materiais
3- 1 peçaReferência
- 1 peçaReferência
- 1 peçaReferência
Ferramentas necessárias
11- Referência
- Referência
- Referência
- Referência
- Referência
- Referência
- Referência
- Referência
- Referência
- Referência
- Referência
Este projeto faz
Blueprints relacionados
Estes blueprints compartilham conhecimento — técnicas, materiais ou princípios


CC0 Domínio Público
Este blueprint é liberado sob CC0. Você é livre para copiar, modificar, distribuir e usar este trabalho para qualquer finalidade, sem pedir permissão.
Apoie o Maker comprando produtos através do Blueprint, onde ele ganha uma Comissão Maker definida pelos vendedores, ou crie uma nova versão deste Blueprint e inclua-o como conexão no seu próprio Blueprint para compartilhar receita.