Colaboração
ARTE
BELEZA E BEM-ESTAR
ARTESANATO
CULTURA E HISTÓRIA
ENTRETENIMENTO
MEIO AMBIENTE
COMIDA E BEBIDAS
ENGENHARIA REVERSA
CIÊNCIAS
ESPORTES
TECNOLOGIA
TECNOLOGIA VESTÍVEL
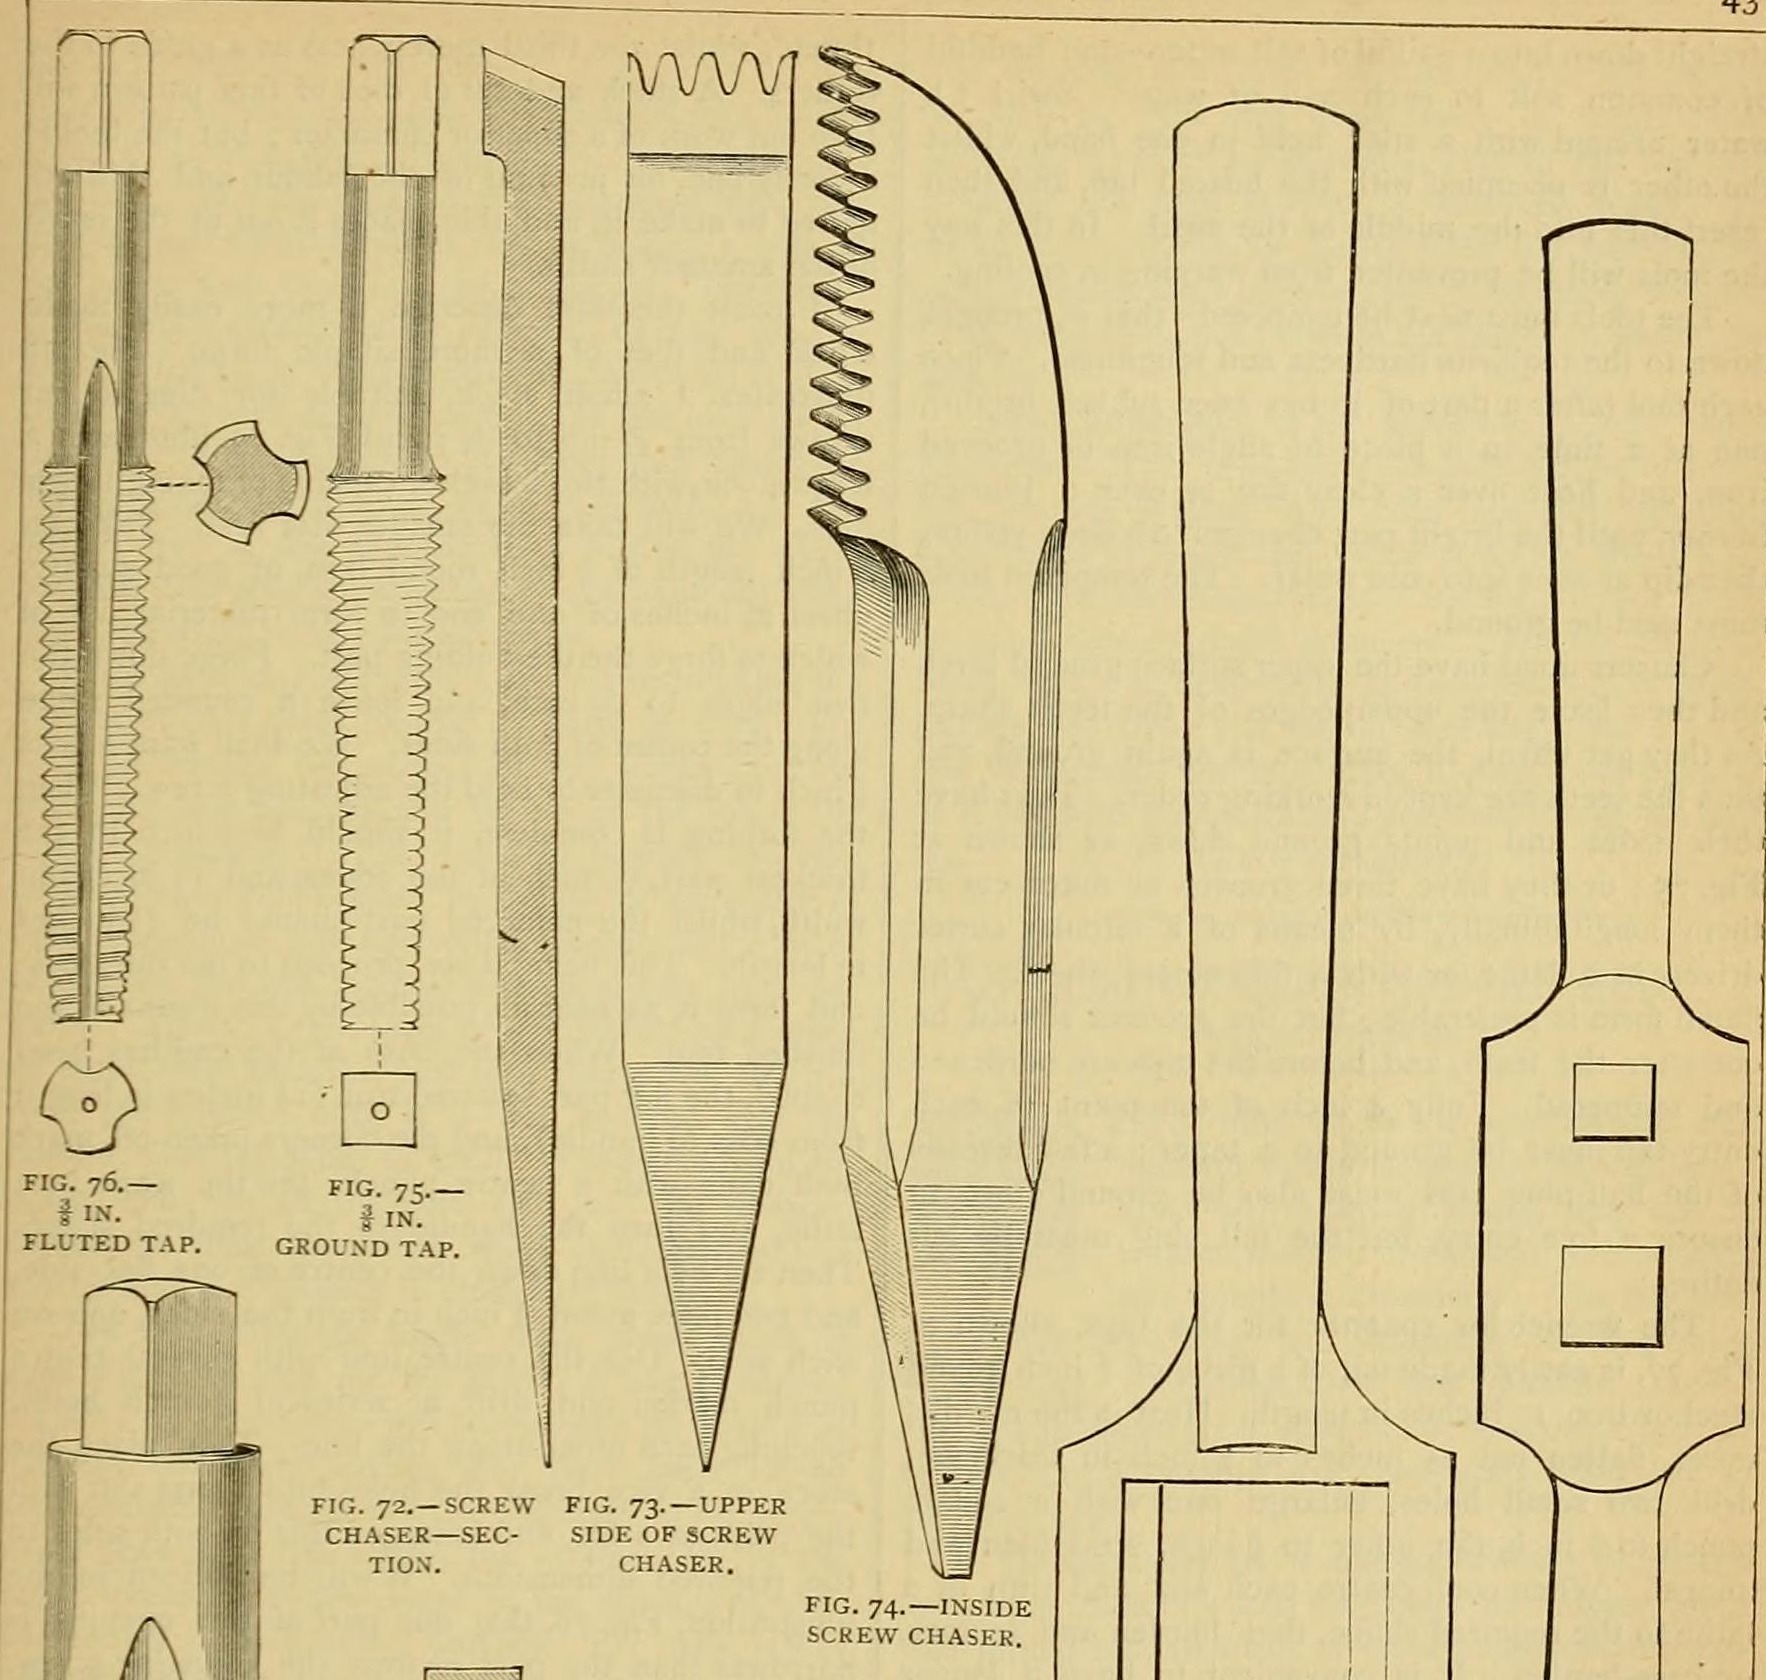


Whitworth Taps from Cast Tool Steel: Turned, Chased, Fluted and Hardened in Salt Water, with Their Wrench (Edwinson, 1886)
George Edwinson's instructions (Amateur Work, 1886) for a home-made set of Whitworth taps, 3/16 to 1 inch, in entry, half-plug and full-plug form: cast tool steel annealed, turned, roughed with a single-point tool and finished with home-made chasers in a screw-cutting lathe, fluted, hardened in swirled salt water and tempered deep yellow; plus the two-hole tap wrench. The dies and stock are in the companion blueprint.
Avançado
Several days for a set of thirty
Instruções
1
1
His tables
His tables
A carregar o notebook Jupyter…
2
2
Read Edwinson
Read Edwinson
"There is only one perfect method of making a good tap, and that is by turning the metal ... and cutting the thread in a screw-cutting lathe."
3
3
Cut and anneal the blanks
Cut and anneal the blanks
Cut the best 1 in. square cast tool steel into 3 1/2 in. lengths for the large taps, and 1/2 in. steel into 3 in. lengths for the small ones (a full set takes 5 ft 6 in. of the first and 3 ft of the second). Anneal: blood red, cooled slowly in hot ashes. File the ends square, centre-punch, and drill the centres 1/16 in. (small) or 1/8 in. (large) deep.
Materiais para este passo:
 Barra de aço-ferramenta1 peça
Ferramentas necessárias:
 Talhadeira a quente
 Forja de ferreiro
 Limas (lima de mão)
 Punção de centro
 Engenho de furar
4
4
Rough out the taps
Rough out the taps
Turn the corners off. Mark each tap: entry 1/2 in. head, 3/4 in. shank; half plug 1/2 in. head, 1 in. shank; full plug 1/2 in. head, 1 1/4 in. shank; the rest is thread (for the 1 in. set; 7/8 the same, smaller sets in proportion with shanks turned down for clearance). Below 1/2 in. make the square heads 3/8 or 3/16 in. to fit the wrench. Anneal again, turn true and smooth, and finish with a fine file.
Ferramentas necessárias:
 Torno mecânicoLimas (lima de mão)Forja de ferreiro
5
5
Make the chasers
Make the chasers
From flat tool steel forge one chaser per size, the largest 1 in. wide, 1/4 in. thick and 5 in. long, the rest a little smaller, with 3 1/2 or 4 1/2 teeth across the width and a tang for a wooden handle (fig. 72). Upset the point, grind, anneal, file the teeth, and finish them by running the chaser against a full plug tap or hub of that pitch in the lathe. Inside chasers: against a left-handed hub, or file off the lower leading edge of each tooth (fig. 74).
Materiais para este passo:
Barra de aço-ferramenta1 peçaFerramentas necessárias:
Forja de ferreiro Bigorna
 MarteloLimas (lima de mão)Torno mecânico
6
6
Cut the threads
Cut the threads
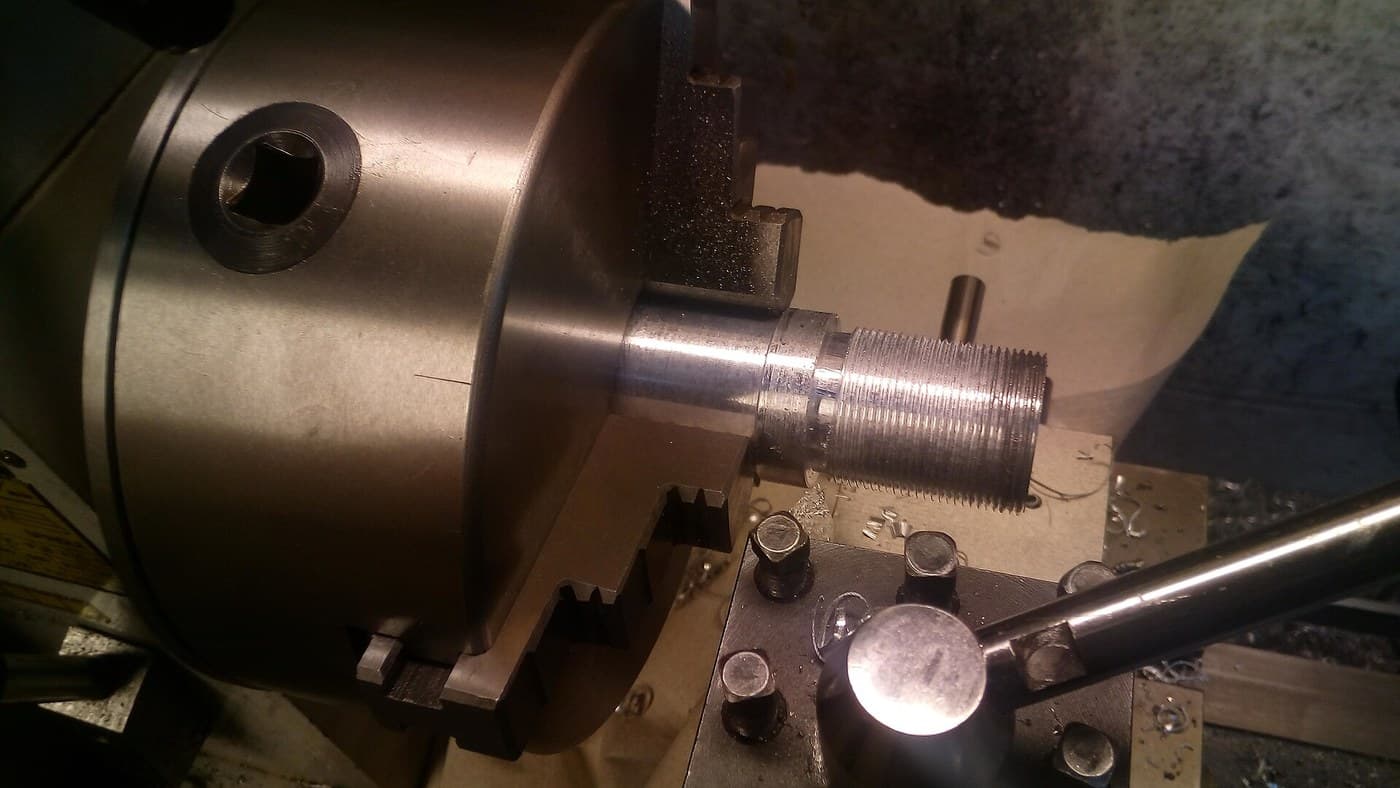
Rough each thread with a single fine-point tool in the slide rest of a screw-cutting lathe, set with the change wheels for its pitch (notebook), then finish with the chaser. Whitworth form: 55 degree angle, one-sixth rounded off top and bottom. Stamp each tap with its size and threads per inch.
Ferramentas necessárias:
Torno mecânicoMartelo7
7
Flute and point
Flute and point
Cut three flutes along each tap with a circular cutter in the lathe or a thin emery wheel (before hardening), or grind the sides flat (fig. 75). Grind fully 1/2 in. of each entry tap to a taper and the first few threads of the half plug; leave the full plug entire.
Ferramentas necessárias:
Torno mecânico Esmeriladora de bancada
8
8
Harden and temper
Harden and temper
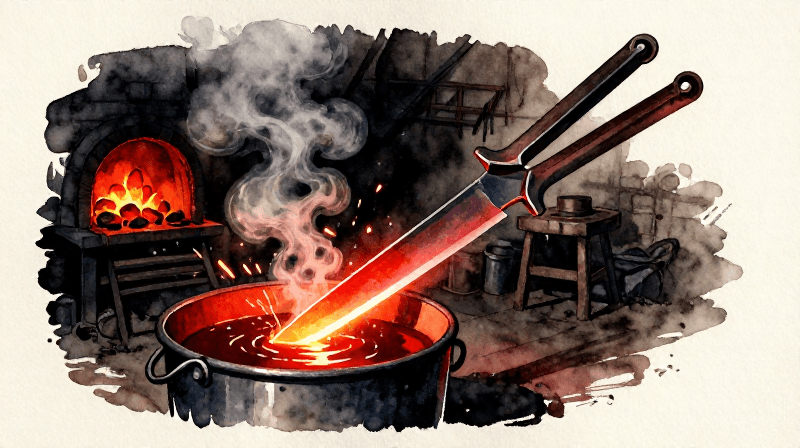
Heat each tap or chaser to blood red and plunge it straight down into a pail of water with a handful of common salt, swirled with a stick, into the middle of the swirl so it does not warp. Rub part bright, lay it in angle or grooved iron over a clear fire or a Bunsen burner until the bright part is deep yellow, then dip it in cold water. Grind the chaser tops level.
Materiais para este passo:
 Sal1 peça
 Água1 peça
Ferramentas necessárias:
Forja de ferreiro Balde
 Bico de BunsenEsmeriladora de bancada
9
9
Make the tap wrench
Make the tap wrench
Take 10 in. of 3/4 in. round steel or iron. Heat the middle, upset it and flatten 2 1/2 in. to 1/2 in. thick. Drill two small holes and open them with a square punch, one to 3/8 in. and one to 1/4 in. Straighten, anneal, centre the ends and turn them in the lathe, then harden and temper. A longer, heavier wrench with one 1/2 in. hole suits the big taps.
Materiais para este passo:
Barra de aço-ferramenta1 peçaFerramentas necessárias:
Forja de ferreiroBigorna MarretaEngenho de furarTorno mecânico
10
10
Troubleshooting
Troubleshooting
Tap troubleshooting.
Flow
Loading...
11
11
History and honest limits
History and honest limits
From George Edwinson, "Smithing and Forging" V, **Amateur Work, Illustrated**, vol. V (1886), pp. 434-438 and figs. 71-77 (checked on the archive.org scan amateurworkillus05lond). He himself advised buying Whitworth gear rather than making it. Metric conversions and the tools listed are ours.
Ferramentas necessárias
12- Referência
- Referência
- Referência
- Referência
- Referência
- Referência
- Referência
- Referência
- Referência
- Referência
- Referência
- Referência
Este projeto faz
Blueprints relacionados
Estes blueprints compartilham conhecimento — técnicas, materiais ou princípios
CC0 Domínio Público
Este blueprint é liberado sob CC0. Você é livre para copiar, modificar, distribuir e usar este trabalho para qualquer finalidade, sem pedir permissão.
Apoie o Maker comprando produtos através do Blueprint, onde ele ganha uma Comissão Maker definida pelos vendedores, ou crie uma nova versão deste Blueprint e inclua-o como conexão no seu próprio Blueprint para compartilhar receita.