Egyptian Copper Mirror — Polishing a Copper Disc Mirror
Instruções
Shape and Flatten the Copper Disc
Shape and Flatten the Copper Disc
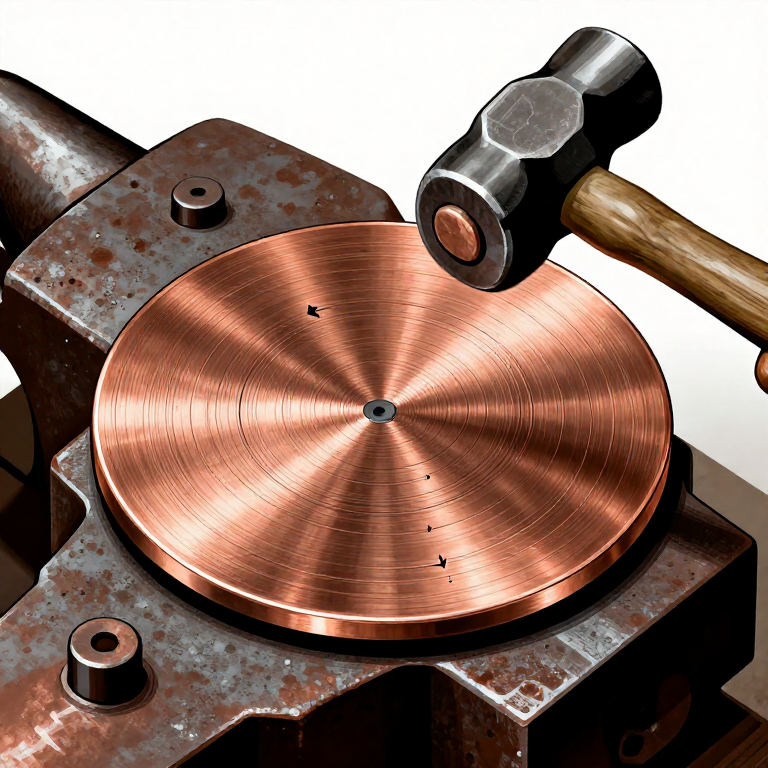
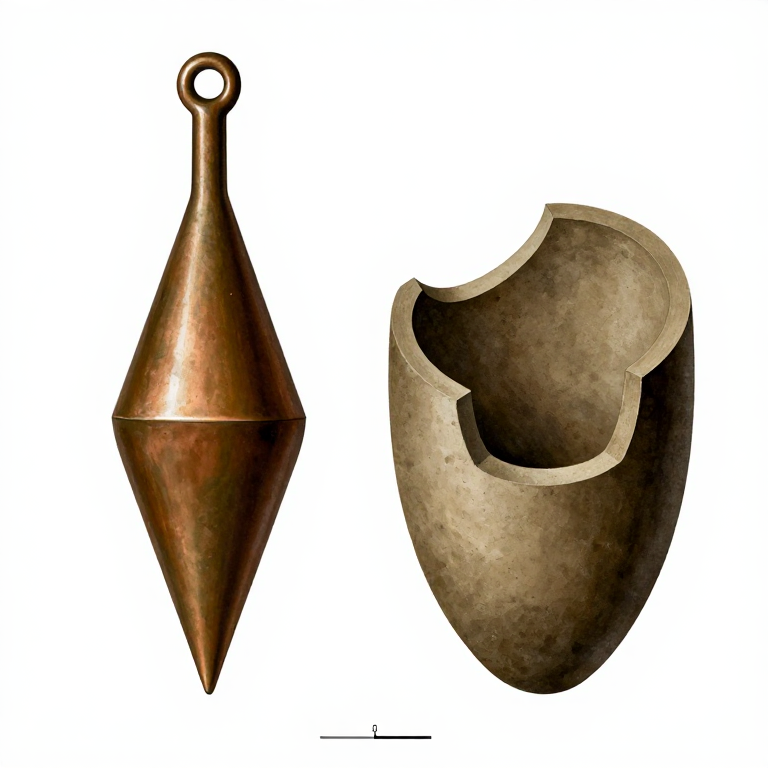
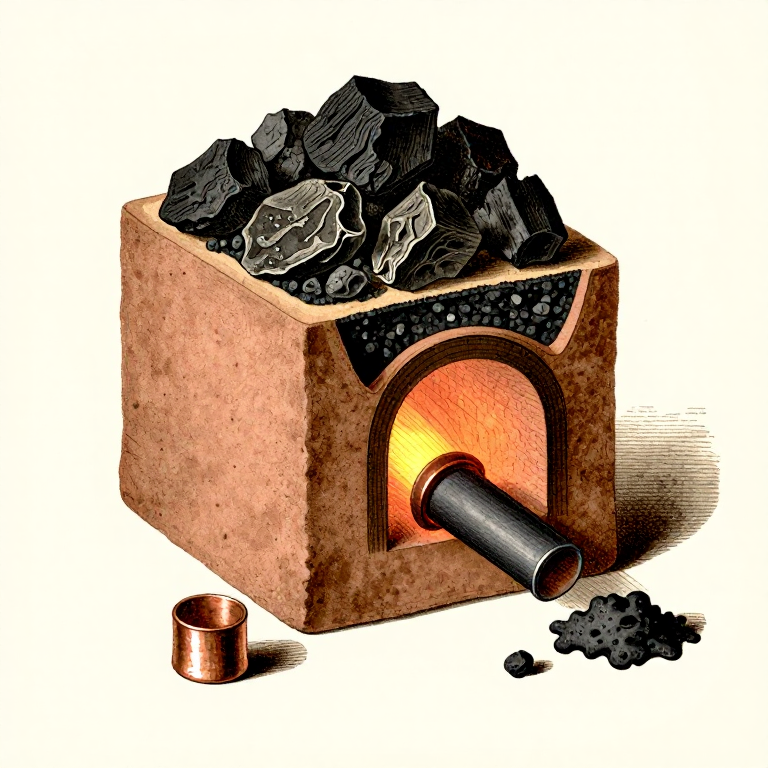
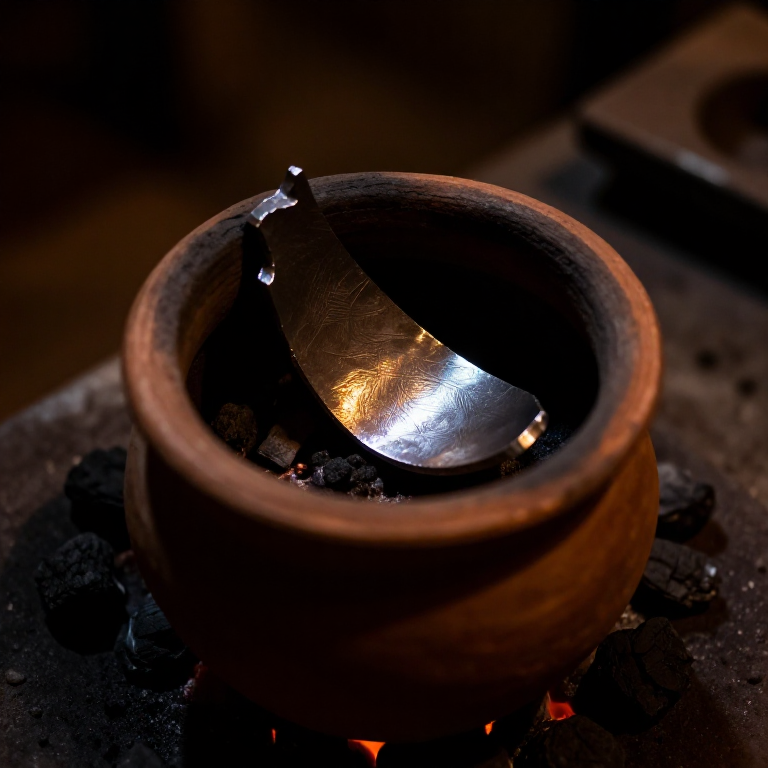
Begin with a copper disc approximately 10-15 cm in diameter and 2-3 mm thick, either cast in a sand mold or cut from sheet copper. Place the disc on a flat anvil and planish (hammer flat) using overlapping blows with a broad, smooth-faced hammer, working in concentric circles from the center outward. This work-hardens the copper and produces a uniformly flat surface. Anneal the disc by heating to dull red (approximately 500-700 degrees Celsius) and quenching in water if the copper becomes too stiff to work. Egyptian mirrors were typically made from copper alloys containing small amounts of arsenic or tin, which increased hardness and improved the final polish. Surviving examples in museums show disc diameters ranging from 8 to 20 cm.
Materiais para este passo:
 Copper1 piece, 10-12 cm long cm
 Sandstone (Abrasive)3-4 grades peça
Ferramentas necessárias:
 Hammer
 Files (Hand File)
Grind with Coarse Abrasive
Grind with Coarse Abrasive
Secure the flattened disc and begin grinding the reflective face with a coarse abrasive stone (equivalent to modern 100-200 grit sandstone or emery). Use long, overlapping strokes in one direction across the entire surface, then rotate 90 degrees and repeat. This cross-hatching removes deep hammer marks and casting irregularities. Continue until the surface is uniformly matte with no visible pits, scratches deeper than the abrasive marks, or undulations. The back face does not need polishing and was often left rough or engraved with decorative motifs. Ancient Egyptian mirror backs sometimes bear the name and titles of their owner or images of the goddess Hathor, who was associated with beauty and mirrors.
Progressive Polishing with Finer Abrasives
Progressive Polishing with Finer Abrasives
Switch to progressively finer abrasive stones, removing the scratches left by each previous grade before moving to the next. A typical progression would be: coarse sandstone, fine sandstone, and then very fine siltstone or slate. At each stage, change the direction of strokes by 90 degrees so you can easily see when the previous grade's scratches have been completely replaced by the current finer marks. This progressive abrasion follows the same principle used in modern metallographic polishing. When the finest stone grade leaves only a faint haze with no individually visible scratches, the disc is ready for final polishing with rouge.
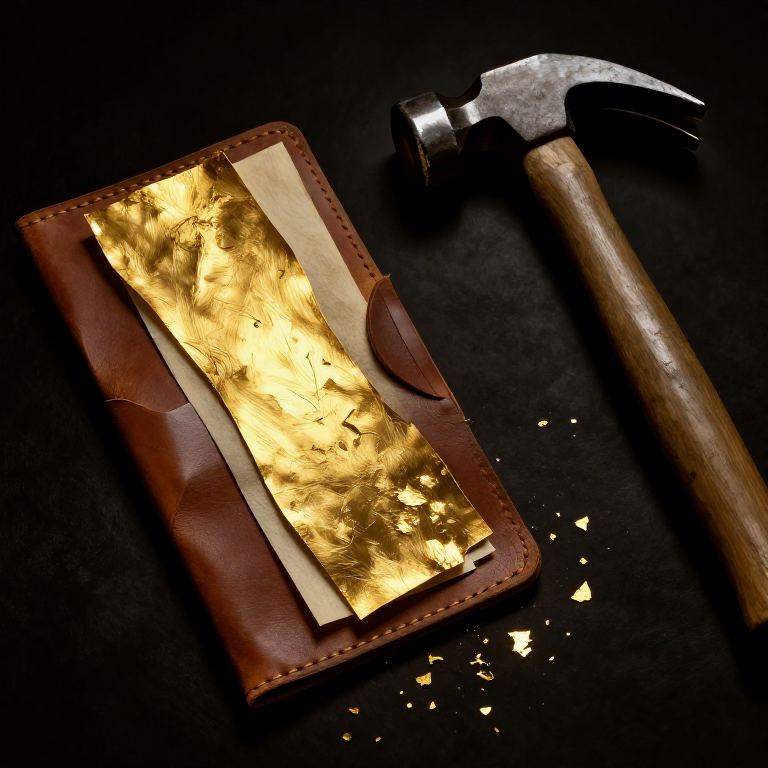
Final Polish with Rouge and Leather
Final Polish with Rouge and Leather
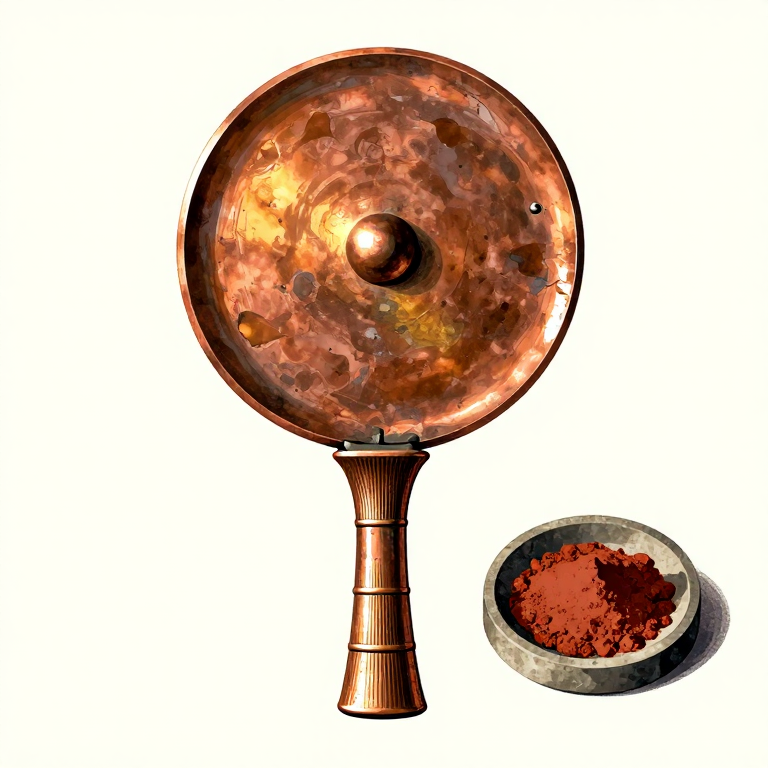
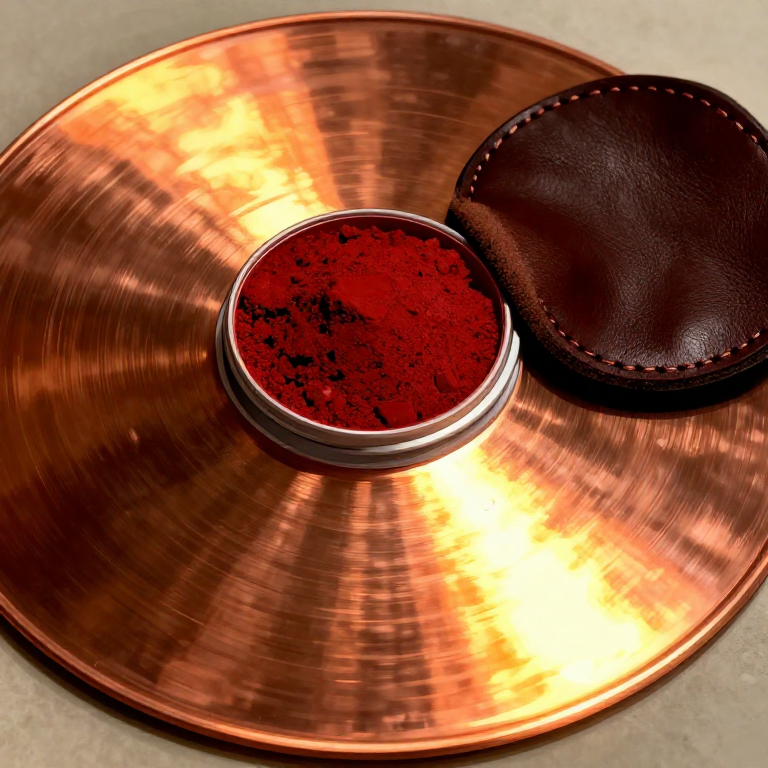
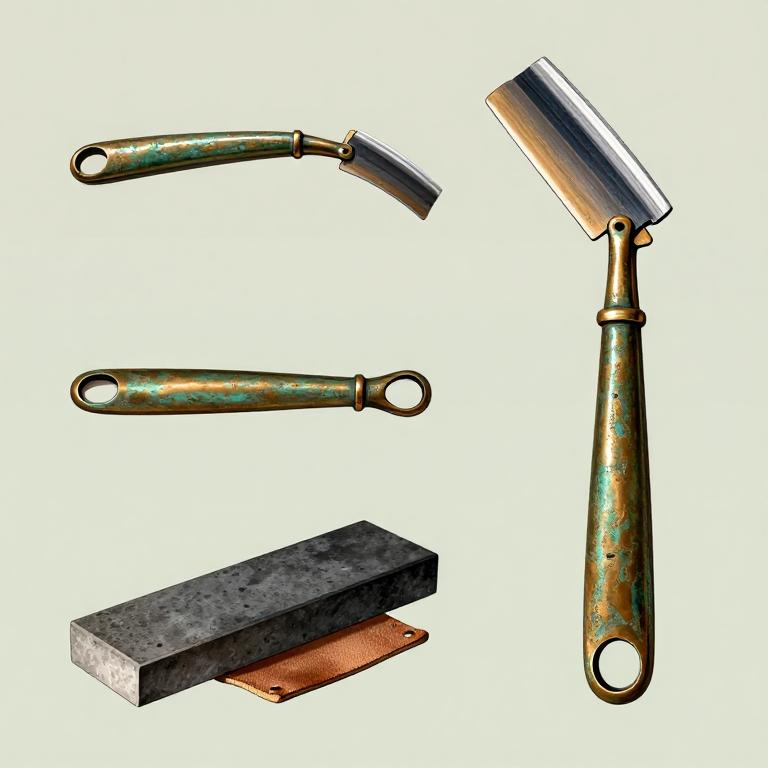
Apply a small amount of fine rouge powder (iron oxide, Fe2O3) or very fine silica dust to a leather or linen polishing pad. Polish the mirror face using firm, circular motions. The sub-micron abrasive particles in the rouge remove the finest scratches and produce a mirror-bright surface. Continue polishing until you can see a clear reflection. Well-polished copper achieves approximately 60-70% reflectivity — less than modern glass mirrors (85-95%) but sufficient for personal grooming. The warm, slightly golden tone of a copper mirror is actually quite flattering to skin tones. This final polishing stage requires patience and sustained effort of 15-30 minutes to achieve the best reflection.
Attach the Handle
Attach the Handle
Egyptian mirrors typically had a handle riveted, cast integrally, or inserted into a tang slot on the disc. For a tanged handle, file a slot approximately 2 cm deep and the width of the tang into the edge of the disc at the bottom. Insert the handle tang and secure it with a copper rivet through a pre-drilled hole, or peen the tang over to lock it in place. Common handle forms included papyrus columns, Hathor-headed capitals, and simple tapered grips, often made from wood, ivory, or cast bronze. To prevent tarnish, apply a very thin coat of beeswax or oil to the polished face. Ancient copper mirrors required regular re-polishing as the copper naturally oxidizes in air, forming a green patina of copper carbonate. A dedicated polishing kit of rouge and leather would have been an essential accessory.
Materiais
5- 1 disc peçaReferência
- 3-4 grades peçaReferência
- small amount peçaReferência
- 1 piece peçaReferência
Related blueprints
Other builds that share materials, tools, or techniques with this one.
CC0 Domínio Público
Este blueprint é liberado sob CC0. Você é livre para copiar, modificar, distribuir e usar este trabalho para qualquer finalidade, sem pedir permissão.
Apoie o Maker comprando produtos através do Blueprint, onde ele ganha uma Comissão Maker definida pelos vendedores, ou crie uma nova versão deste Blueprint e inclua-o como conexão no seu próprio Blueprint para compartilhar receita.