ARTE
BELEZA E BEM-ESTAR
ARTESANATO
CULTURA E HISTÓRIA
ENTRETENIMENTO
MEIO AMBIENTE
COMIDA E BEBIDAS
ENGENHARIA REVERSA
CIÊNCIAS
ESPORTES
TECNOLOGIA
TECNOLOGIA VESTÍVEL
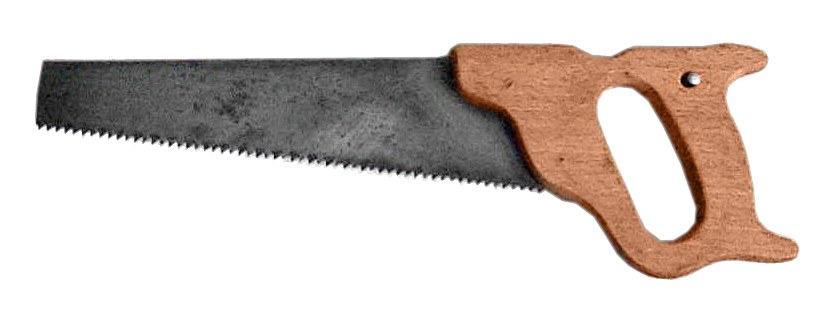


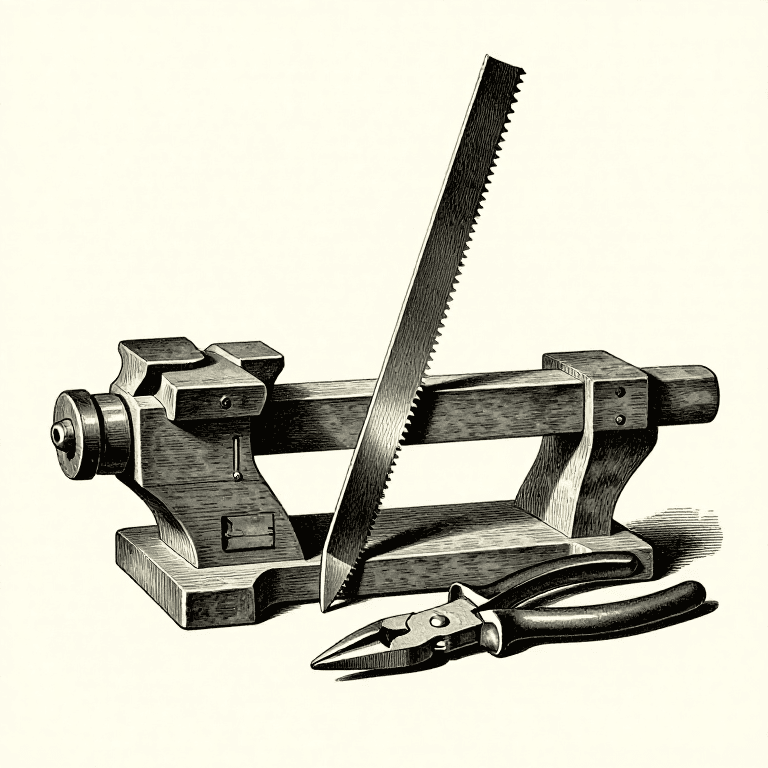
Hand Saw: Plate, Teeth, Temper and Handle
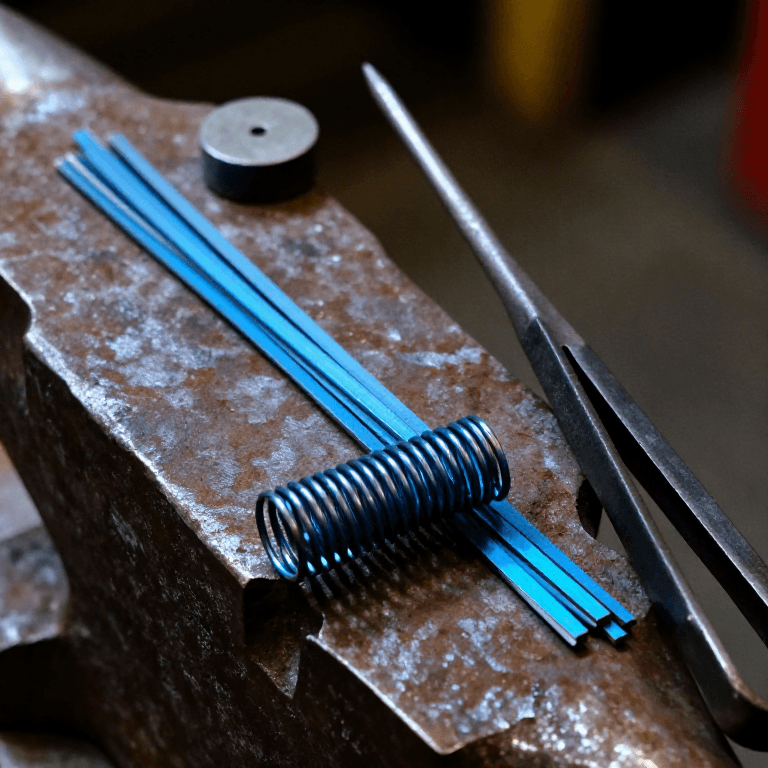
Hand saws were made like this in the saw works of the 1880s. Steel plate is sheared to the outline of the blade and the teeth are punched in a press. The toothed plate is heated to a light cherry red and plunged into a bath of oil, tallow, rosin and beeswax, which leaves it as brittle as glass; it is then flattened between heated dies until it reaches a blue, the colour of spring temper. After smithing and grinding, the teeth are set, bent alternately left and right, and filed sharp, and a wooden handle is riveted on. Today the plate is laser cut and the teeth are ground and flame hardened.
Avançado
Factory process (1880s)
Instruções
1
1
Cut the plate
Cut the plate
Shear the steel plate to the outline of the blade.
Materiais para este passo:
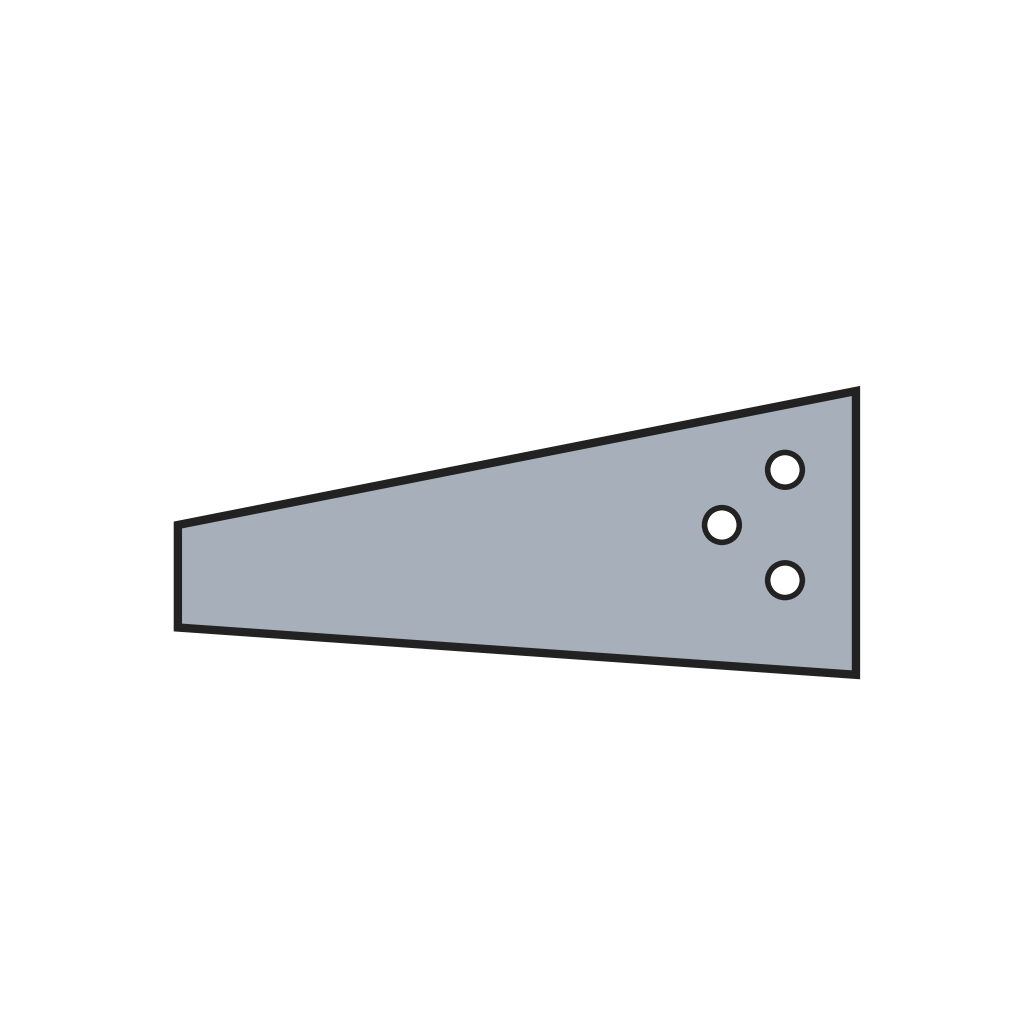 Chapa de aço para lâminas de serra1 peça
Ferramentas necessárias:
 Tesoura de chapa
2
2
Punch the teeth
Punch the teeth
Punch the teeth along the edge with a shaped die in a press.
Ferramentas necessárias:
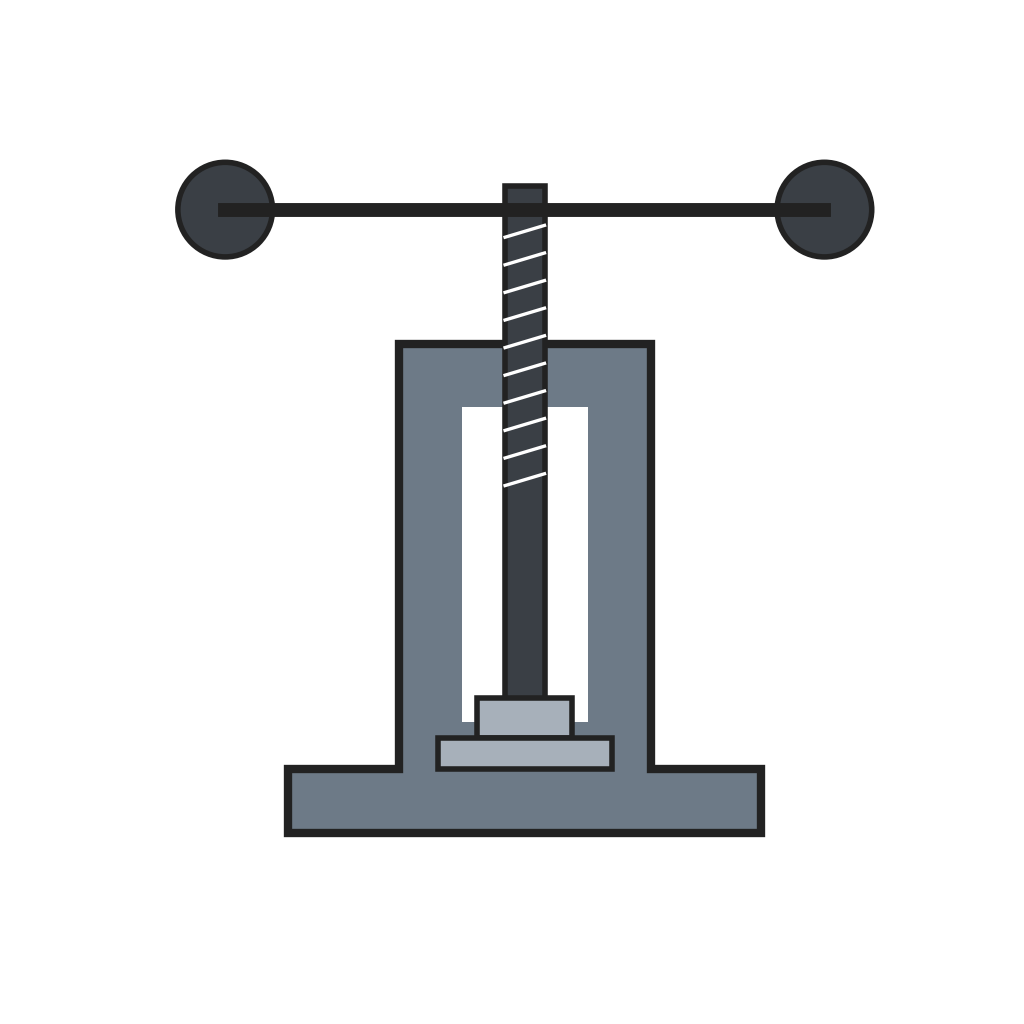 Prensa de puncionar dentes de serra
3
3
Harden
Harden
Heat the toothed plate to a light cherry red and plunge it into a bath of oil, tallow, rosin and beeswax. It comes out as brittle as glass and buckled.
Materiais para este passo:
 Gordura animal (sebo)1 kg
 Colofónia de pinheiro0.5 kg
 Cera de abelha0.5 kg
4
4
Flatten and temper
Flatten and temper
Clean off the scale and grease and press the plate flat between heated dies until it turns blue, the spring temper. Test it by bending: a good blade springs back straight.
Ferramentas necessárias:
 Matrizes de aplanar aquecidas
5
5
Smith and grind
Smith and grind
Hammer out any remaining unevenness on a stake, then grind the blade to its gauge on a grindstone.
Ferramentas necessárias:
 Mó de afiar
6
6
Set and sharpen
Set and sharpen
Set the teeth alternately left and right with a saw set, joint the points level with a file, and file each tooth sharp with a triangular file.
Ferramentas necessárias:
 Travador de serras
 Lima para metal
7
7
Fit the handle
Fit the handle
Shape a handle from beech and fix the blade in it with rivets.
Materiais para este passo:
 Madeira de faia1 peça
 Rebites para cabo de serra3 peças
Materiais
6- Referência
- Referência
- 0.5 kgReferência
- 0.5 kgReferência
- 1 peçaReferência
- 3 peçasReferência
Ferramentas necessárias
6- Referência
- Referência
- Referência
- Referência
- Referência
- Referência
Este projeto faz



Blueprints relacionados
Estes blueprints compartilham conhecimento — técnicas, materiais ou princípios
CC0 Domínio Público
Este blueprint é liberado sob CC0. Você é livre para copiar, modificar, distribuir e usar este trabalho para qualquer finalidade, sem pedir permissão.
Apoie o Maker comprando produtos através do Blueprint, onde ele ganha uma Comissão Maker definida pelos vendedores, ou crie uma nova versão deste Blueprint e inclua-o como conexão no seu próprio Blueprint para compartilhar receita.