
Making Charcoal — The First Chemical Process
Instruções
Understanding Pyrolysis
Understanding Pyrolysis
The Science
Charcoal is made by pyrolysis — heating wood in the absence of oxygen. Instead of burning (oxidation), the wood thermally decomposes:
- Below 100°C: Water evaporates from the wood
- 100-300°C: Volatile compounds (tars, methanol, acetic acid) are driven off as smoke
- 300-500°C: Cellulose and lignin break down into pure carbon
- Above 500°C: Remaining volatiles escape, carbon structure solidifies
The key insight: you need to heat the wood without letting it burn. Fire requires oxygen. By restricting airflow, you convert wood to carbon instead of ash.
Why Charcoal Matters
Wood fires max out at ~600°C. Charcoal with forced air (bellows) reaches 1100°C+. This temperature difference is the barrier between the Stone Age and the Metal Age:
| Metal | Melting Point | Achievable? |
|---|---|---|
| Lead | 327°C | Wood fire ✓ |
| Tin | 232°C | Wood fire ✓ |
| Copper | 1085°C | Charcoal + bellows ✓ |
| Bronze | ~950°C | Charcoal + bellows ✓ |
| Iron (smelting) | ~1250°C bloom | Charcoal + strong bellows ✓ |
Materiais para este passo:
 Carbon (Reference)1 referência
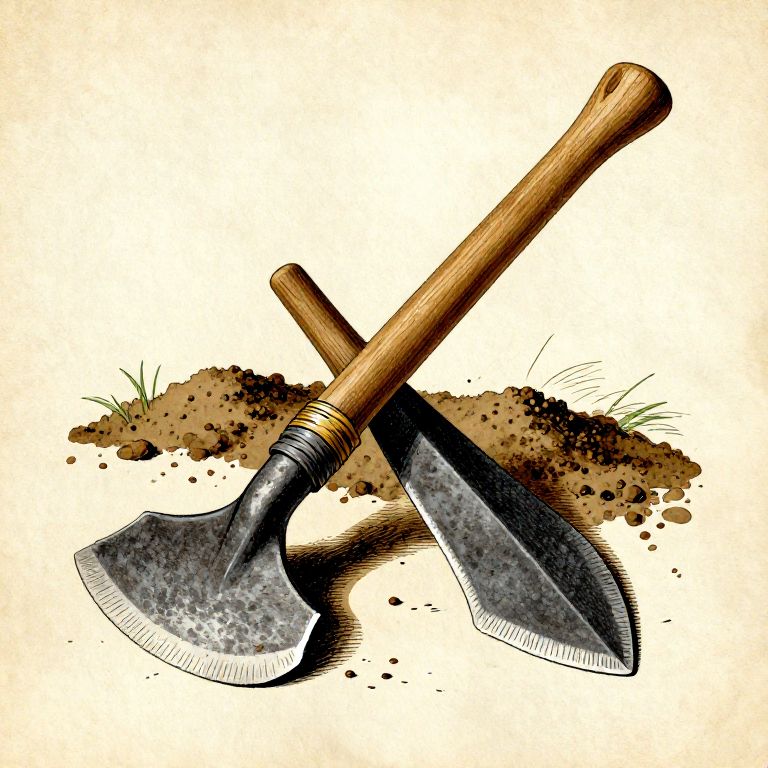
Ferramentas necessárias:
 Digging tool (stone or metal)
 Stone or metal axe
 Water source
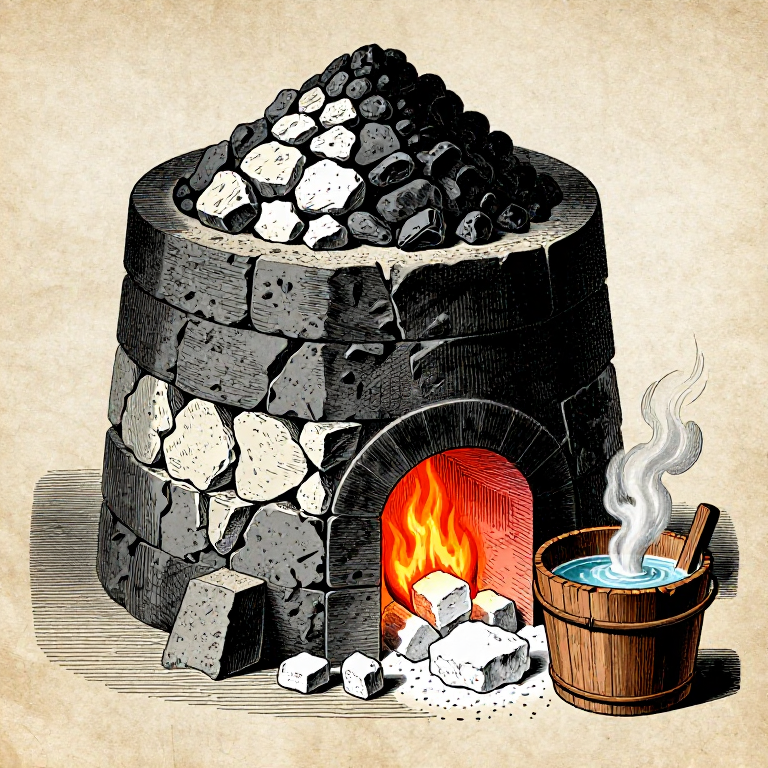
Preparing the Pit Kiln
Preparing the Pit Kiln
Site Selection
Choose a location that is:
- Flat and dry — water in the pit ruins the process
- Away from trees — sparks travel, especially in wind
- Sheltered from wind — wind introduces oxygen, converting charcoal to ash
- Near your wood supply — you'll be feeding this fire for hours
Digging the Pit
- Dig a pit 60cm deep × 60cm wide × 100cm long (adjust for your wood quantity)
- The sides should be straight and the bottom flat
- Keep the excavated earth nearby — you'll use it for sealing
- Dig a small air channel (10cm diameter) from one short end to the bottom of the pit, angled upward. This is your only oxygen inlet.
Preparing the Wood
- Split all wood to uniform thickness (8-12cm diameter). Uniform pieces carbonize evenly.
- The wood should be seasoned (dry) — green wood wastes energy evaporating water.
- Cut pieces to pit length so they stack neatly with minimal gaps.
Materiais para este passo:
 Dry leaves and kindling2 kg
 Hardwood (oak, maple, beech)20 kg
The Burn — Controlling Pyrolysis
The Burn — Controlling Pyrolysis
Loading and Lighting
- Place a layer of kindling and dry leaves at the bottom of the pit, near the air channel entrance.
- Stack the split wood tightly in the pit, leaving as few gaps as possible. Air gaps = ash, not charcoal.
- Light the kindling through the air channel. Let the fire establish for 15-20 minutes.
Sealing the Kiln
- Once flames are visible across the top of the wood, cover the pit with green branches or sheet metal.
- Seal the edges with clay/mud mixed with earth. The goal: near-zero oxygen flow.
- Leave the air channel partially open — you need some draw to maintain temperature.
- Within 30 minutes, the smoke should change from white (steam) → yellow (volatiles) → thin blue (nearly done).
The Critical Phase (4-8 hours)
Monitor the smoke color:
- Thick white smoke: Normal — water and volatiles escaping. Continue.
- Yellow/brown smoke: Tar compounds leaving. Good progress.
- Thin blue/transparent smoke: Carbonization nearly complete. Begin sealing the air channel.
- No smoke: Seal completely. Let cool for 12-24 hours minimum.
WARNING: Do NOT open the pit while hot. Introducing oxygen to hot charcoal causes instant ignition — you'll lose the entire batch to ash.
Materiais para este passo:
 Clay or mud5 kgDry leaves and kindling2 kg
Harvesting and Quality Assessment
Harvesting and Quality Assessment
Opening the Pit
- Wait until the pit is cool to the touch (12-24 hours after sealing).
- Carefully remove the clay/earth seal and covering.
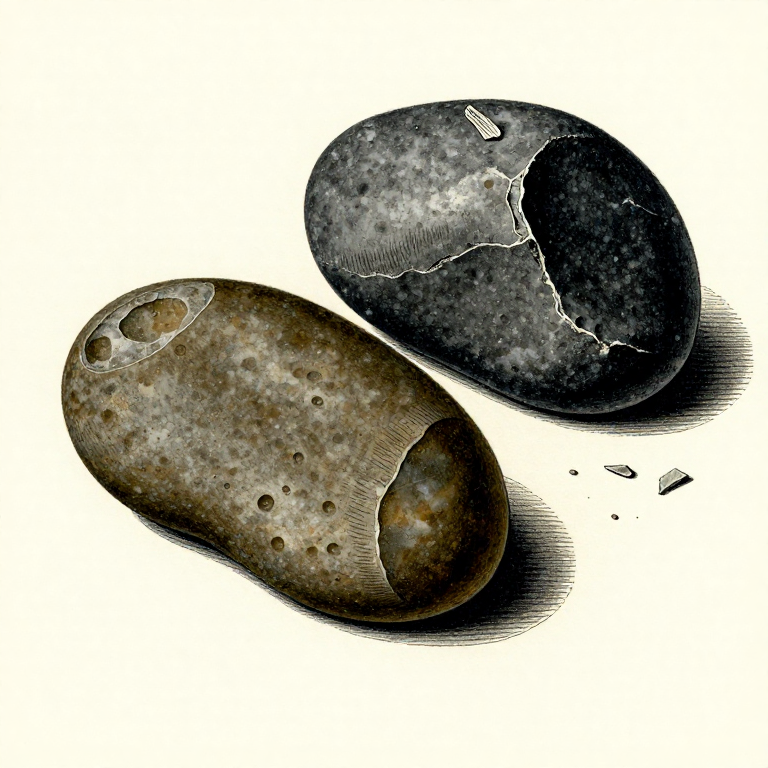
- Extract the charcoal — it should be black, lightweight, and ring like metal when struck together.
Quality Indicators
| Quality | Appearance | Sound | Use |
|---|---|---|---|
| Excellent | Black, shiny, retains wood grain | Metallic ring | Smelting copper/iron |
| Good | Black, matte | Dull ring | General forge fuel |
| Partial | Brown/black spots | Thud | Re-burn, or use for filtering |
| Failed | Brown, heavy, still wood-like | Thud | Not charcoal — insufficient heat/time |
Yield
Expect 20-25% yield by weight (20kg wood → 4-5kg charcoal). Volume reduces by ~50%. This is normal — you've driven off all water and volatile compounds, leaving pure carbon.
Storage
Store charcoal dry in sealed containers. Charcoal absorbs moisture from air, reducing its effectiveness. Properly stored charcoal lasts indefinitely — archaeologists find functional charcoal in 5,000-year-old sites.
What's Next?
With charcoal in hand, you can now achieve temperatures above 1000°C. The next step is building a kiln to contain and direct that heat — see Blueprint: Building a Clay Kiln.
Materiais para este passo:
Clay or mud5 kgDry leaves and kindling2 kgCarbon (Reference)1 referênciaMateriais
4- Referência
- Referência
Related blueprints
Other builds that share materials, tools, or techniques with this one.
CC0 Domínio Público
Este blueprint é liberado sob CC0. Você é livre para copiar, modificar, distribuir e usar este trabalho para qualquer finalidade, sem pedir permissão.
Apoie o Maker comprando produtos através do Blueprint, onde ele ganha uma Comissão Maker definida pelos vendedores, ou crie uma nova versão deste Blueprint e inclua-o como conexão no seu próprio Blueprint para compartilhar receita.