Panning for Gold — Finding Native Metal
Instruções
The Physics of Gold Panning
The Physics of Gold Panning
Why Gold Sinks
Gold panning is a gravity separation technique. It works because gold is absurdly dense:
| Material | Density (g/cm³) |
|---|---|
| Sand (quartz) | 2.65 |
| Iron pyrite ("fool's gold") | 5.01 |
| Black sand (magnetite) | 5.18 |
| Lead | 11.34 |
| Gold | 19.30 |
Gold is 7.3× denser than sand. When you agitate a pan of mixed sediment in water, gravity pulls gold to the bottom while lighter materials wash over the rim. No chemistry needed — pure physics.
Where Gold Accumulates
Water transports gold downstream from its source (veins in quartz rock). Gold settles where water slows:
- Inside bends of rivers (slower water = deposition)
- Behind large boulders (eddy zones)
- Bedrock cracks (gold drops into crevices and stays)
- Below waterfalls (plunge pools concentrate heavy material)
Materiais para este passo:
 Gold Pan1 pc
 Gold Panning Kit1 kit
 Gold (Reference)1 referência
Ferramentas necessárias:
 Classifier/sieve (1/4 inch)
 Snuffer bottle or tweezers
 Glass vial
Collecting and Classifying Material
Collecting and Classifying Material
Sampling
- Dig material from bedrock level — gold works its way down through gravel over time. Surface gravel is mostly barren.
- Fill your classifier (sieve) with the excavated material and place it over your pan.
- Pour water through the classifier — fine material falls into the pan, large rocks stay in the classifier.
- Check the large rocks for visible gold before discarding. Gold sometimes lodges in rock crevices.
Quantity
Fill the pan ¾ full with classified material. Too full and you'll lose gold over the rim. Too little wastes time.
Materiais para este passo:
Gold Pan1 pcGold (Reference)1 referênciaGold Panning Kit1 kitThe Panning Technique
The Panning Technique
Step-by-Step Panning
- Submerge: Hold the pan underwater and break up any clay lumps with your fingers. Gold trapped in clay won't separate.
- Shake: While submerged, shake the pan vigorously side-to-side (NOT circular). This stratifies the material — heavy gold sinks, light sand rises.
- Tilt and wash: Tilt the pan slightly away from you. Gently swirl water across the surface, washing the lightest sand over the rim.
- Re-shake: Every 3-4 washes, level the pan and shake again to re-stratify.
- Reduce: Continue the wash-shake cycle until only heavy concentrates remain — black sand (magnetite) and hopefully gold.
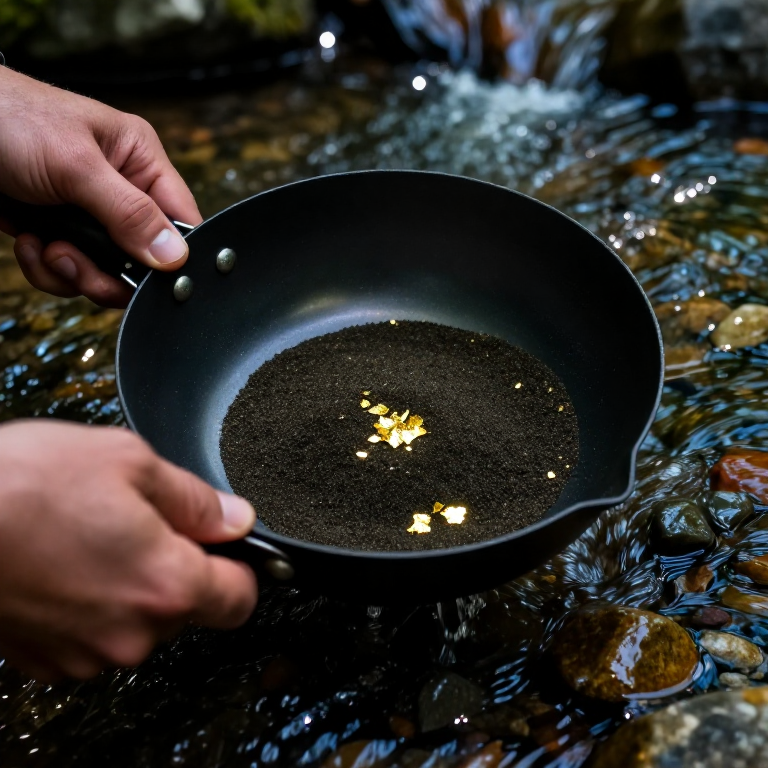
- Final check: Swirl a thin film of water across the remaining black sand. Gold appears as bright yellow flakes or specks against the dark background.
Common Mistakes
- Circular motion: Creates a vortex that lifts gold OUT of the pan. Always shake side-to-side.
- Rushing: Patience is everything. A proper pan takes 10-15 minutes.
- Shallow water: Always work with the pan submerged. Surface panning loses fine gold.
Materiais para este passo:
Gold Pan1 pcGold Panning Kit1 kitGold (Reference)1 referênciaRecovery and Assessment
Recovery and Assessment
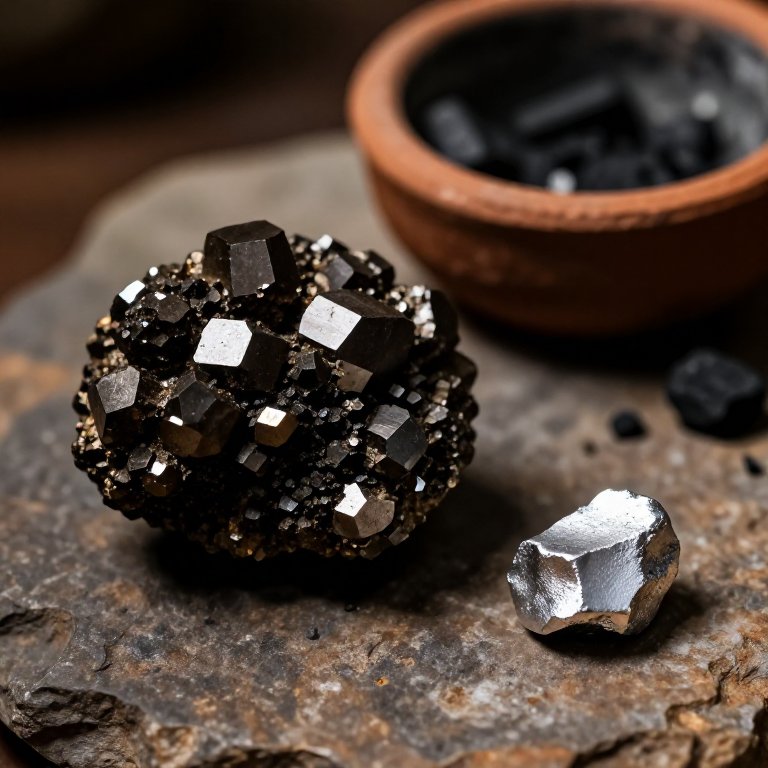
Identifying Real Gold
| Test | Gold | Fool's Gold (Pyrite) |
|---|---|---|
| Color | Bright yellow, same in shade/sun | Brassy, sparkling only in direct light |
| Shape | Rounded, flattened flakes (water-worn) | Angular, cubic crystals |
| Hardness | Soft — bends with fingernail | Hard — scratches metal |
| Streak | Yellow streak on ceramic | Black/green streak |
| Density | Stays at bottom through heavy agitation | Washes away with sand |
Recovery
Use a snuffer bottle (squeeze, touch to gold flake, release — suction picks it up) or wet tweezers. Transfer to a glass vial with a small amount of water.
Innovation Connection
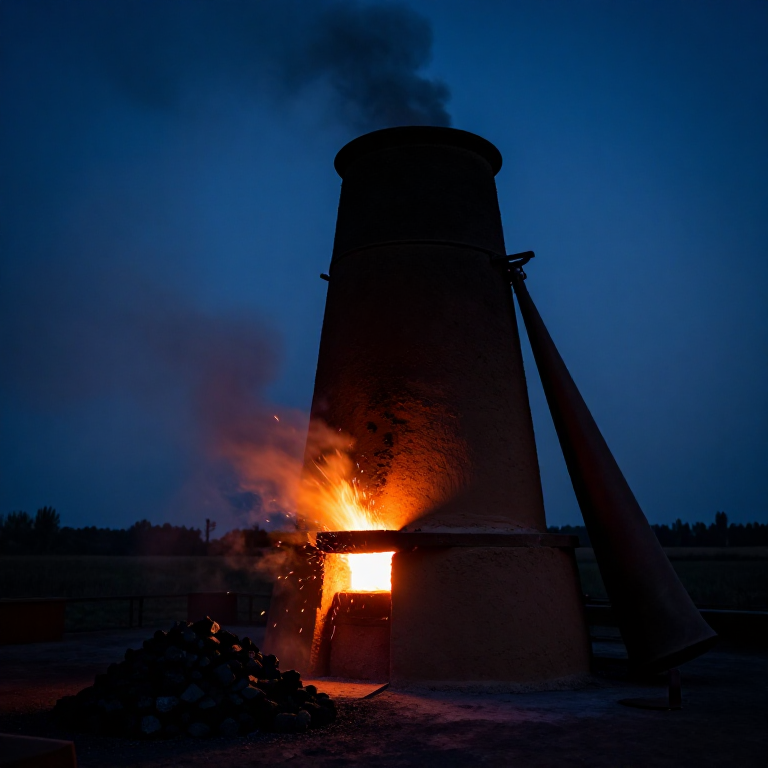
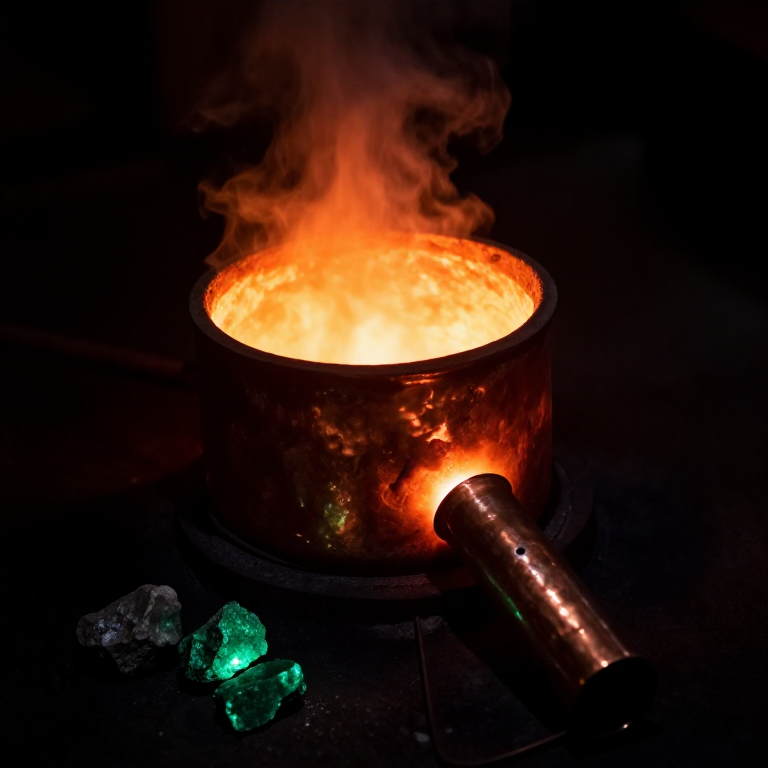
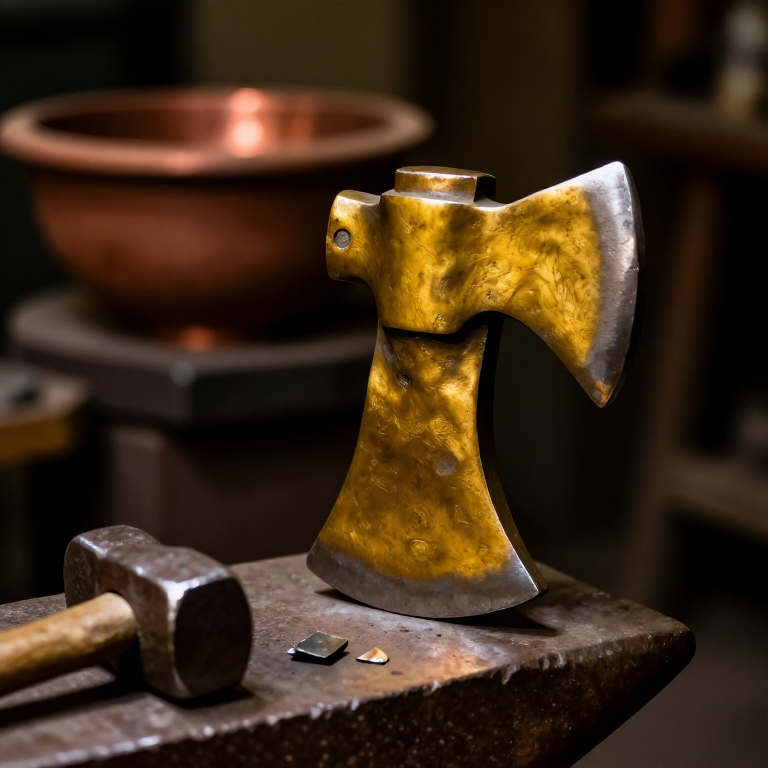
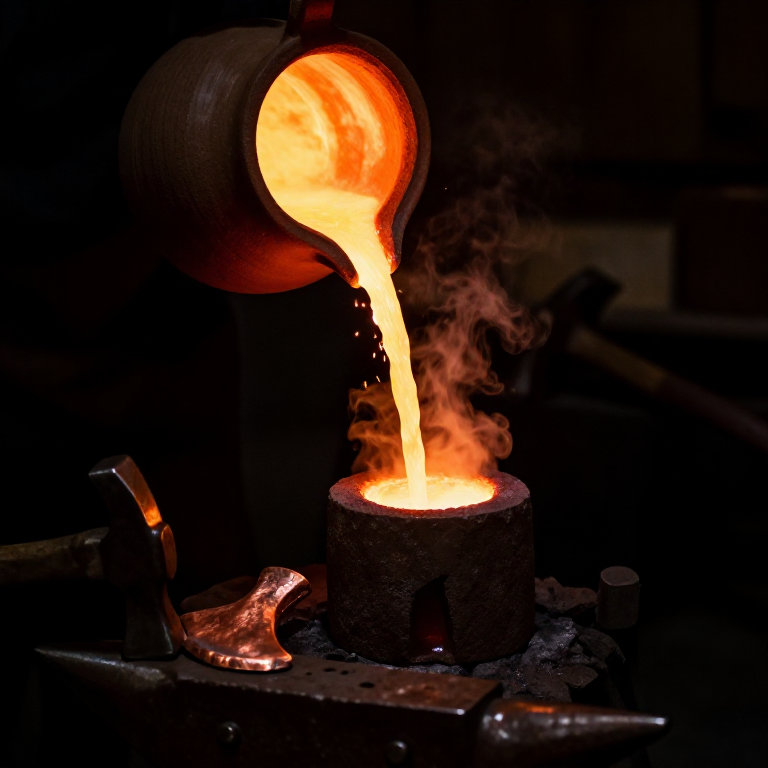
Gold panning shows that native metals exist — metals that occur pure in nature. This discovery (probably accidental) planted the seed: "if this shiny stuff comes from rocks, what else is hiding in rocks?" The answer required fire — and that leads to Blueprint: Smelting Copper from Malachite.
Materiais para este passo:
Gold Pan1 pcGold Panning Kit1 kitGold (Reference)1 referênciaMateriais
3- 1 kitReferência
Ferramentas necessárias
3- Referência
- Referência
- Referência
Related blueprints
Other builds that share materials, tools, or techniques with this one.
CC0 Domínio Público
Este blueprint é liberado sob CC0. Você é livre para copiar, modificar, distribuir e usar este trabalho para qualquer finalidade, sem pedir permissão.
Apoie o Maker comprando produtos através do Blueprint, onde ele ganha uma Comissão Maker definida pelos vendedores, ou crie uma nova versão deste Blueprint e inclua-o como conexão no seu próprio Blueprint para compartilhar receita.