

Gauge Blocks
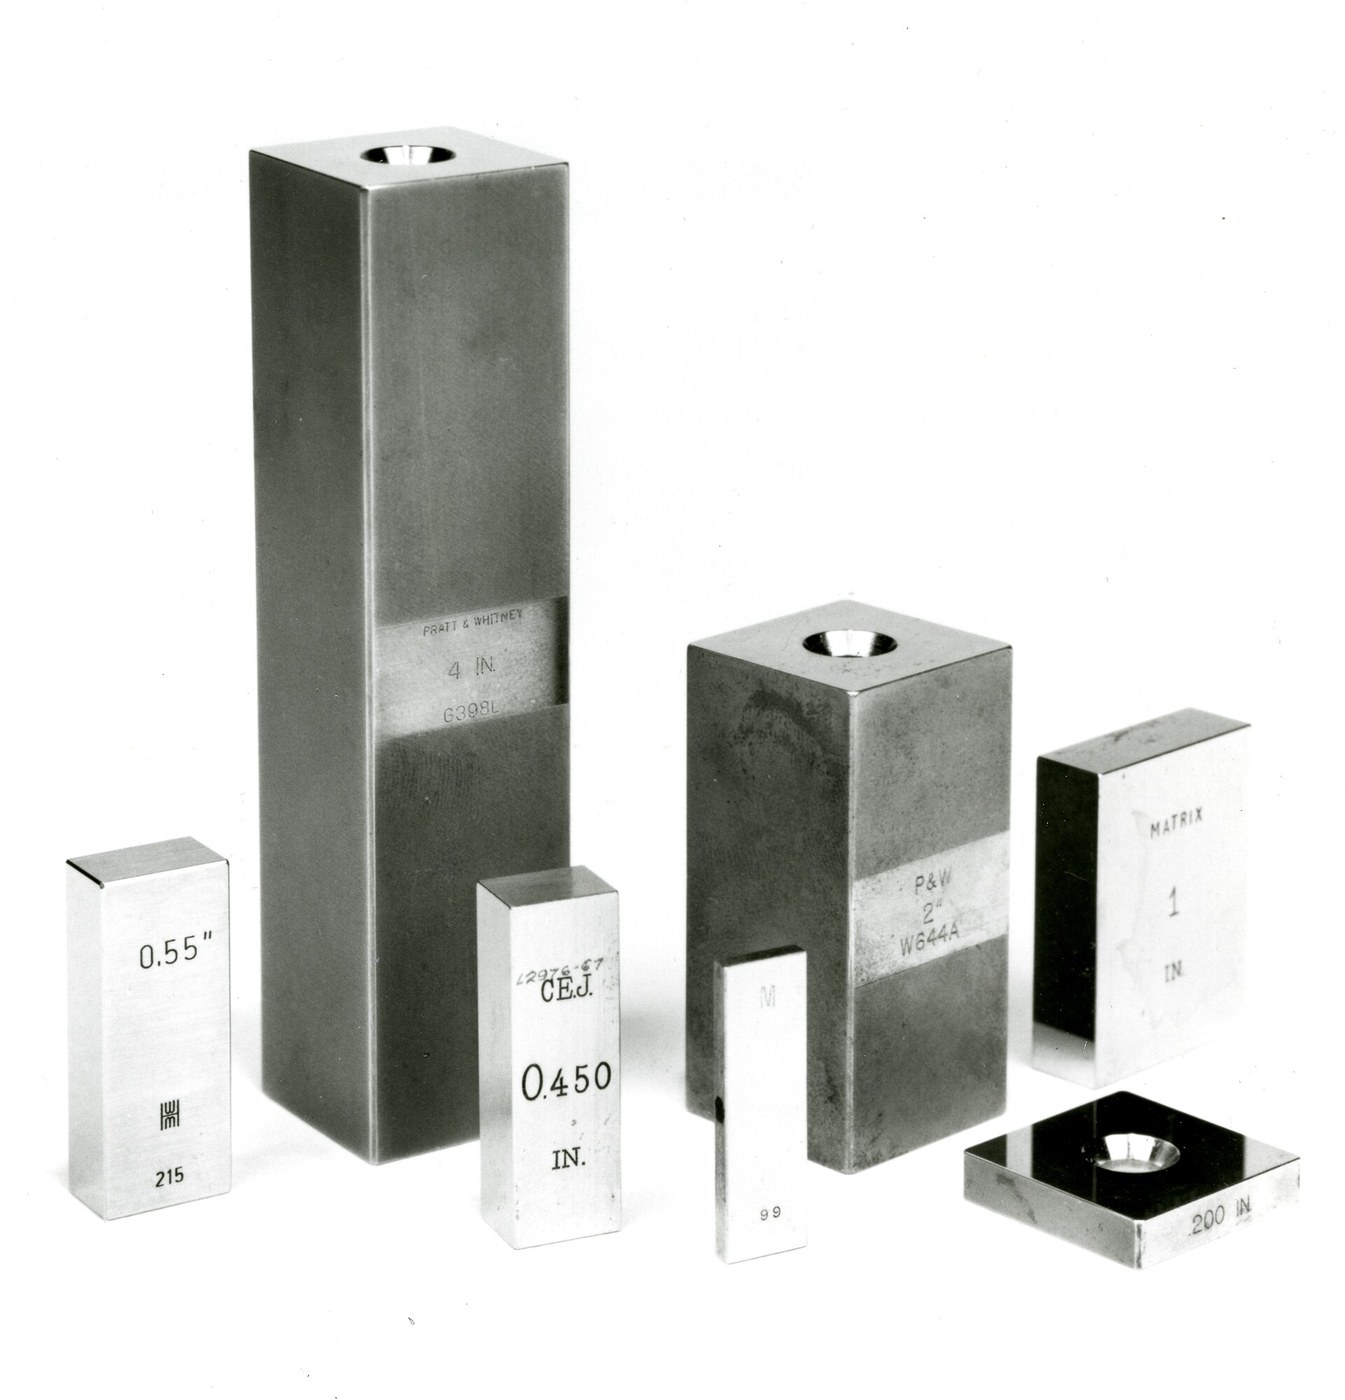
Every instrument so far has been compared against something better. Gauge blocks are where that chain stops: they are not instruments that measure a length, they are hardened steel pieces that are a length.
Swedish patent no. 17,017, Carl Edvard Johansson of Eskilstuna — a set of blocks so sized that a small number of them combine to make any dimension over a wide range. Johansson's first set held 102 pieces and could build any size from 1 mm to 201 mm in 0.01 mm steps.
The blocks hold together by wringing: press two lapped faces together with a slight twist and they adhere strongly enough to hang from one another. That is not magnetism and not vacuum — it is how flat two surfaces can be made.
Instruções
Read the claim before you build
Read the claim before you build
Johansson claims a combination set: not one block per size, but few blocks that stack to many sizes. Write down why that distinction is economic as well as technical.
Count what one-block-per-size would cost
Count what one-block-per-size would cost
1 mm to 201 mm in 0.01 mm steps is 20,001 separate blocks. Write that number down. Now you know why a combination set had to be invented.
Materiais para este passo:
 Papel milimétrico1 folha
Design your own combination set
Design your own combination set
Using only 1, 2, 2, 5 you can make every whole number to 10. Work out how, on paper. This is Johansson's arithmetic in miniature.
Materiais para este passo:
Papel milimétrico1 folhaBuild the set from feeler leaves
Build the set from feeler leaves
Lay out the feeler gauge leaves and record every thickness available. This is your gauge block set.
Materiais para este passo:
Papel milimétrico1 folhaFerramentas necessárias:
 Jogo de apalpa-folgas
Stack to a target
Stack to a target
Pick a target such as 0.35 mm and combine leaves to reach it. Note which combination you chose.
Ferramentas necessárias:
Jogo de apalpa-folgasMeasure the stack
Measure the stack
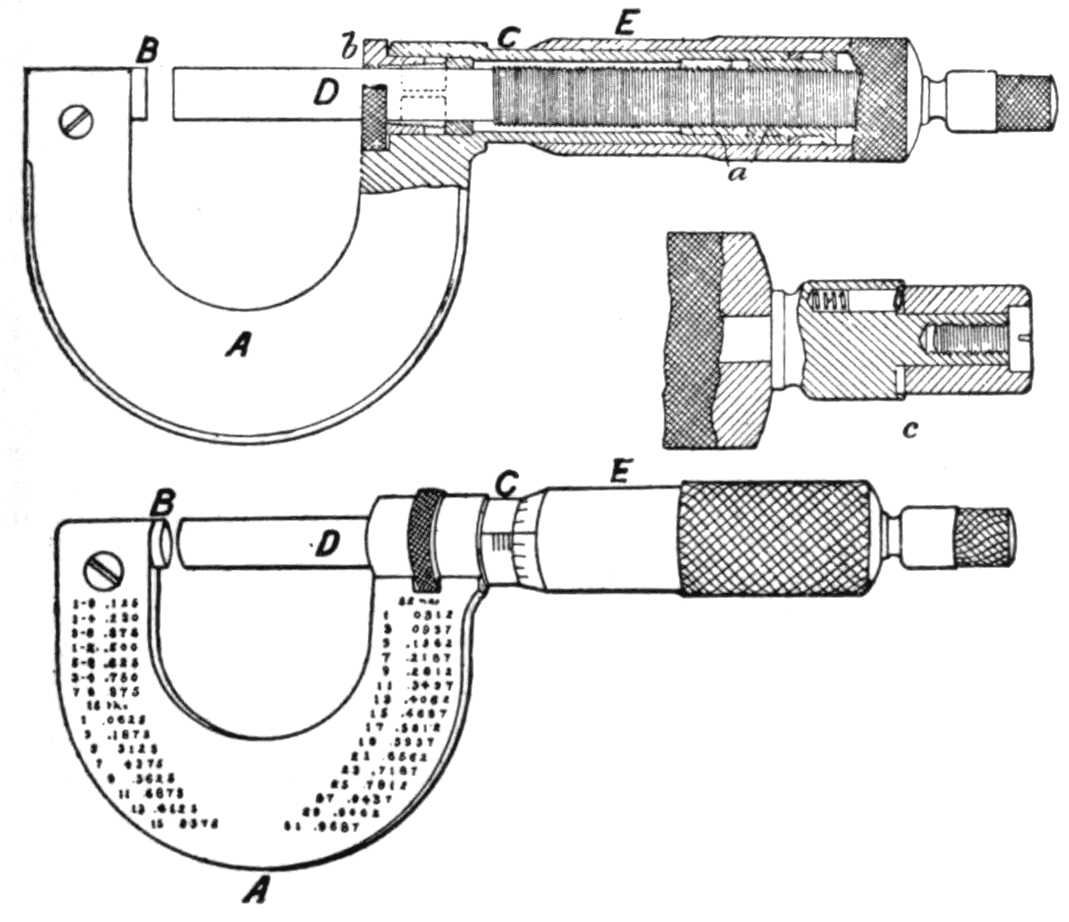
Measure your stack with the micrometer. Compare against the sum of the marked values.
Ferramentas necessárias:
Jogo de apalpa-folgas Micrómetro
Watch the errors add up
Watch the errors add up
Stack four leaves and compare with the sum. Errors accumulate — which is exactly why Johansson's blocks had to be individually accurate to far better than the tolerance being held.
Materiais para este passo:
Papel milimétrico1 folhaFerramentas necessárias:
Jogo de apalpa-folgasMicrómetroTry to wring two leaves
Try to wring two leaves
Clean two leaves, press and twist. They cling a little. Real gauge blocks cling hard — the difference is surface finish, not material.
Ferramentas necessárias:
Jogo de apalpa-folgasTest the flatness of your surfaces
Test the flatness of your surfaces
Lay a leaf on the surface plate and try to slide a thinner leaf under it. Any gap is unflatness.
Ferramentas necessárias:
Jogo de apalpa-folgas Mesa de traçagem
Set the caliper from the stack
Set the caliper from the stack
Set the vernier caliper to your stack, then use it to check a part. You have transferred a standard, which is what blocks are for.
Ferramentas necessárias:
Jogo de apalpa-folgas Paquímetro
Calibrate the micrometer
Calibrate the micrometer
Close the micrometer on a known leaf and see whether it reads true. The blocks check the instrument, never the reverse.
Ferramentas necessárias:
MicrómetroJogo de apalpa-folgasWarm a leaf in your hand
Warm a leaf in your hand
Hold a leaf for two minutes, then measure. Steel expands about 11 micrometres per metre per degree. At this accuracy your body heat is an error.
Ferramentas necessárias:
Jogo de apalpa-folgasMicrómetroBuild a go/no-go pair
Build a go/no-go pair
Choose two stacks bracketing a target size. A part that accepts one and rejects the other is in tolerance — judged with no reading at all.
Ferramentas necessárias:
Jogo de apalpa-folgasHistory & Context
History & Context
Swedish patent no. 17,017, Carl Edvard Johansson of Eskilstuna.
An honest note on the date. Sources conflict. Several, including Wikipedia, give Johansson's first Swedish patent as granted 2 May 1901. The Directory of American Tool and Machinery Patents records SE 17,017 as issued 30 January 1904. Both cite the same number. The likeliest reconciliation is an 1901 application and a 1904 grant, but this blueprint will not assert a filing date it cannot verify. What is not in doubt: the number, the inventor, and that the work was done at the turn of the century while Johansson was a rifle inspector at the Carl Gustaf works.
How it started. Johansson was inspecting Mauser rifles and found the arsenal needed an unmanageable pile of individual gauges. The combination-set idea reduced that pile to a box. He is said to have worked out the first sets on his kitchen table.
What wringing actually is. Not vacuum — wrung blocks hold in a vacuum chamber. The accepted explanation is a combination of molecular attraction between extremely flat surfaces and surface tension in the microscopically thin film of oil or water left on them. It works only because the faces are lapped flat to within a few millionths.
Where they went. Ford bought Johansson's American company in 1923 and gave him a laboratory in Dearborn, where he stayed twelve years. ‘Jo blocks’ became the reference against which the rest of the workshop was checked, and the principle is unchanged today — every micrometer in every shop is ultimately traceable through blocks like these to a national standard.
Materiais de Blueprints conectados

Blueprints relacionados
Estes blueprints compartilham conhecimento — técnicas, materiais ou princípios

CC0 Domínio Público
Este blueprint é liberado sob CC0. Você é livre para copiar, modificar, distribuir e usar este trabalho para qualquer finalidade, sem pedir permissão.
Apoie o Maker comprando produtos através do Blueprint, onde ele ganha uma Comissão Maker definida pelos vendedores, ou crie uma nova versão deste Blueprint e inclua-o como conexão no seu próprio Blueprint para compartilhar receita.