ARTE
BELEZA E BEM-ESTAR
ARTESANATO
CULTURA E HISTÓRIA
ENTRETENIMENTO
MEIO AMBIENTE
COMIDA E BEBIDAS
ENGENHARIA REVERSA
CIÊNCIAS
ESPORTES
TECNOLOGIA
TECNOLOGIA VESTÍVEL
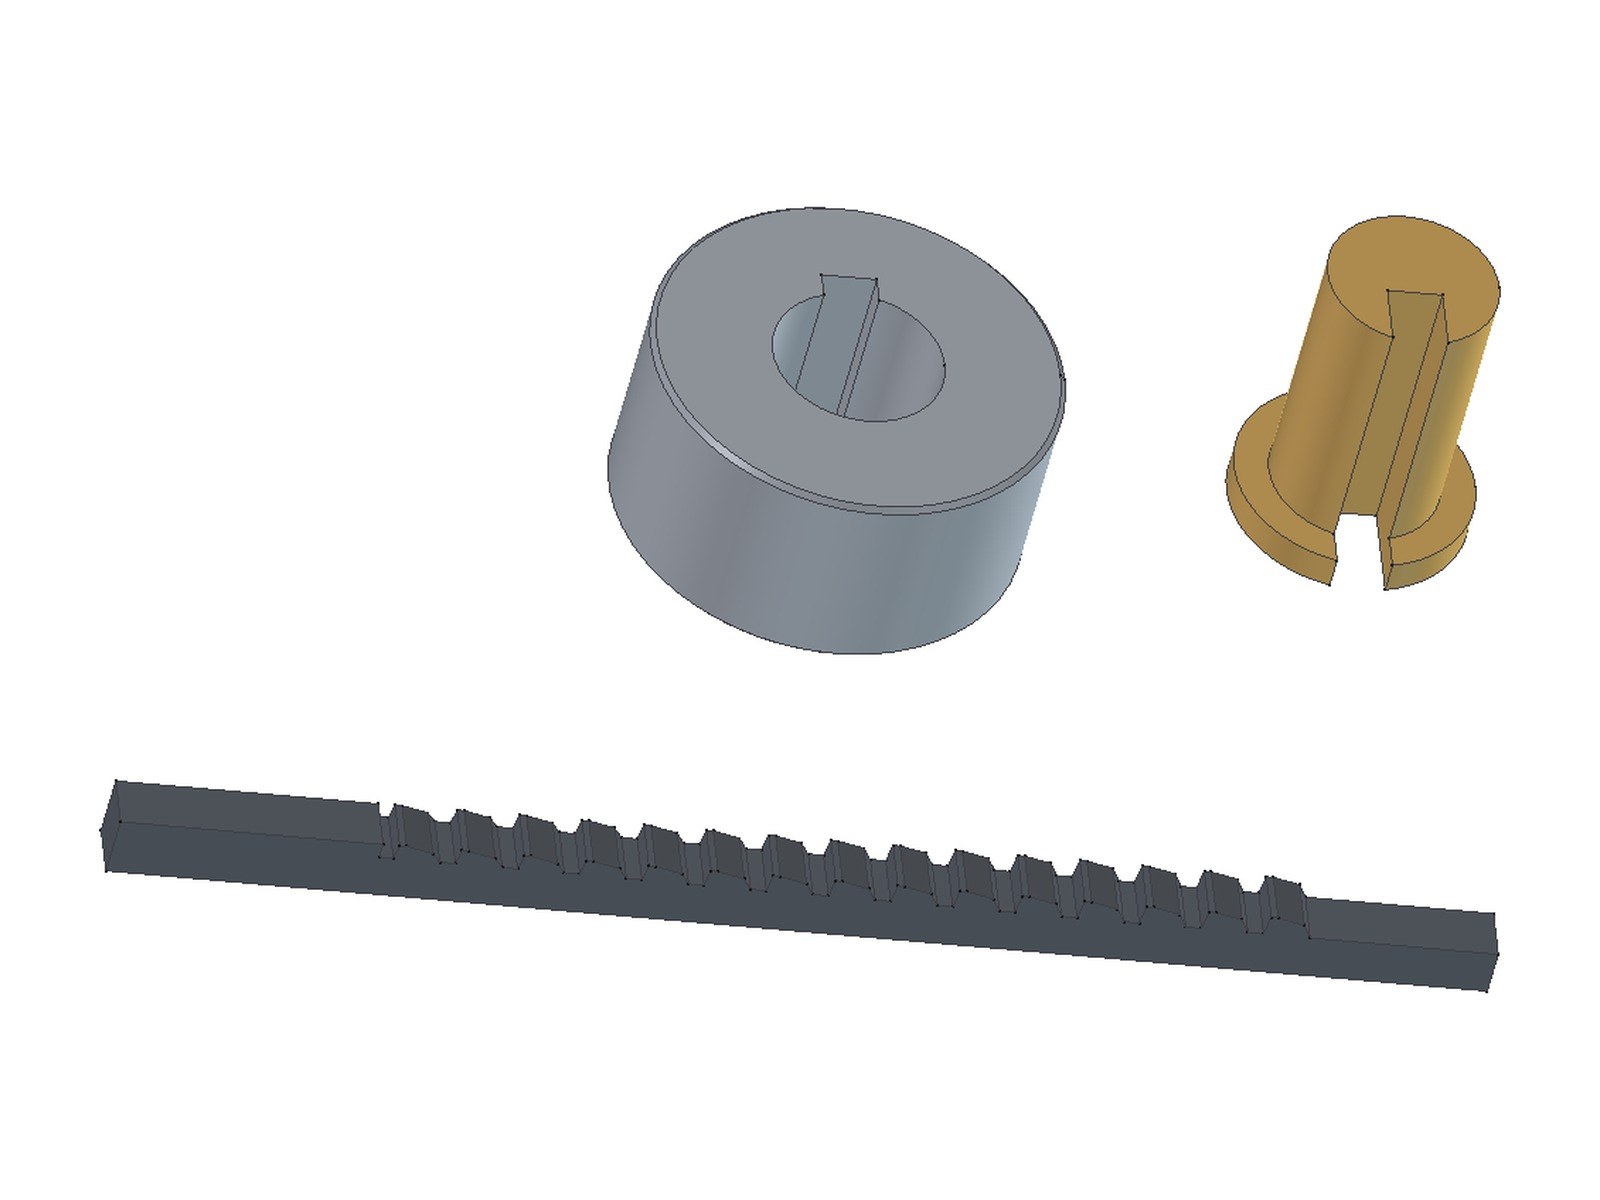


Keyway Broaching: Tooth Pitch, Rise per Tooth, Rake and Clearance by Metal and Hardness, Pushing Force
Cut a keyway in a bore with a keyway broach in an arbor press, and work out the broach criteria for your metal: tooth pitch and teeth in contact, rise per tooth and the number of teeth, rake and clearance by material and hardness, and the pushing force. Rules from Machinery's Handbook (1924), Hammond (1921), the US Navy and Metcut (1980).
Intermediário
About 1 hour per part
Instruções
1
1
How a keyway broach cuts
How a keyway broach cuts
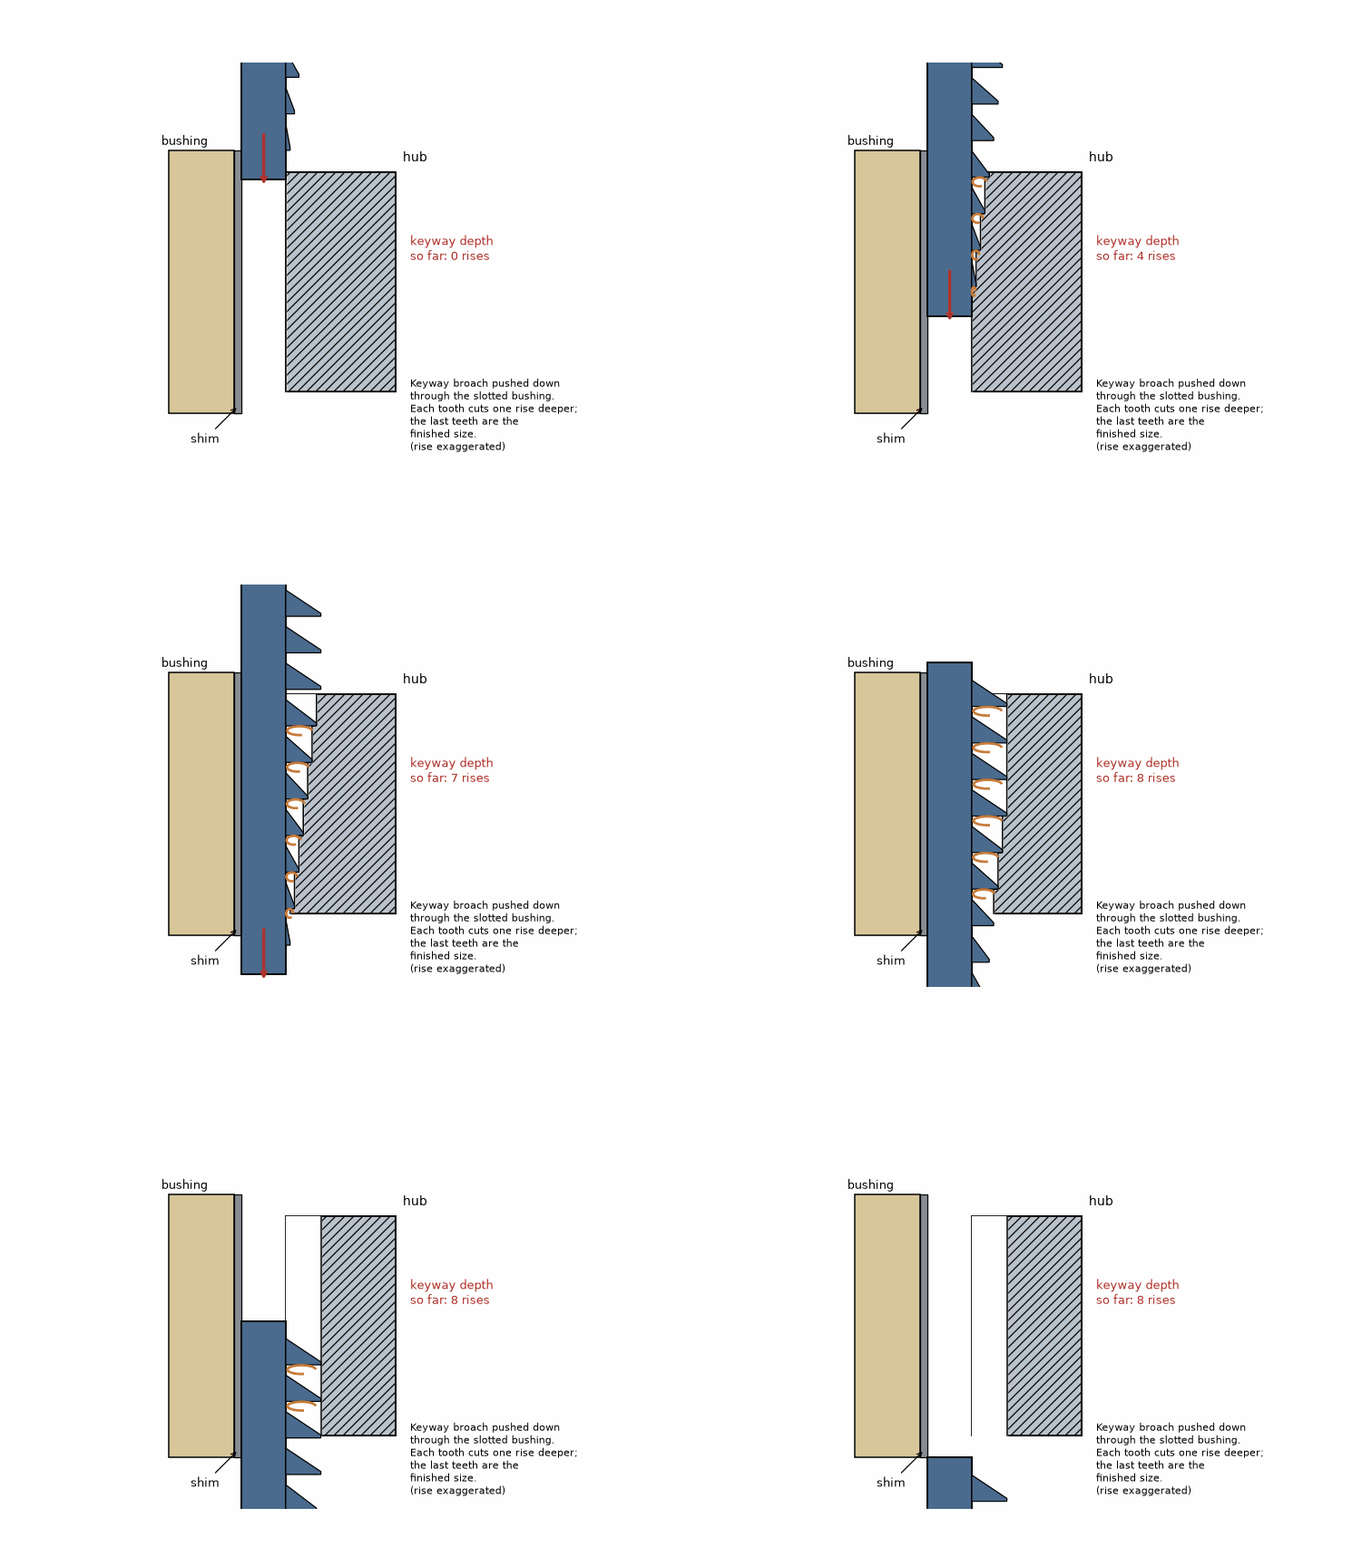
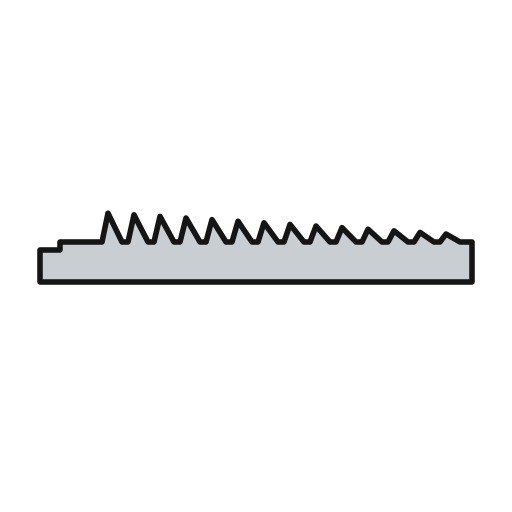
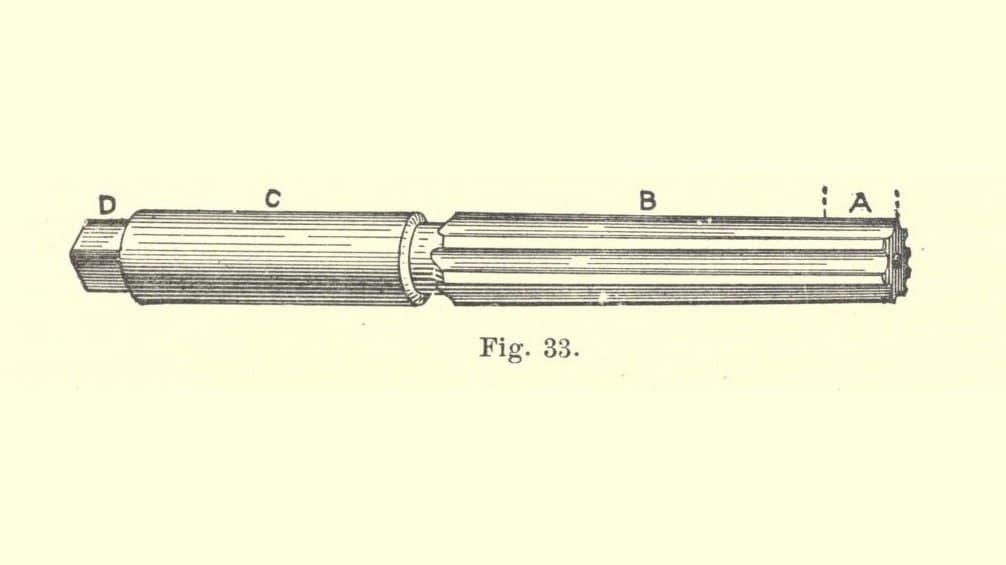
The broach slides through a slotted bushing in the bore. Each tooth stands a little higher than the one before (the rise), so each takes a thin chip and the keyway deepens tooth by tooth; the last teeth are the finished size and only clean up. Shims behind the broach set the depth for the next pass. Our animation; the rise is exaggerated.
2
2
Tooth pitch and teeth in contact
Tooth pitch and teeth in contact
A carregar o notebook Jupyter…
3
3
Rise per tooth by metal
Rise per tooth by metal
A carregar o notebook Jupyter…
4
4
Rake and clearance by hardness
Rake and clearance by hardness
A carregar o notebook Jupyter…
5
5
Pushing force (estimate)
Pushing force (estimate)
A carregar o notebook Jupyter…
6
6
Check the work hardness
Check the work hardness
Test the hub. Metcut's angles are by Brinell. For steel Hammond wants scleroscope 32-40: softer tears, harder "will rapidly destroy the broaches". He gives no Brinell or Rockwell figure; convert with a standard table (ASTM E140) if you test in Rockwell.
Ferramentas necessárias:
 Durómetro Rockwell
7
7
Bore and bushing
Bore and bushing
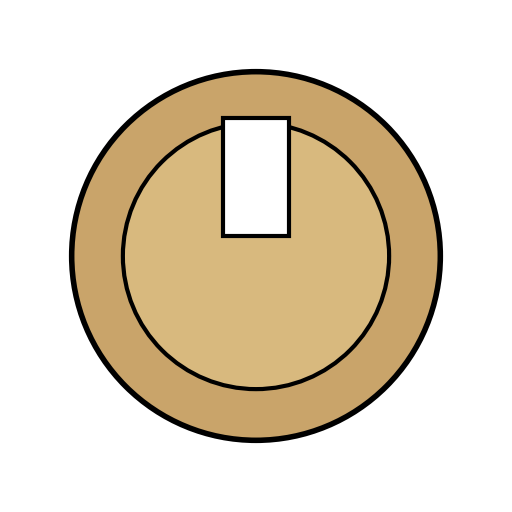
The bore must be to size: the broach's pilot should enter freely but not let the broach drop past the first tooth. Fit the bushing snug in the bore, slot where the keyway goes.
Materiais para este passo:
 Cubo em bruto mandrilado1 peça
Ferramentas necessárias:
 Bucha-guia para brocha de escatel
 Paquímetro
8
8
Set up in the press
Set up in the press
Set hub, bushing and broach square under the arbor press, rigid and true. Oil the broach: broaching oil is best; lard or soluble oil will help.
Ferramentas necessárias:
 Prensa de bancada
 Brocha para escatel
 Óleo de corte
9
9
Push it through
Push it through
Push with slow, even pressure. Never bring the broach back up through the hole: push it on through and catch it on a soft cushion.
Ferramentas necessárias:
Prensa de bancada Pano de algodão
10
10
Shim and repeat
Shim and repeat
Put the next shim behind the broach to set the next depth, oil, and push through again. Repeat until the keyway is deep enough.
Ferramentas necessárias:
 Calço para brochaÓleo de corte
11
11
Measure the keyway
Measure the keyway
Check the width and the depth from the opposite side of the bore.
Ferramentas necessárias:
Paquímetro Micrómetro
12
12
Troubleshooting
Troubleshooting
Broaching problems and fixes.
Flow
Loading...
13
13
Sources and honest limits
Sources and honest limits
*Machinery's Handbook* 6th ed. (1924) pp. 1135-1137 (first printed in Jones, *Broaching*, 1914); Hammond, *Broaching Practice* (1921) pp. 6, 7, 44; US Navy, *Machinery Repairman 3 & 2* (1990) p. 3-24; Metcut, *Machining Data Handbook* 3rd ed. (1980) Table 15.16 and pp. 17-8 to 17-20, © Metcut, cited. Not in any source we could read: cutting speed by hardness (Hammond gives 5-6 ft/min for 1921 carbon-steel broaches) and a Brinell or Rockwell limit. The force formula is our derivation. Ours: the animation, the example sizes.
Materiais
1- 1 peçaReferência
Ferramentas necessárias
9- Referência
- Referência
- Referência
- Referência
- Referência
- Referência
- Referência
- Referência
- Referência
Este projeto faz
Blueprints relacionados
Estes blueprints compartilham conhecimento — técnicas, materiais ou princípios
CC0 Domínio Público
Este blueprint é liberado sob CC0. Você é livre para copiar, modificar, distribuir e usar este trabalho para qualquer finalidade, sem pedir permissão.
Apoie o Maker comprando produtos através do Blueprint, onde ele ganha uma Comissão Maker definida pelos vendedores, ou crie uma nova versão deste Blueprint e inclua-o como conexão no seu próprio Blueprint para compartilhar receita.