ARTE
BELEZA E BEM-ESTAR
ARTESANATO
CULTURA E HISTÓRIA
ENTRETENIMENTO
MEIO AMBIENTE
COMIDA E BEBIDAS
ENGENHARIA REVERSA
CIÊNCIAS
ESPORTES
TECNOLOGIA
TECNOLOGIA VESTÍVEL
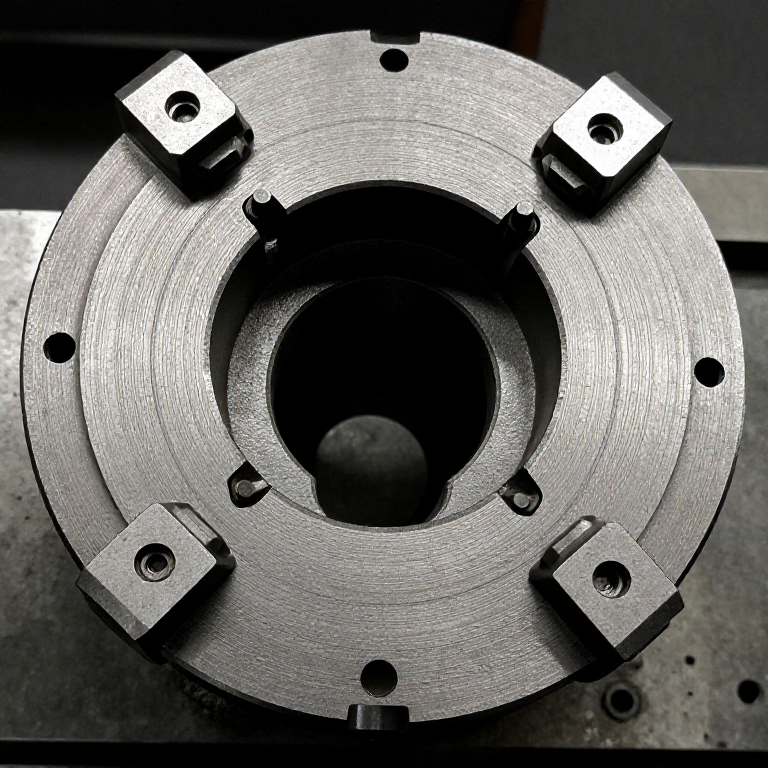


Workholding on the Lathe: Three Jaws, Four Jaws, and Which to Reach For
Before a lathe can cut anything accurately it has to hold the work in a known place, and every accuracy problem that follows is really a holding problem wearing a disguise. Work that runs out by a tenth of a millimetre cannot be turned to a hundredth, no matter how carefully the cut is taken.
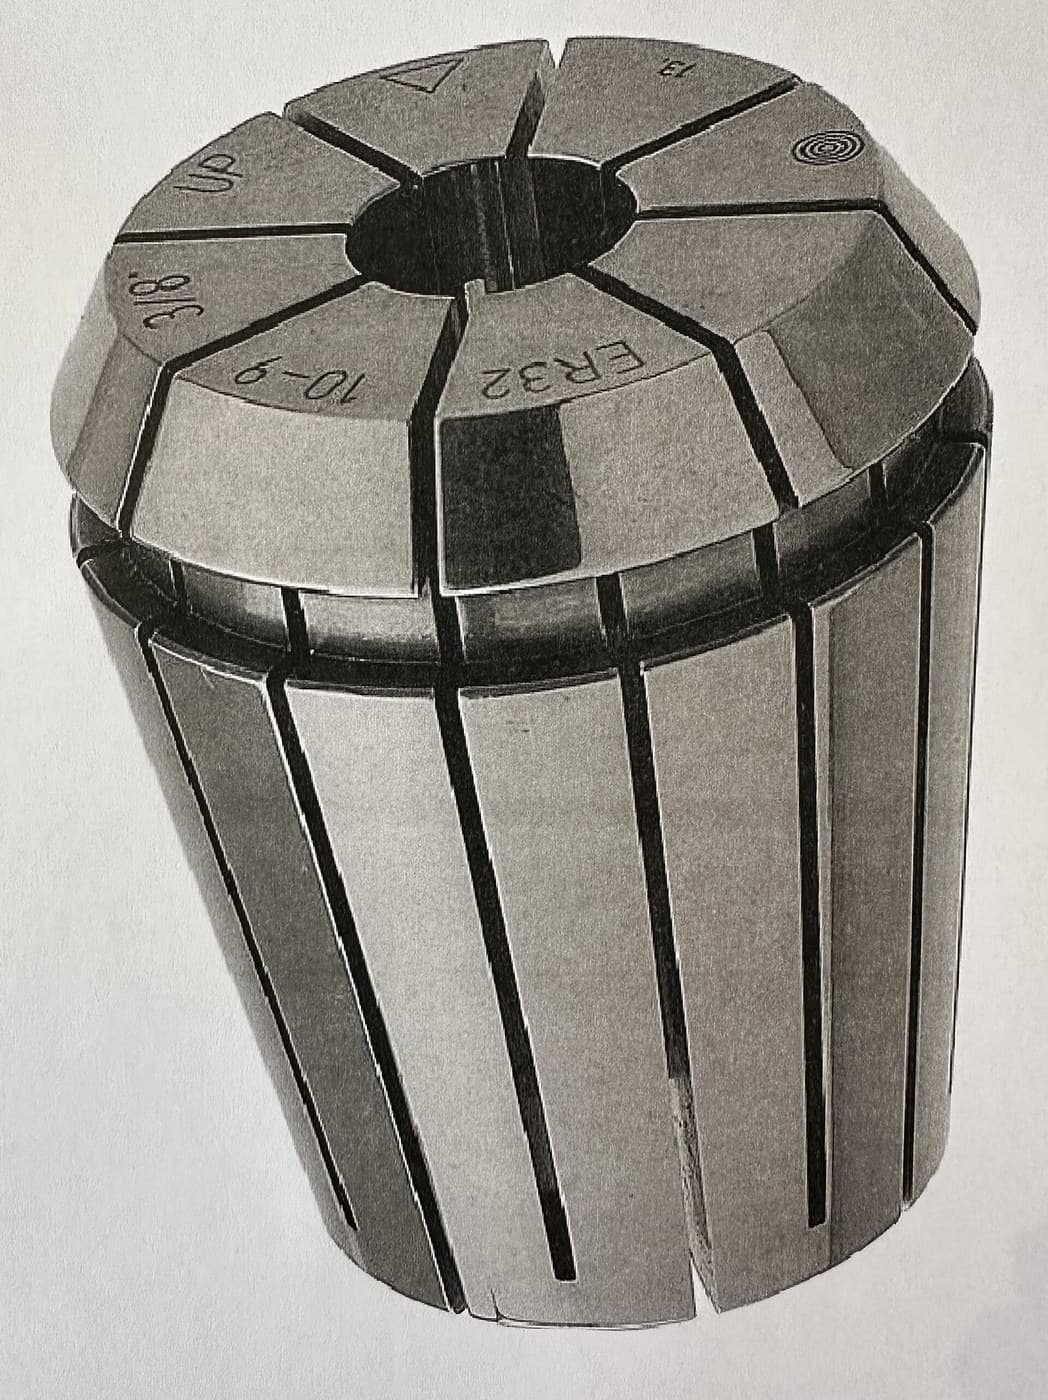
There are only a few ways to hold round work, and they trade speed against truth. A three-jaw chuck grips in one movement and is never quite concentric. A four-jaw is adjusted one jaw at a time, takes minutes, and can be dialled truer than most people can measure. Collets are truer still and only fit one size each.
Knowing which to reach for is most of the skill, and it is decided by the tolerance on the drawing rather than by preference.
Iniciante
3 hours
Instruções
1
1
Find out what your three-jaw actually does
Find out what your three-jaw actually does
Grip a piece of ground round bar in the three-jaw, put a dial indicator against it near the jaws, and turn the spindle by hand through a full revolution. Note the total swing of the needle. Then move the indicator out to the far end of the bar and do it again.
The first number is the chuck's own runout. A serviceable three-jaw is somewhere around 0.05 mm; a worn or knocked one can be several times that. The second number is usually worse, because any tilt in the grip is amplified along the length.
Write both on a card and keep it by the machine. This is not a fault to be fixed, it is the specification of the tool you own — and it tells you, before you start, which jobs this chuck can and cannot do.
Materiais para este passo:
 Barra redonda de aço macio1 peça
Ferramentas necessárias:
 Torno mecânico
 Placa de torno de 3 castanhas
 Comparador de quadrante
2
2
The rule that decides which chuck
The rule that decides which chuck
If the work will be finished in ONE setting — gripped once, everything cut, then removed — the three-jaw's runout does not matter. Everything you cut is concentric with everything else you cut, because they all share the same spinning axis, wherever that axis happens to be.
The moment the work comes OUT and goes back in, that stops being true. A part turned, removed, and re-gripped is now off by the chuck's runout, and a second diameter cut after that will not be concentric with the first.
So: one setting, three-jaw. Re-gripping to a tolerance, four-jaw or a collet. That single distinction explains almost every workholding decision on a lathe, and beginners lose more accuracy to ignoring it than to any cutting fault.
Ferramentas necessárias:
Placa de torno de 3 castanhas Bucha de torno - de 4 grampos independentes
3
3
Dial in a four-jaw
Dial in a four-jaw
Set the work roughly central using the concentric rings scribed on the chuck face, then bring a dial indicator against it. Turn the spindle slowly by hand and find the HIGH point.
Slacken the jaw opposite the high point by about half the indicated error, then tighten the jaw at the high point by the same amount. Work the opposing PAIR, never one jaw alone — one jaw alone just pushes the work across and you will chase it round the chuck all afternoon.
Repeat, halving the error each time. Three or four passes gets you under 0.01 mm, which is finer than the three-jaw can ever be. It takes a few minutes, and those minutes are what buy a part that can be taken out and put back.
Materiais para este passo:
Barra redonda de aço macio1 peçaFerramentas necessárias:
Torno mecânicoBucha de torno - de 4 grampos independentesComparador de quadrante4
4
Stick-out is a cantilever, and it bends
Stick-out is a cantilever, and it bends
Grip a length of bar with only 20 mm protruding and take a light cut. Then pull it out to 100 mm and take the same cut. Measure both.
The long one will be bigger than you asked for, and tapered — larger at the free end. The cutting force pushes the work away from the tool, and an unsupported bar is a cantilever whose deflection rises with the CUBE of its length. Double the stick-out and you get roughly eight times the spring.
Hence the standing rule: grip short, and support anything longer than about three diameters with a centre or a steady. That is not conservatism — it is the only way the numbers work, and step 4 of the between-centres rung shows why.
Materiais para este passo:
Barra redonda de aço macio1 peçaFerramentas necessárias:
Torno mecânicoPlaca de torno de 3 castanhas Micrómetro
 Conjunto de ferramentas de torno (HSS)
5
5
Protect the work and never leave the key in
Protect the work and never leave the key in
Put soft packing — aluminium or copper shim, or purpose-made soft jaws — between hard jaws and any finished surface. Jaw serrations will print themselves into a turned diameter and the marks do not polish out.
Remove the chuck key the instant you have used it, every single time, without exception. A key left in a chuck is thrown across the workshop at starting speed and it is the classic lathe injury. Make it a reflex: the hand that tightens is the hand that removes.
Check the work is gripped on a real length of jaw, not on the very tips. Tip-gripping holds badly, bells the jaws over time, and lets the work climb out under a heavy cut.
Materiais para este passo:
 Barra chata de alumínio1 peça
Ferramentas necessárias:
Placa de torno de 3 castanhas Óculos de segurança
Materiais
2- Referência
- 1 peçaReferência
Ferramentas necessárias
7- Referência
- Referência
- Referência
- Referência
- Referência
- Referência
Blueprints relacionados
Estes blueprints compartilham conhecimento — técnicas, materiais ou princípios




CC0 Domínio Público
Este blueprint é liberado sob CC0. Você é livre para copiar, modificar, distribuir e usar este trabalho para qualquer finalidade, sem pedir permissão.
Apoie o Maker comprando produtos através do Blueprint, onde ele ganha uma Comissão Maker definida pelos vendedores, ou crie uma nova versão deste Blueprint e inclua-o como conexão no seu próprio Blueprint para compartilhar receita.