Colaboração
ARTE
BELEZA E BEM-ESTAR
ARTESANATO
CULTURA E HISTÓRIA
ENTRETENIMENTO
MEIO AMBIENTE
COMIDA E BEBIDAS
ENGENHARIA REVERSA
CIÊNCIAS
ESPORTES
TECNOLOGIA
TECNOLOGIA VESTÍVEL
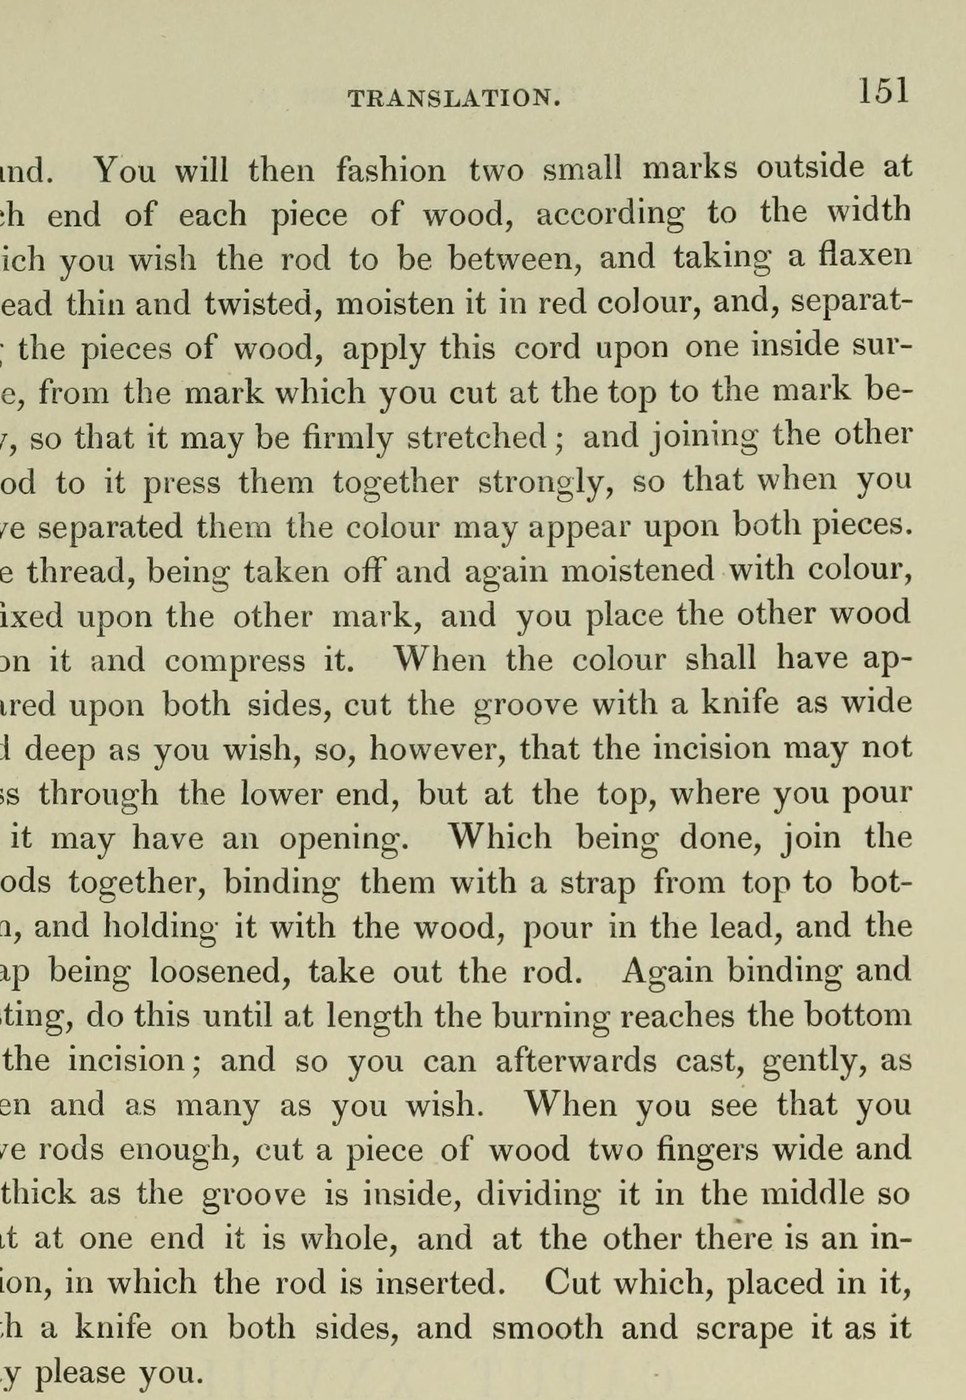


Lead Came: Window Rods Cast in a Split Wooden Mould (Theophilus, tr. Hendrie 1847)
Theophilus' way to cast window leads without an iron mould: a stick of fir is split, a groove marked with a red-dyed flax thread and cut along both halves, the halves bound with a strap and the lead poured in again and again until the hot lead has burnt the groove to the bottom.
Each rod is then trimmed in a slotted wooden gauge, cut with a knife on both sides and scraped smooth.
Source: Theophilus, De Diversis Artibus, Book II, ch. XXVI, tr. R. Hendrie (1847), pp. 149-151. Picture: p. 151.
Intermediário
Unknown
Instruções
1
1
Split and mark the wood
Split and mark the wood
Take fir or another wood that splits smoothly, the size of the iron mould (a yard long, two fingers broad, a finger thick). Split it and round the outside. Mark each end of both pieces for the width of the rod. Stretch a thin twisted flax thread wet with red colour from mark to mark on one inner face and press the other piece against it, so the line shows on both; do the same for the second line.
Ferramentas necessárias:
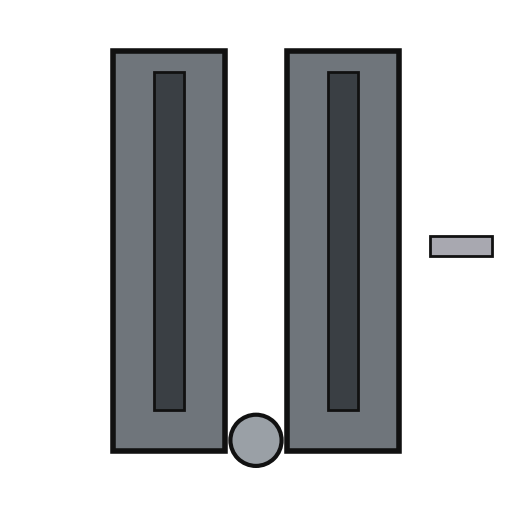 Molde de calhas de chumbo
 Fio de linho
 X-ato (faca de precisão)
2
2
Cut the groove
Cut the groove
Cut the groove between the lines with a knife, as wide and deep as you wish, but not through the lower end; leave an opening at the top for pouring.
Ferramentas necessárias:
X-ato (faca de precisão)Molde de calhas de chumbo3
3
Cast the rods
Cast the rods
Melt the lead as for the iron mould. Bind the two halves together with a strap from top to bottom, hold the mould with a wooden holder and pour in the lead; loosen the strap and take out the rod. Bind and cast again until the burning reaches the bottom of the groove; after that you can cast gently as many as you wish.
Materiais para este passo:
 Lingote de chumbo1 pure lead
Ferramentas necessárias:
Molde de calhas de chumbo Correia de couro
 Panela de barro
 Carvão vegetal
 Concha de servir
4
4
Trim the rods
Trim the rods
Cut a piece of wood two fingers wide and as thick as the inside of the groove, split in the middle at one end so the rod fits into the slit. With the rod in it, cut it with a knife on both sides, then smooth and scrape it as you like.
Ferramentas necessárias:
X-ato (faca de precisão)Materiais
1- 1 pure leadReferência
Ferramentas necessárias
7- Referência
- Referência
- Referência
- Referência
- Referência
- Referência
- Referência
Materiais de Blueprints conectados

Este projeto faz

CC0 Domínio Público
Este blueprint é liberado sob CC0. Você é livre para copiar, modificar, distribuir e usar este trabalho para qualquer finalidade, sem pedir permissão.
Apoie o Maker comprando produtos através do Blueprint, onde ele ganha uma Comissão Maker definida pelos vendedores, ou crie uma nova versão deste Blueprint e inclua-o como conexão no seu próprio Blueprint para compartilhar receita.