ARTE
BELEZA E BEM-ESTAR
ARTESANATO
CULTURA E HISTÓRIA
ENTRETENIMENTO
MEIO AMBIENTE
COMIDA E BEBIDAS
ENGENHARIA REVERSA
CIÊNCIAS
ESPORTES
TECNOLOGIA
TECNOLOGIA VESTÍVEL



Marking Knife: One Piece of Tool Steel, Skewed Single Bevel
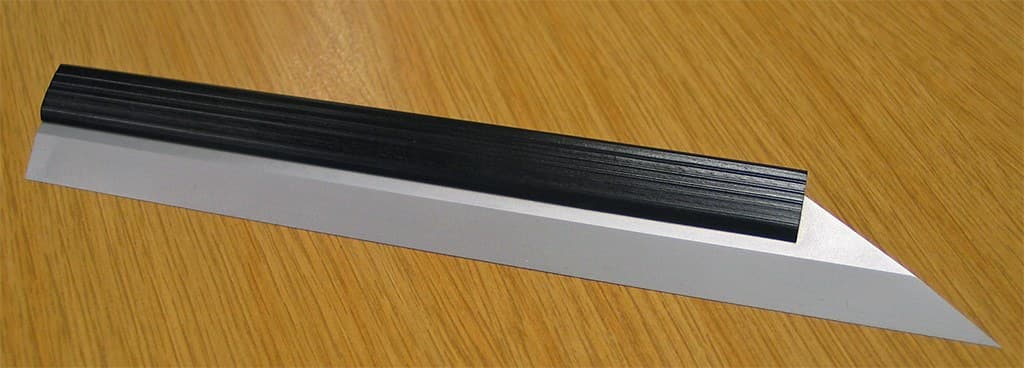
A marking knife cuts a fine line across the grain, held like a pencil against a straightedge or square. The simplest is one piece of tool steel with a skewed end bevelled on one side only, like the Japanese shirabiki; the flat side runs against the square. Forge the strip, grind the skew, harden and hone.
The picture: a shirabiki, a one-piece marking knife with a skewed single-bevel end.
Iniciante
Half a day
Instruções
1
1
Forge the strip
Forge the strip
Draw tool steel to a flat strip about 16 mm wide, 3 mm thick and 18 cm long (our size). Straighten it and file both faces flat.
Materiais para este passo:
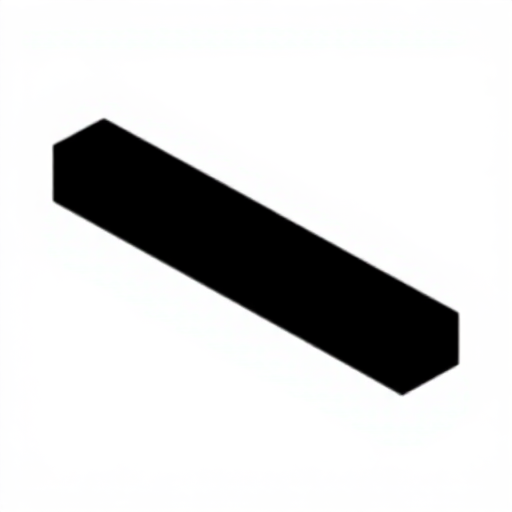 Barra chata de aço para ferramentas1 peça
 Carvão vegetal1 as required
Ferramentas necessárias:
 Forja de ferreiro
 Bigorna
 Martelo de pena transversal
 Tenazes de ferreiro
 Lima para metal
 Torno de bancada
2
2
Grind the skew
Grind the skew
Grind the end square across, then at a skew of about 40° (ours), and grind a bevel on one face only. Bevel on the right face for a right-handed knife, on the left for a left-handed one.
Ferramentas necessárias:
 Mó de afiar
3
3
Harden and temper
Harden and temper
Heat the end to cherry red, quench in water, polish, and temper to a straw colour.
Materiais para este passo:
 Água10 litros
Ferramentas necessárias:
Forja de ferreiro Balde de têmperaTenazes de ferreiro
4
4
Hone
Hone
Hone the bevel, then lap the flat side dead flat on the stone so it runs true against the square.
Ferramentas necessárias:
 Pedra de amolar de grão 1000
5
5
The skew
The skew
A carregar o notebook Jupyter…
Materiais
3- Referência
- 1 as requiredReferência
- 10 litrosReferência
Ferramentas necessárias
9- Referência
- Referência
- Referência
- Referência
- Referência
- Referência
- Referência
- Referência
- Referência
Este projeto faz
Blueprints relacionados
Estes blueprints compartilham conhecimento — técnicas, materiais ou princípios
CC0 Domínio Público
Este blueprint é liberado sob CC0. Você é livre para copiar, modificar, distribuir e usar este trabalho para qualquer finalidade, sem pedir permissão.
Apoie o Maker comprando produtos através do Blueprint, onde ele ganha uma Comissão Maker definida pelos vendedores, ou crie uma nova versão deste Blueprint e inclua-o como conexão no seu próprio Blueprint para compartilhar receita.