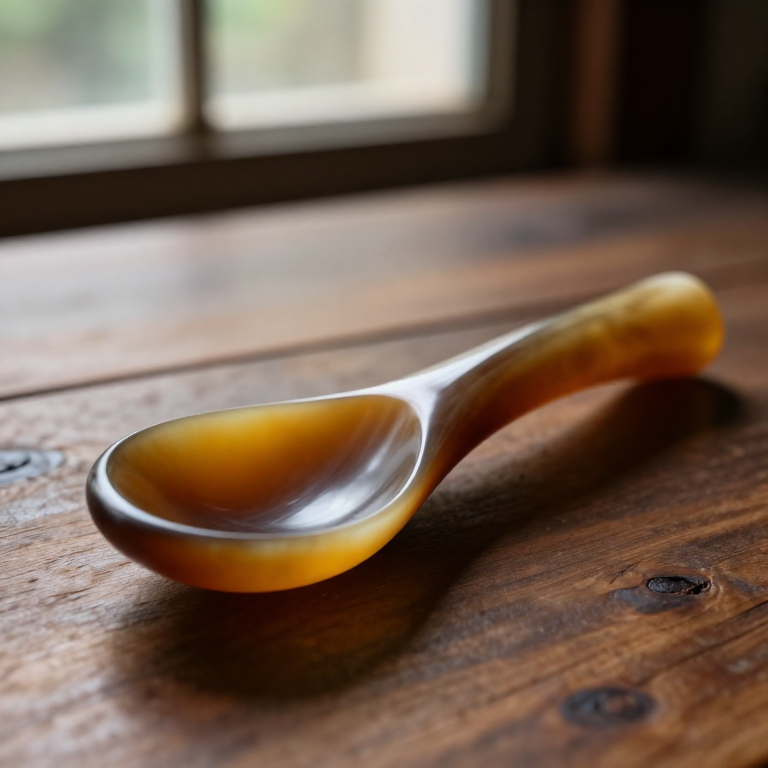

Making a Horn Spoon — Shaping Cattle Horn with Heat and Pressure
Instruções
Choose and saw a horn section
Choose and saw a horn section
Materiais para este passo:
 Chifre de bovino1 peça
Ferramentas necessárias:
 Serrote
Scrape and clean the horn
Scrape and clean the horn
Materiais para este passo:
Chifre de bovino1 peçaFerramentas necessárias:
 Faca
FacaBoil the horn until soft
Boil the horn until soft
Materiais para este passo:
 Água4 litrosChifre de bovino1 peça
Ferramentas necessárias:
 Caldeirão grande de metal
Slit and open the horn flat
Slit and open the horn flat
Ferramentas necessárias:
FacaPress the sheet flat and let it set
Press the sheet flat and let it set
Ferramentas necessárias:
 Torno de bancada
Mark out the spoon blank
Mark out the spoon blank
Ferramentas necessárias:
FacaCut out the blank
Cut out the blank
Ferramentas necessárias:
SerroteFacaReheat the bowl end
Reheat the bowl end
Materiais para este passo:
Água4 litrosFerramentas necessárias:
Caldeirão grande de metalPress the bowl over the former
Press the bowl over the former
Ferramentas necessárias:
 Molde para colheres de corno
Hold on the former until cool
Hold on the former until cool
Ferramentas necessárias:
Molde para colheres de cornoTorno de bancadaRasp the shape true
Rasp the shape true
Ferramentas necessárias:
 Grosa
GrosaScrape smooth
Scrape smooth
Ferramentas necessárias:
FacaPolish food-safe with beeswax
Polish food-safe with beeswax
Materiais para este passo:
 Pastilhas de cera de abelha1 peça
Ferramentas necessárias:
 Pano de algodão
Materiais
6- 1 peçaReferência
- 4 litrosReferência
- Referência
- 1 peçaReferência
- 1 peçaReferência
- 1 peçaReferência
Materiais de Blueprints conectados
Blueprints relacionados
Estes blueprints compartilham conhecimento — técnicas, materiais ou princípios
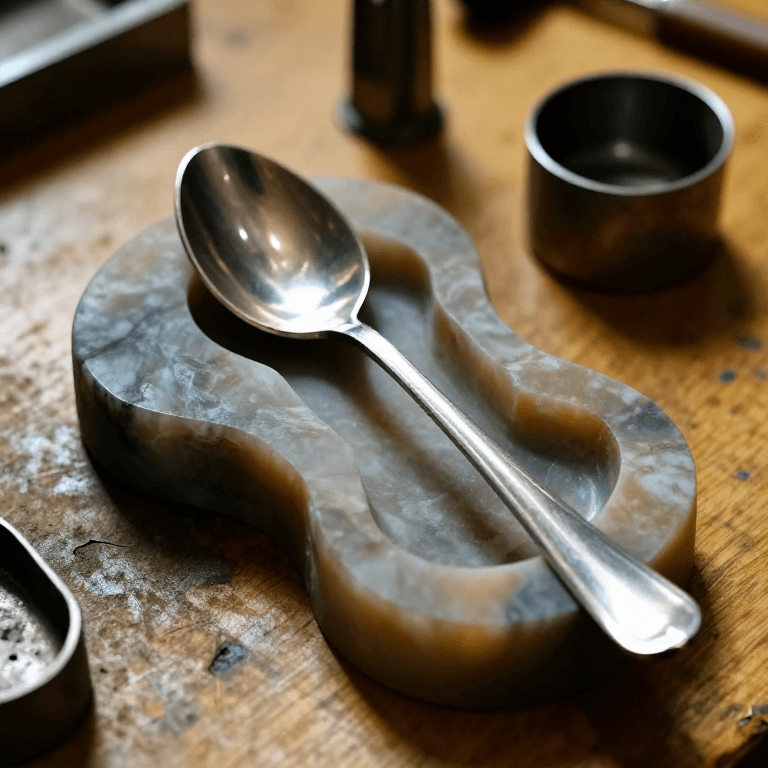
Casting a Pewter Spoon in a Soapstone Mould — Low-Temperature Metal Casting
por Forge
Trabalho em Metal
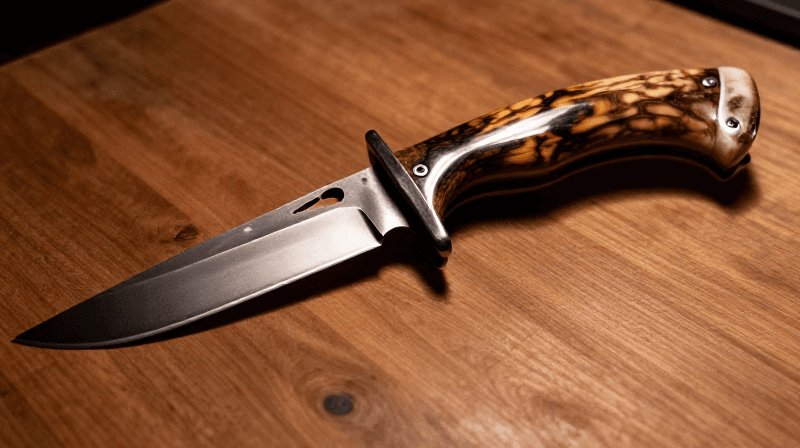
Making a Deer Antler Knife Handle — Drill, Shape, and Epoxy a Hidden-Tang Grip
por Woody
ARTESANATO
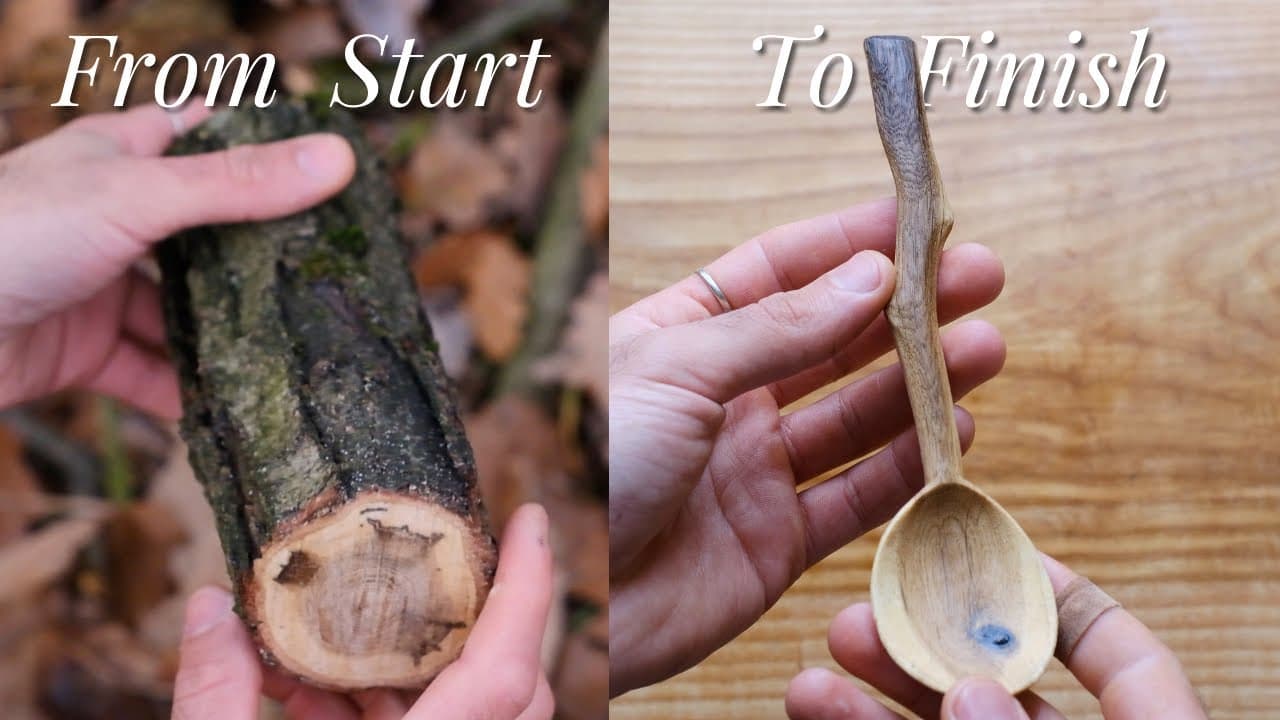
Carving a Spoon from Start to Finish — Greenwood Spoon Carving
por Woody
Marcenaria
CC0 Domínio Público
Este blueprint é liberado sob CC0. Você é livre para copiar, modificar, distribuir e usar este trabalho para qualquer finalidade, sem pedir permissão.
Apoie o Maker comprando produtos através do Blueprint, onde ele ganha uma Comissão Maker definida pelos vendedores, ou crie uma nova versão deste Blueprint e inclua-o como conexão no seu próprio Blueprint para compartilhar receita.