

Making Dried Salt-Cured Sausage — Medieval Meat Preservation
Instruções
Season the Meat
Season the Meat
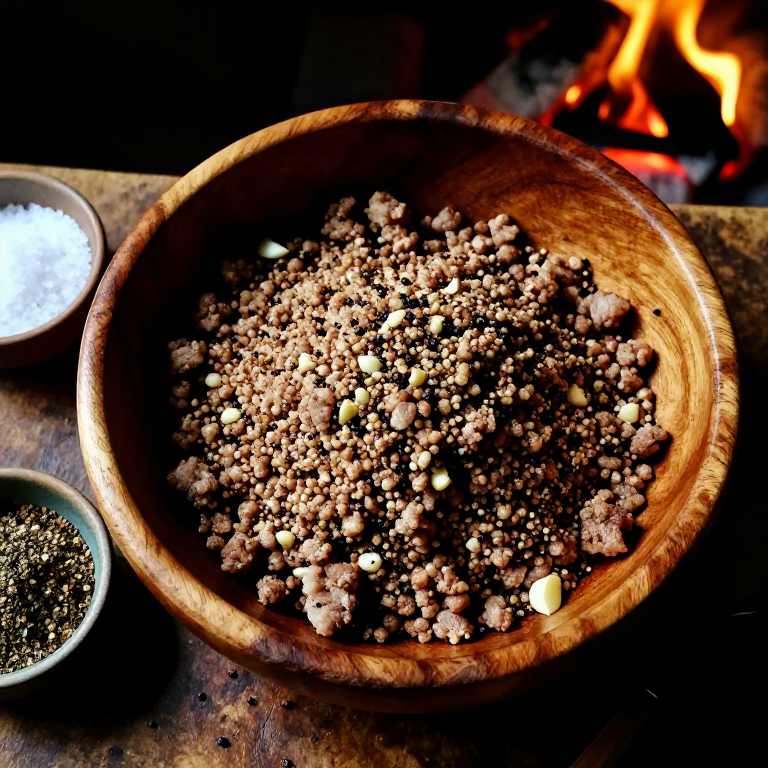
Combine the coarsely ground pork with the salt, curing salt (or medieval saltpetre — potassium nitrate — which converts to nitrite during curing), black pepper, minced garlic, and red wine in a large bowl. Mix thoroughly by kneading and folding the meat for 5 to 10 minutes until the mixture becomes tacky and cohesive — this indicates the salt has begun extracting myosin protein from the meat, which acts as a natural binder. The salt concentration of 2.5 to 3 percent by weight is critical: too little salt risks spoilage, too much produces an unpleasantly salty product. The curing salt prevents the growth of Clostridium botulinum (the bacterium causing botulism) and gives the sausage its characteristic reddish-pink cured colour by forming nitrosomyoglobin. Cover and refrigerate (or store in a cold cellar at 2-4 degrees Celsius) overnight for the cure to penetrate evenly.
Materiais para este passo:
 Pá de porco (com osso)2 kg kg
 Sal marinho fino50-60 grams (2.5-3% of meat weight) peça
 Sal de cura5 grams peça
 Pimenta preta partida8-10 grams peça
 Alho10-15 grams peça
 Vinho tinto (para cozinhar)50 ml ml
Ferramentas necessárias:
 Conjunto de tigelas para misturar
 Enchedora de enchidos
 Fio de cozinha (algodão)
 Máquina de picar carne
 Ganchos de pendurar (cura de carne)
Prepare and Stuff the Casings
Prepare and Stuff the Casings
Soak the natural hog casings in warm water for 30 minutes to soften them, then flush each casing by running water through its entire length to check for holes. Thread a casing onto the sausage stuffer tube. Pack the seasoned meat mixture into the stuffer and push it into the casing firmly, eliminating air pockets as much as possible — trapped air creates voids where unwanted bacteria can grow. Fill the casing until it is firm but not so tight that it bursts. Twist or tie off individual sausage links at 15 to 20 cm intervals using kitchen twine. Prick any visible air bubbles with a sterilised pin to allow the trapped air to escape.
Hang and Begin Drying
Hang and Begin Drying
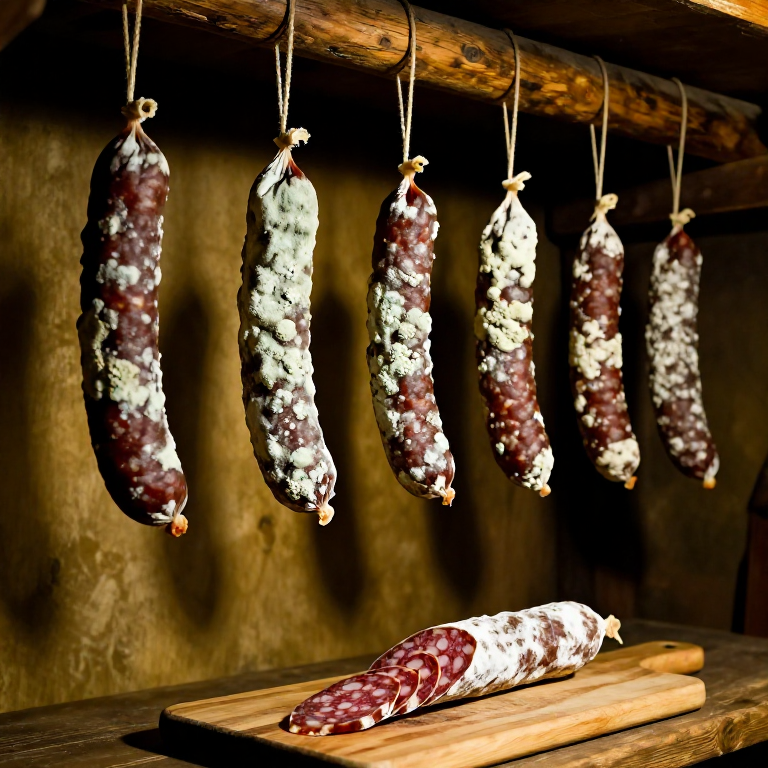
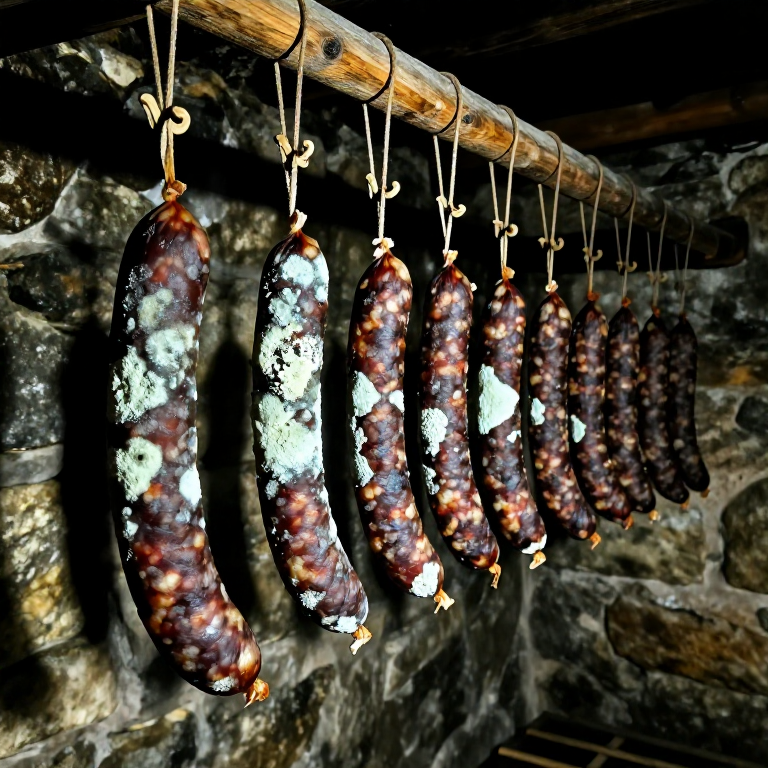
Hang the sausage links from hooks in a cool, well-ventilated space with a temperature of 10 to 15 degrees Celsius and humidity of 70 to 80 percent. A medieval root cellar, stone larder, or chimney recess provided these conditions naturally. The sausages should not touch each other or any surface to allow uniform air circulation. During the first 2 to 3 days, a beneficial white mould (Penicillium nalgiovense) may develop on the casing surface — this is desirable, as it protects the sausage from harmful moulds and contributes to flavour development. If green, black, or fuzzy coloured moulds appear, wipe them off with a cloth dampened in vinegar and improve air circulation.
Monitor the Drying Process
Monitor the Drying Process
Over the next 3 to 6 weeks, the sausages will lose approximately 30 to 40 percent of their original weight as moisture evaporates. The casings will firm up and the interior will become progressively denser. Squeeze the sausages periodically — they should feel firm throughout with no soft or squishy areas, which could indicate the centre has not dried sufficiently. If the outer casing hardens too quickly (case hardening) before the interior dries — creating a hard shell that traps moisture inside — increase the humidity slightly or wrap the sausages in damp cloth for a day. The drying environment must remain consistently cool; temperatures above 20 degrees Celsius allow dangerous bacterial growth before the sausage has dried enough to be safe.
Test and Store
Test and Store
The sausages are ready when they have lost approximately 35 percent of their original weight and feel uniformly firm throughout — pressing firmly should leave no soft spot. Cut one sausage to inspect the interior: it should be a uniform dark reddish-pink colour with no grey areas (which indicate insufficient curing) and a dense, slightly translucent texture. The flavour should be rich, meaty, and slightly tangy from lactic acid fermentation. Properly dried sausages do not require refrigeration and can be stored hanging in a cool dry place for months — this was their entire purpose in the medieval economy, providing protein through the winter months when fresh meat was unavailable. Slice thinly and serve as medieval households did — as a component of the first course alongside bread, cheese, and preserved fruits.
Materiais
10- 50-60 grams (2.5-3% of meat weight) peçaReferência
- 5 grams peçaReferência
- 10-15 grams peçaReferência
- Natural hog casings (32-35 mm diameter)3-4 metres peça
- 2 kg peçaReferência
- 50-60 grams (2.5-3% of meat weight) peçaReferência
- 8-10 grams peçaReferência
- 50 ml peçaReferência
- 3-4 metres peçaReferência
- Referência
Ferramentas necessárias
6- Referência
- Referência
- Referência
- Referência
- Referência
- Referência
Este projeto faz

CC0 Domínio Público
Este blueprint é liberado sob CC0. Você é livre para copiar, modificar, distribuir e usar este trabalho para qualquer finalidade, sem pedir permissão.
Apoie o Maker comprando produtos através do Blueprint, onde ele ganha uma Comissão Maker definida pelos vendedores, ou crie uma nova versão deste Blueprint e inclua-o como conexão no seu próprio Blueprint para compartilhar receita.