ARTE
BELEZA E BEM-ESTAR
ARTESANATO
CULTURA E HISTÓRIA
ENTRETENIMENTO
MEIO AMBIENTE
COMIDA E BEBIDAS
ENGENHARIA REVERSA
CIÊNCIAS
ESPORTES
TECNOLOGIA
TECNOLOGIA VESTÍVEL
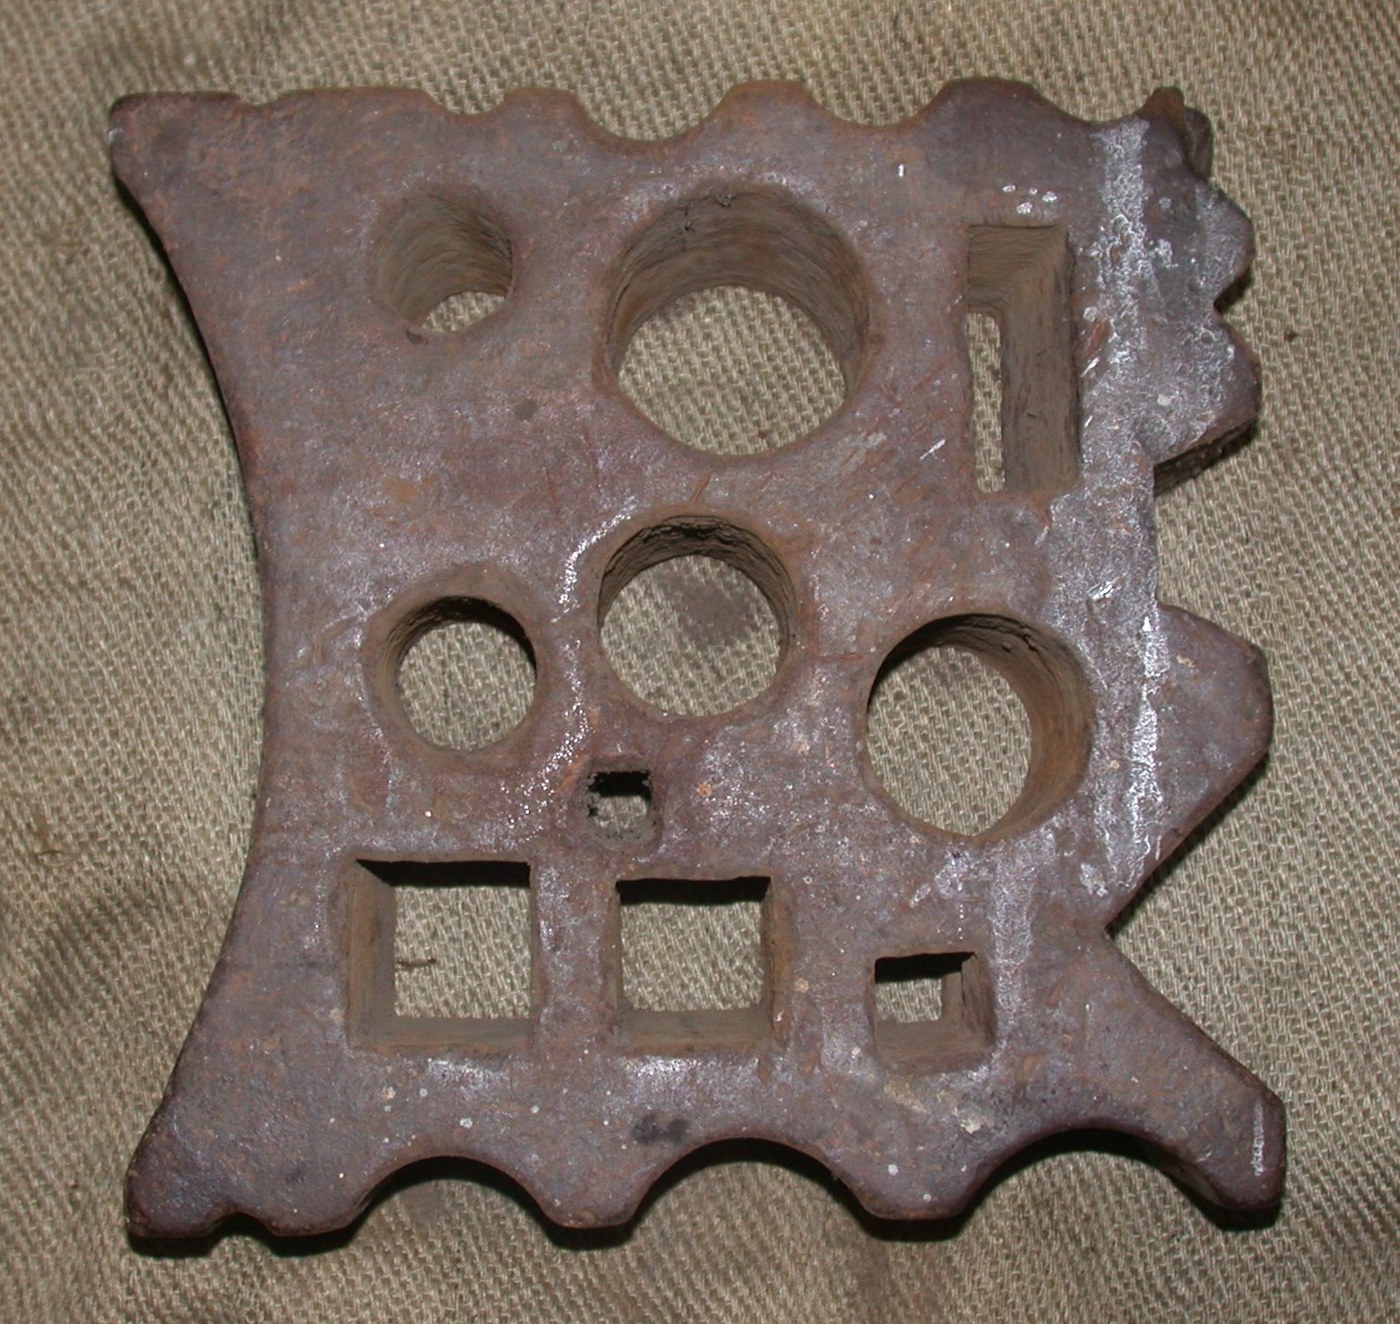


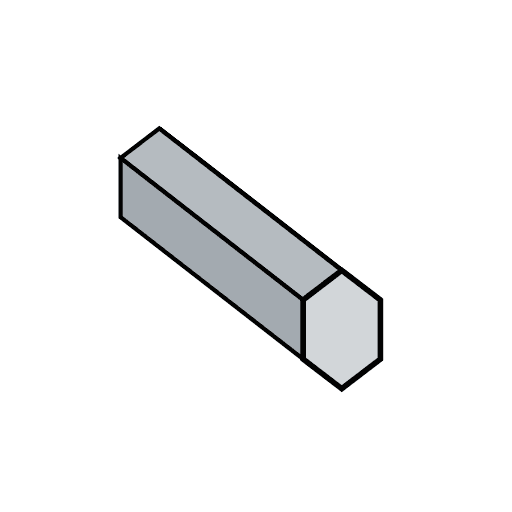
Mild Steel Hex Bar Forged in the Swage Block
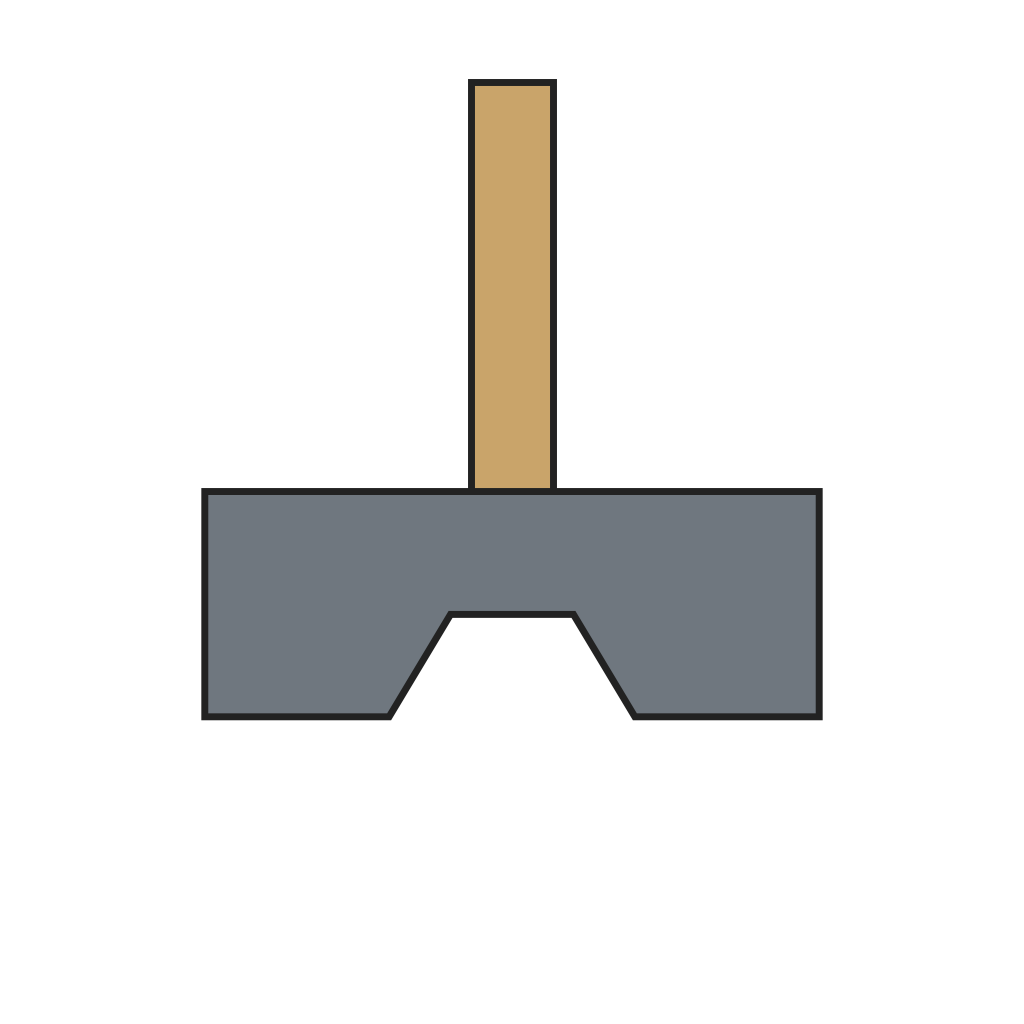
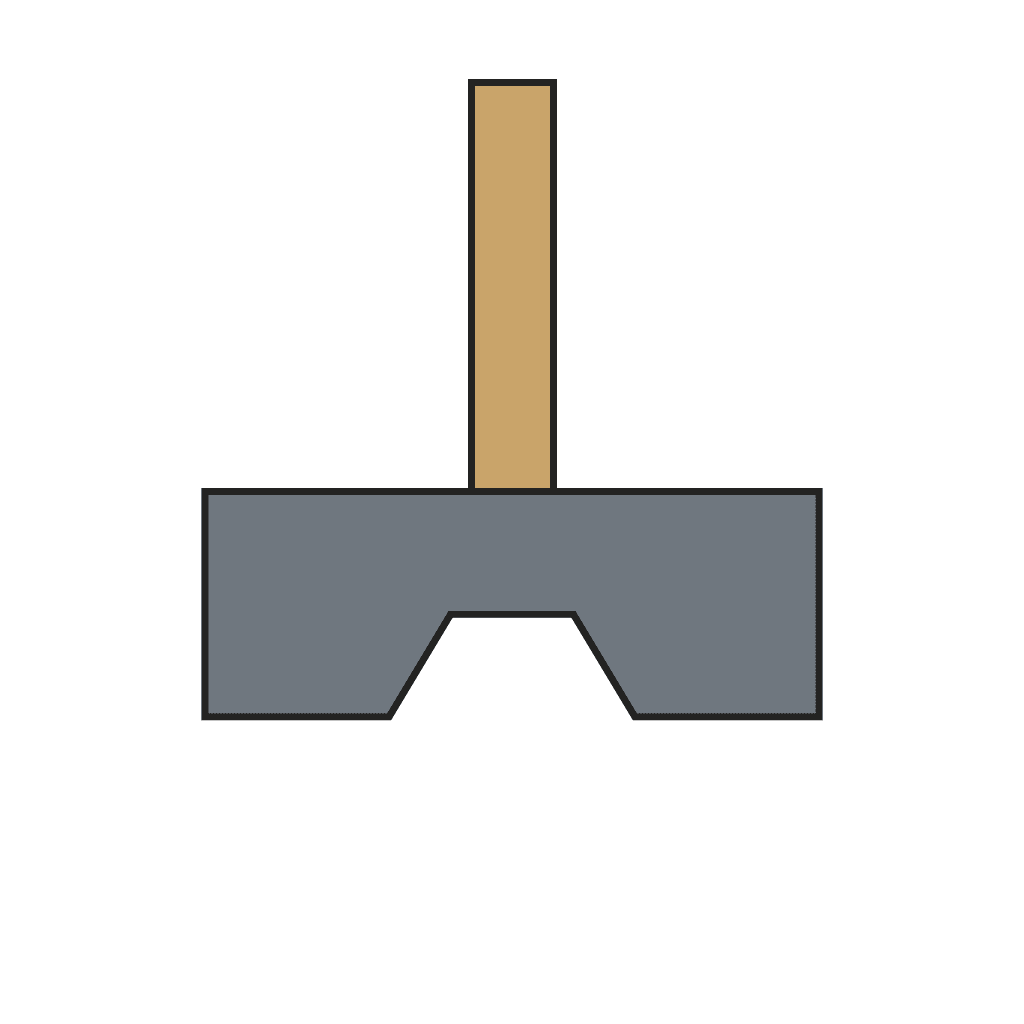
A swage block has shapes round its edge, each with a matching top swage. Lay a hot round bar in the block's half-hexagon, set the top swage with the other half on it, and strike: turning the bar between blows forges it to a hexagon, the stock for nuts and bolt heads. First forge the top swage itself.
The picture: a smith's swage block, with holes through it and shaped notches round its edge.
Intermediário
A day
Instruções
1
1
Forge the top swage
Forge the top swage
Forge a short block of tool steel, fuller and file a half-hexagon groove in its face matching the block's notch, and punch an eye for a handle. Shave an ash handle and fit it.
Materiais para este passo:
 Barra octogonal de aço para ferramentas1 peça
 Tarugo de freixo1 peça
 Carvão vegetal2 as required
Ferramentas necessárias:
 Forja de ferreiro
 Bigorna
 Martelo de pena transversal
 Fuller (ferramenta de acanalar)
 Punção a quente
 Lima para metal
 Tenazes de ferreiro
 Luvas de soldador
 Óculos de segurança
2
2
Choose the rod
Choose the rod
Take round rod a little larger than the hex across the flats (step 5 gives the size that holds the same metal).
Materiais para este passo:
 Varão de aço macio1 m
3
3
Swage to a hexagon
Swage to a hexagon
At a bright orange, lay the rod in the half-hexagon notch, set the top swage on it and have a striker hit it. Turn the bar a sixth of a turn between blows and work along it a little at a time.
Materiais para este passo:
Carvão vegetal4 as requiredFerramentas necessárias:
Forja de ferreiro Bloco de estampar
 Estampa superior
 MarretaTenazes de ferreiroLuvas de soldadorÓculos de segurança
4
4
True it
True it
Straighten the bar on the anvil at a dull red, and file the flats where they are uneven.
Ferramentas necessárias:
BigornaMartelo de pena transversalLima para metal5
5
Round rod for a hex bar
Round rod for a hex bar
A carregar o notebook Jupyter…
Materiais
4- Referência
- 1 peçaReferência
- 4 as requiredReferência
- Referência
Ferramentas necessárias
12- Referência
- Referência
- Referência
- Referência
- Referência
- Referência
- Referência
- Referência
- Referência
- Referência
- Referência
- Referência
Este projeto faz
Blueprints relacionados
Estes blueprints compartilham conhecimento — técnicas, materiais ou princípios
CC0 Domínio Público
Este blueprint é liberado sob CC0. Você é livre para copiar, modificar, distribuir e usar este trabalho para qualquer finalidade, sem pedir permissão.
Apoie o Maker comprando produtos através do Blueprint, onde ele ganha uma Comissão Maker definida pelos vendedores, ou crie uma nova versão deste Blueprint e inclua-o como conexão no seu próprio Blueprint para compartilhar receita.