ARTE
BELEZA E BEM-ESTAR
ARTESANATO
CULTURA E HISTÓRIA
ENTRETENIMENTO
MEIO AMBIENTE
COMIDA E BEBIDAS
ENGENHARIA REVERSA
CIÊNCIAS
ESPORTES
TECNOLOGIA
TECNOLOGIA VESTÍVEL
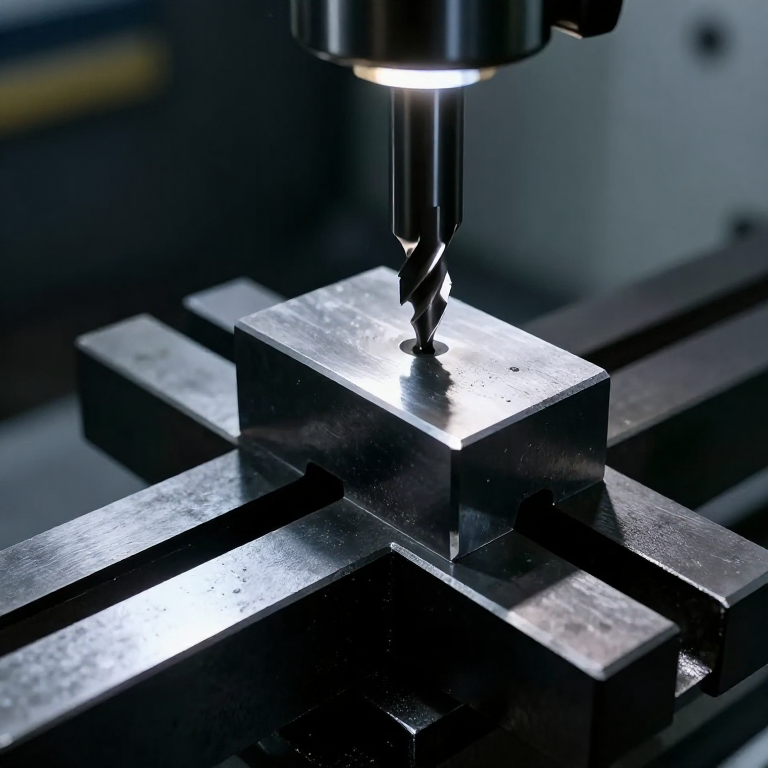


Milling a Block Square: The Six-Face Sequence
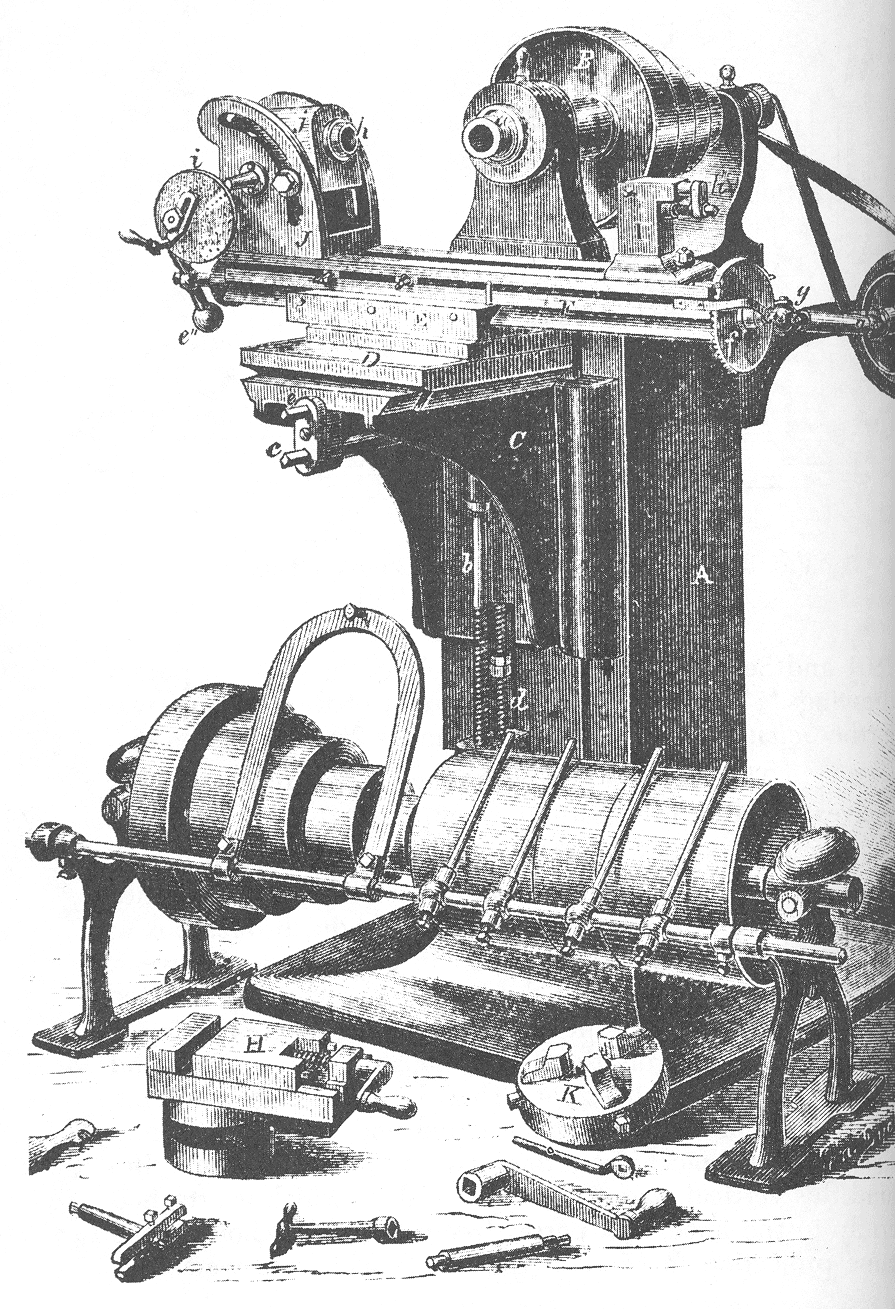
Squaring a block is the first job on a milling machine and the one everything else is built on. A vice, a fixture, a die set, an angle plate: all of them start as a lump of steel that has to be made into a rectangular prism with six flat faces, each square or parallel to the others.
It cannot be done by milling six faces in any order. Each face must be cut while referenced against a face that is ALREADY true, and there is one sequence that achieves that with the fewest settings. Deviate from it and the errors compound instead of cancelling.
The sequence is old, fixed and worth learning exactly, because it is the same logic as the three-plate method for flatness: accuracy is generated by careful reference, not by the machine being perfect.
Intermediário
4 hours
Instruções
1
1
Get the vice true to the machine first
Get the vice true to the machine first
Bolt the machine vice to the table, put a dial indicator in the spindle and sweep it along the FIXED jaw as you traverse the table. Tap the vice round until the needle does not move.
Everything that follows references the fixed jaw, so an error in it is copied into every part made until somebody checks again. The fixed jaw is the reference; the moving jaw only applies force and is not straight, square or trustworthy.
Sweep the vice BED as well if the work will sit on it directly. A few hundredths of dirt or a raised burr under the work is a wedge, and the face you mill will be true to the machine but not to the rest of the block.
Ferramentas necessárias:
 Fresadora
 Morsa de máquina
 Comparador de quadrante
2
2
Face 1, and the two tricks that make it flat
Face 1, and the two tricks that make it flat
Sit the rough stock on a matched pair of parallels, put a short round bar between the work and the MOVING jaw, tighten, and tap the work down with a soft mallet until both parallels are gripped tight. Then mill the top face.
The round bar is the trick that matters. A moving jaw lifts very slightly as it tightens, and on a rough uneven casting it also contacts at one high point, tipping the work. A round bar contacts on a line at one height, so the force is applied where you want it and the work is free to seat down on the parallels instead of being tilted.
The parallels must be a MATCHED pair of identical height, which is what the head is: two bars ground together. A mismatched pair tilts the work by the difference and you mill a wedge.
Materiais para este passo:
 Barra quadrada de aço macio1 peça
Ferramentas necessárias:
FresadoraMorsa de máquina Calços paralelos
 Maço de borracha
 Conjunto de fresas de aço rápido
3
3
The sequence, and why it is that order
The sequence, and why it is that order
Put FACE 1 against the fixed jaw and mill the top: that is FACE 2, square to 1. Now face 1 against the fixed jaw and face 2 down on the parallels, mill the top: FACE 3, parallel to 1. Then face 3 down on the parallels with face 2 against the fixed jaw, mill to thickness: FACE 4.
The rule underneath is a single sentence: a MACHINED face always goes against the fixed jaw, and a MACHINED face always goes down on the parallels. Never reference against a rough face, and never against the moving jaw.
The last two faces are the ends. Stand the block on end in the vice with a machined face against the fixed jaw, check it with a square, and mill each end. Four settings for four faces and two for the ends — six faces, and every one cut while resting on something already true.
Materiais para este passo:
Barra quadrada de aço macio1 peçaFerramentas necessárias:
FresadoraMorsa de máquinaCalços paralelos Esquadro de ajustadorConjunto de fresas de aço rápido
4
4
Climb or conventional, and why it matters on a manual machine
Climb or conventional, and why it matters on a manual machine
Feed the work so the cutter's teeth enter the metal against the direction of feed — conventional, or up-milling. On a manual machine, do not climb mill a heavy cut.
In climb milling the cutter tries to drag the work along in its own direction of rotation. On a machine with backlash in the table screw, it takes up that backlash in one jump, pulling the work INTO the cutter — which breaks cutters and wrecks parts. Machines with ball screws or backlash eliminators climb mill happily, and get a better finish for it.
Conventional milling pushes the work back against the screw and stays loaded, so the backlash never gets a chance to close. It rubs slightly at the start of each tooth's cut, which is why the finish is a little worse — a trade worth making on a manual mill.
Materiais para este passo:
Barra quadrada de aço macio1 peçaFerramentas necessárias:
FresadoraConjunto de fresas de aço rápido Óculos de segurança
5
5
Prove it, on the surface plate
Prove it, on the surface plate
Stand the block on the surface plate and try a machinist square against each adjacent pair of faces, looking for light under the blade. Then measure across each opposite pair with a micrometer at several places to check parallelism and constant thickness.
Do the diagonals too. A block can be square on every face you tried and still be a parallelogram in plan, and only comparing the diagonals or checking against the plate will catch it.
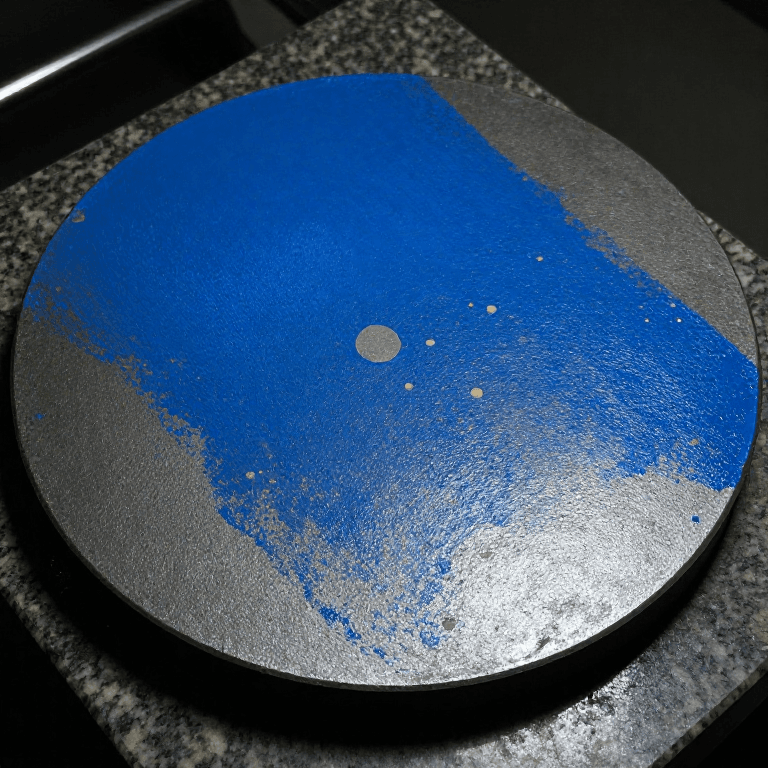
Where it matters, blue the plate and rub each face on it — the picture says whether the face is flat, hollow or crowned, which no micrometer reading can. That is the flatness rung's method applied to the part this rung made, and it is where the measuring ladder and the cutting ladder finally meet.
Ferramentas necessárias:
 Mesa de traçagemEsquadro de ajustador
 Micrómetro
 Caderno
Ferramentas necessárias
11- Referência
- Referência
- Referência
- Referência
- Referência
- Referência
- Referência
- Referência
- Referência
- Referência
- Referência
Blueprints relacionados
Estes blueprints compartilham conhecimento — técnicas, materiais ou princípios


CC0 Domínio Público
Este blueprint é liberado sob CC0. Você é livre para copiar, modificar, distribuir e usar este trabalho para qualquer finalidade, sem pedir permissão.
Apoie o Maker comprando produtos através do Blueprint, onde ele ganha uma Comissão Maker definida pelos vendedores, ou crie uma nova versão deste Blueprint e inclua-o como conexão no seu próprio Blueprint para compartilhar receita.