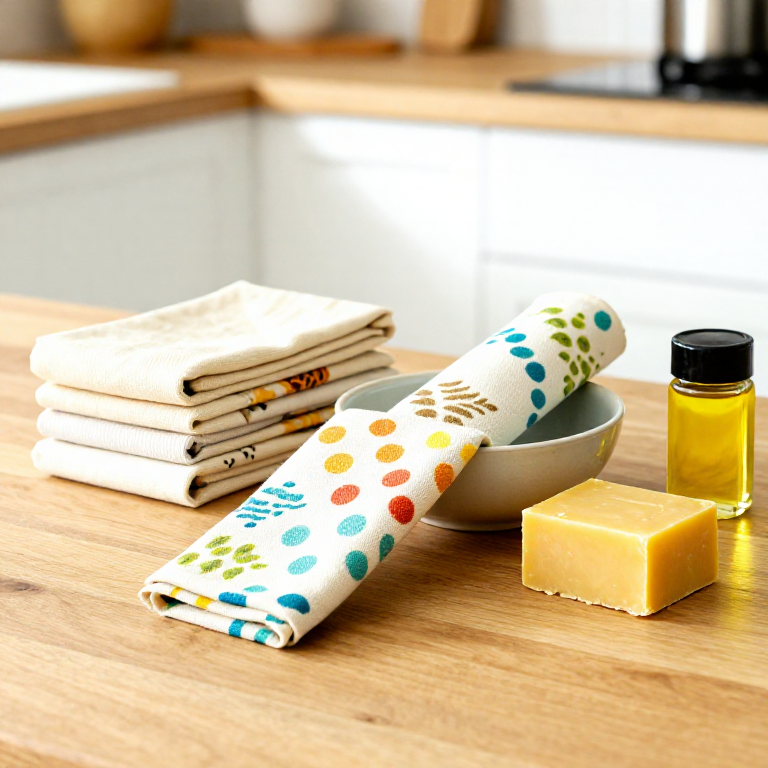
Making Reusable Beeswax Food Wraps — Sustainable Kitchen Alternative
Instruções
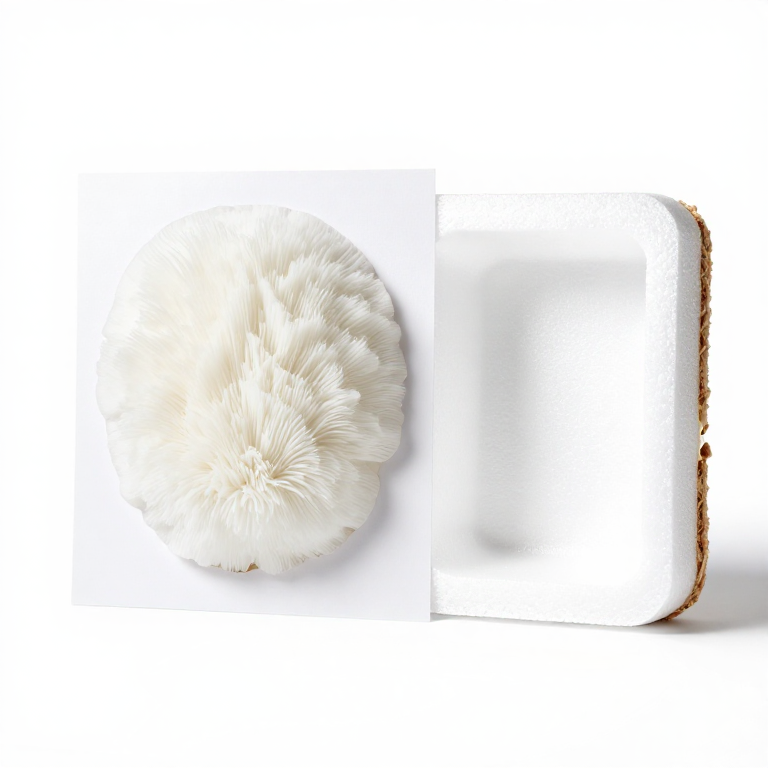
Prepare the Fabric and Wax Blend
Prepare the Fabric and Wax Blend
Cut the pre-washed cotton fabric into squares or rectangles of desired sizes using pinking shears (the zigzag edge reduces fraying). Common useful sizes are 20cm (for small items), 25cm (for bowl covers), and 35cm (for wrapping sandwiches or bread). Combine the beeswax pellets, crushed pine rosin, and jojoba oil in a heat-resistant container. Pine rosin is essential for tackiness — wraps made with only beeswax do not cling. The ratio is approximately 4 parts beeswax to 1 part pine rosin to a small amount of oil. The oil acts as a plasticizer, preventing the cooled blend from being too stiff and cracking.
Materiais para este passo:
 Organic Cotton Fabric (White, 3 Yards)3-4 squares peça
 Beeswax50-80g g
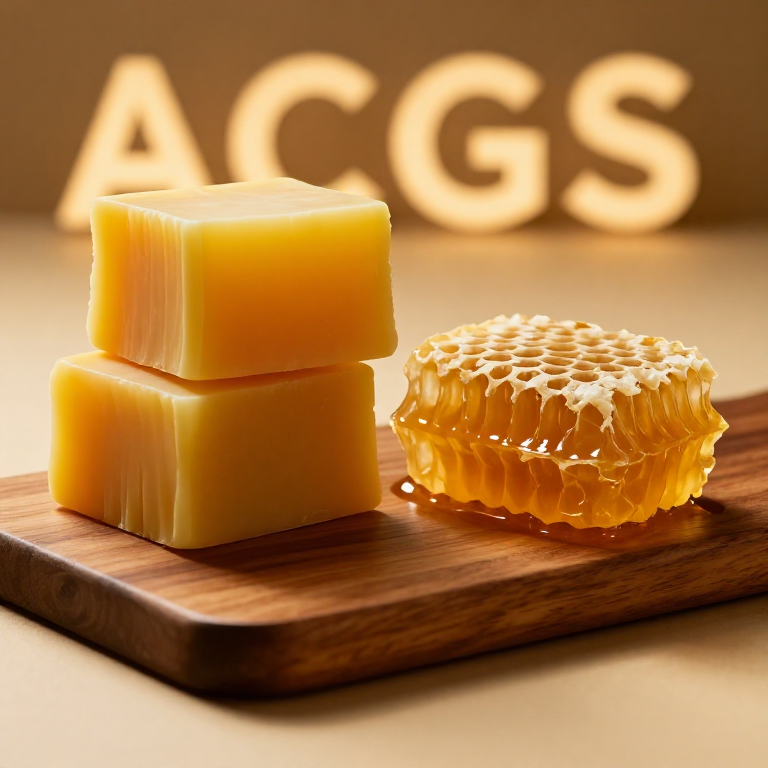
 Pine Resin15-20g g
 Linseed Oil15ml ml
Ferramentas necessárias:
 Pinking Shears
Melt and Apply the Wax Blend
Melt and Apply the Wax Blend
Preheat the oven to 85 degrees C. Place a fabric square on a parchment-lined baking sheet. Sprinkle the wax-resin blend evenly over the fabric surface. Place the sheet in the oven for 3-5 minutes until the wax melts completely. Remove and use a paintbrush to spread the melted blend evenly across the entire fabric surface, working it into the weave. Every area must be saturated — dry spots will not repel water. If any areas remain unwaxed, add a pinch more wax pellets and return to the oven briefly. The fabric should appear uniformly translucent when saturated. Avoid overheating, which can discolour the fabric or degrade the wax.
Ferramentas necessárias:
 Baking Sheet
 Oven
Oven Paintbrush Set
Cool and Set the Wraps
Cool and Set the Wraps
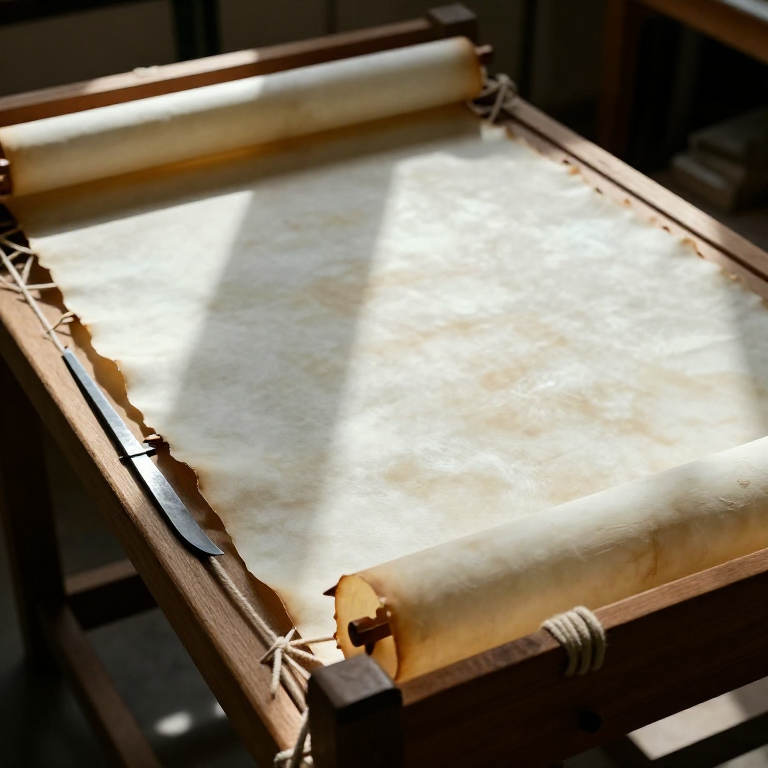
Using tongs or the parchment paper edge, lift the saturated fabric off the baking sheet and hang it or hold it in the air for 15-30 seconds. The wax sets almost immediately on contact with room-temperature air — the fabric transitions from limp and wet to firm and slightly waxy within seconds. If the coating is uneven (thick blobs or thin spots), lay it back on the parchment, reheat briefly, and redistribute with the brush. Once cool, the wrap should feel tacky when warmed by your hands (from the pine rosin) and slightly stiff when cool. Repeat the process for each fabric piece.
Test the Wraps
Test the Wraps
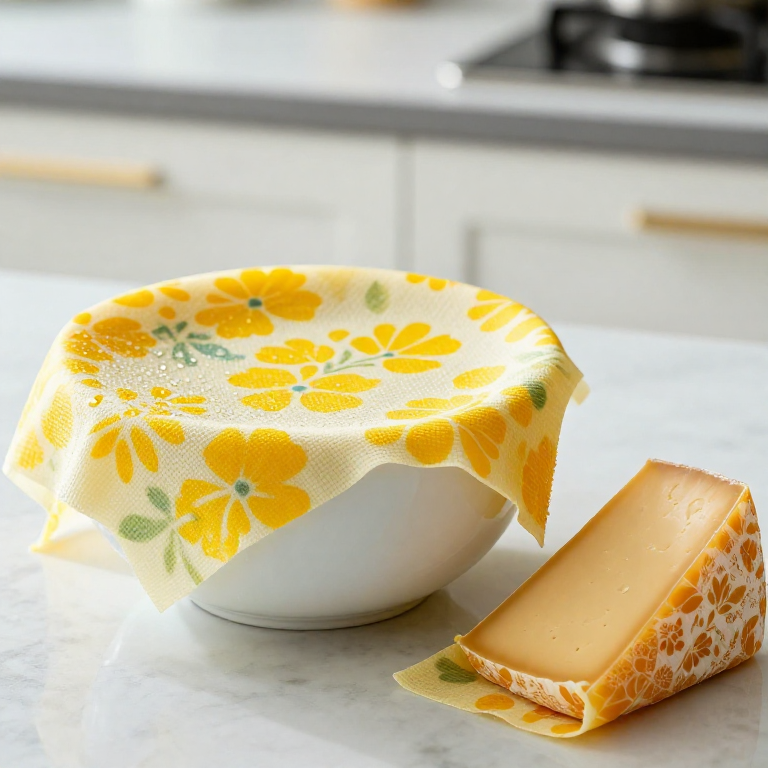
Test the finished wraps by pressing one over the top of a ceramic bowl. Warm the edges with your hands for a few seconds — the body heat softens the wax slightly, and the pine rosin's tackiness causes the wrap to grip the bowl rim and seal against itself. The wrap should maintain its shape after releasing. Test water resistance by placing a few drops of water on the surface — they should bead up and roll off without absorbing. If the wrap does not cling, it needs more pine rosin. If it is too stiff to conform, it needs more jojoba oil. If water absorbs through, the wax coat is too thin — add another application.
Care and Refresh
Care and Refresh
Beeswax wraps are washed in cool water with mild soap — never use hot water, which melts the wax coating. Air dry flat or hang. Do not use beeswax wraps to cover raw meat or fish (the wraps cannot be sterilized at temperatures high enough to kill pathogens). They are ideal for covering bowls, wrapping bread, cheese, sandwiches, fruits, and vegetables. With regular use, a wrap lasts approximately 6-12 months before the coating wears thin. To refresh, place the worn wrap on parchment paper, sprinkle a small amount of fresh wax blend, and re-melt in the oven. At end of life, beeswax wraps are fully compostable — they biodegrade naturally, unlike plastic cling film.
Materiais
4- 3-4 squares, various sizes (20-35cm) peçaReferência
- 15-20g peçaReferência
- 1 tablespoon (15ml) peçaReferência
Related blueprints
Other builds that share materials, tools, or techniques with this one.
CC0 Domínio Público
Este blueprint é liberado sob CC0. Você é livre para copiar, modificar, distribuir e usar este trabalho para qualquer finalidade, sem pedir permissão.
Apoie o Maker comprando produtos através do Blueprint, onde ele ganha uma Comissão Maker definida pelos vendedores, ou crie uma nova versão deste Blueprint e inclua-o como conexão no seu próprio Blueprint para compartilhar receita.