Colaboração
ARTE
BELEZA E BEM-ESTAR
ARTESANATO
CULTURA E HISTÓRIA
ENTRETENIMENTO
MEIO AMBIENTE
COMIDA E BEBIDAS
ENGENHARIA REVERSA
CIÊNCIAS
ESPORTES
TECNOLOGIA
TECNOLOGIA VESTÍVEL
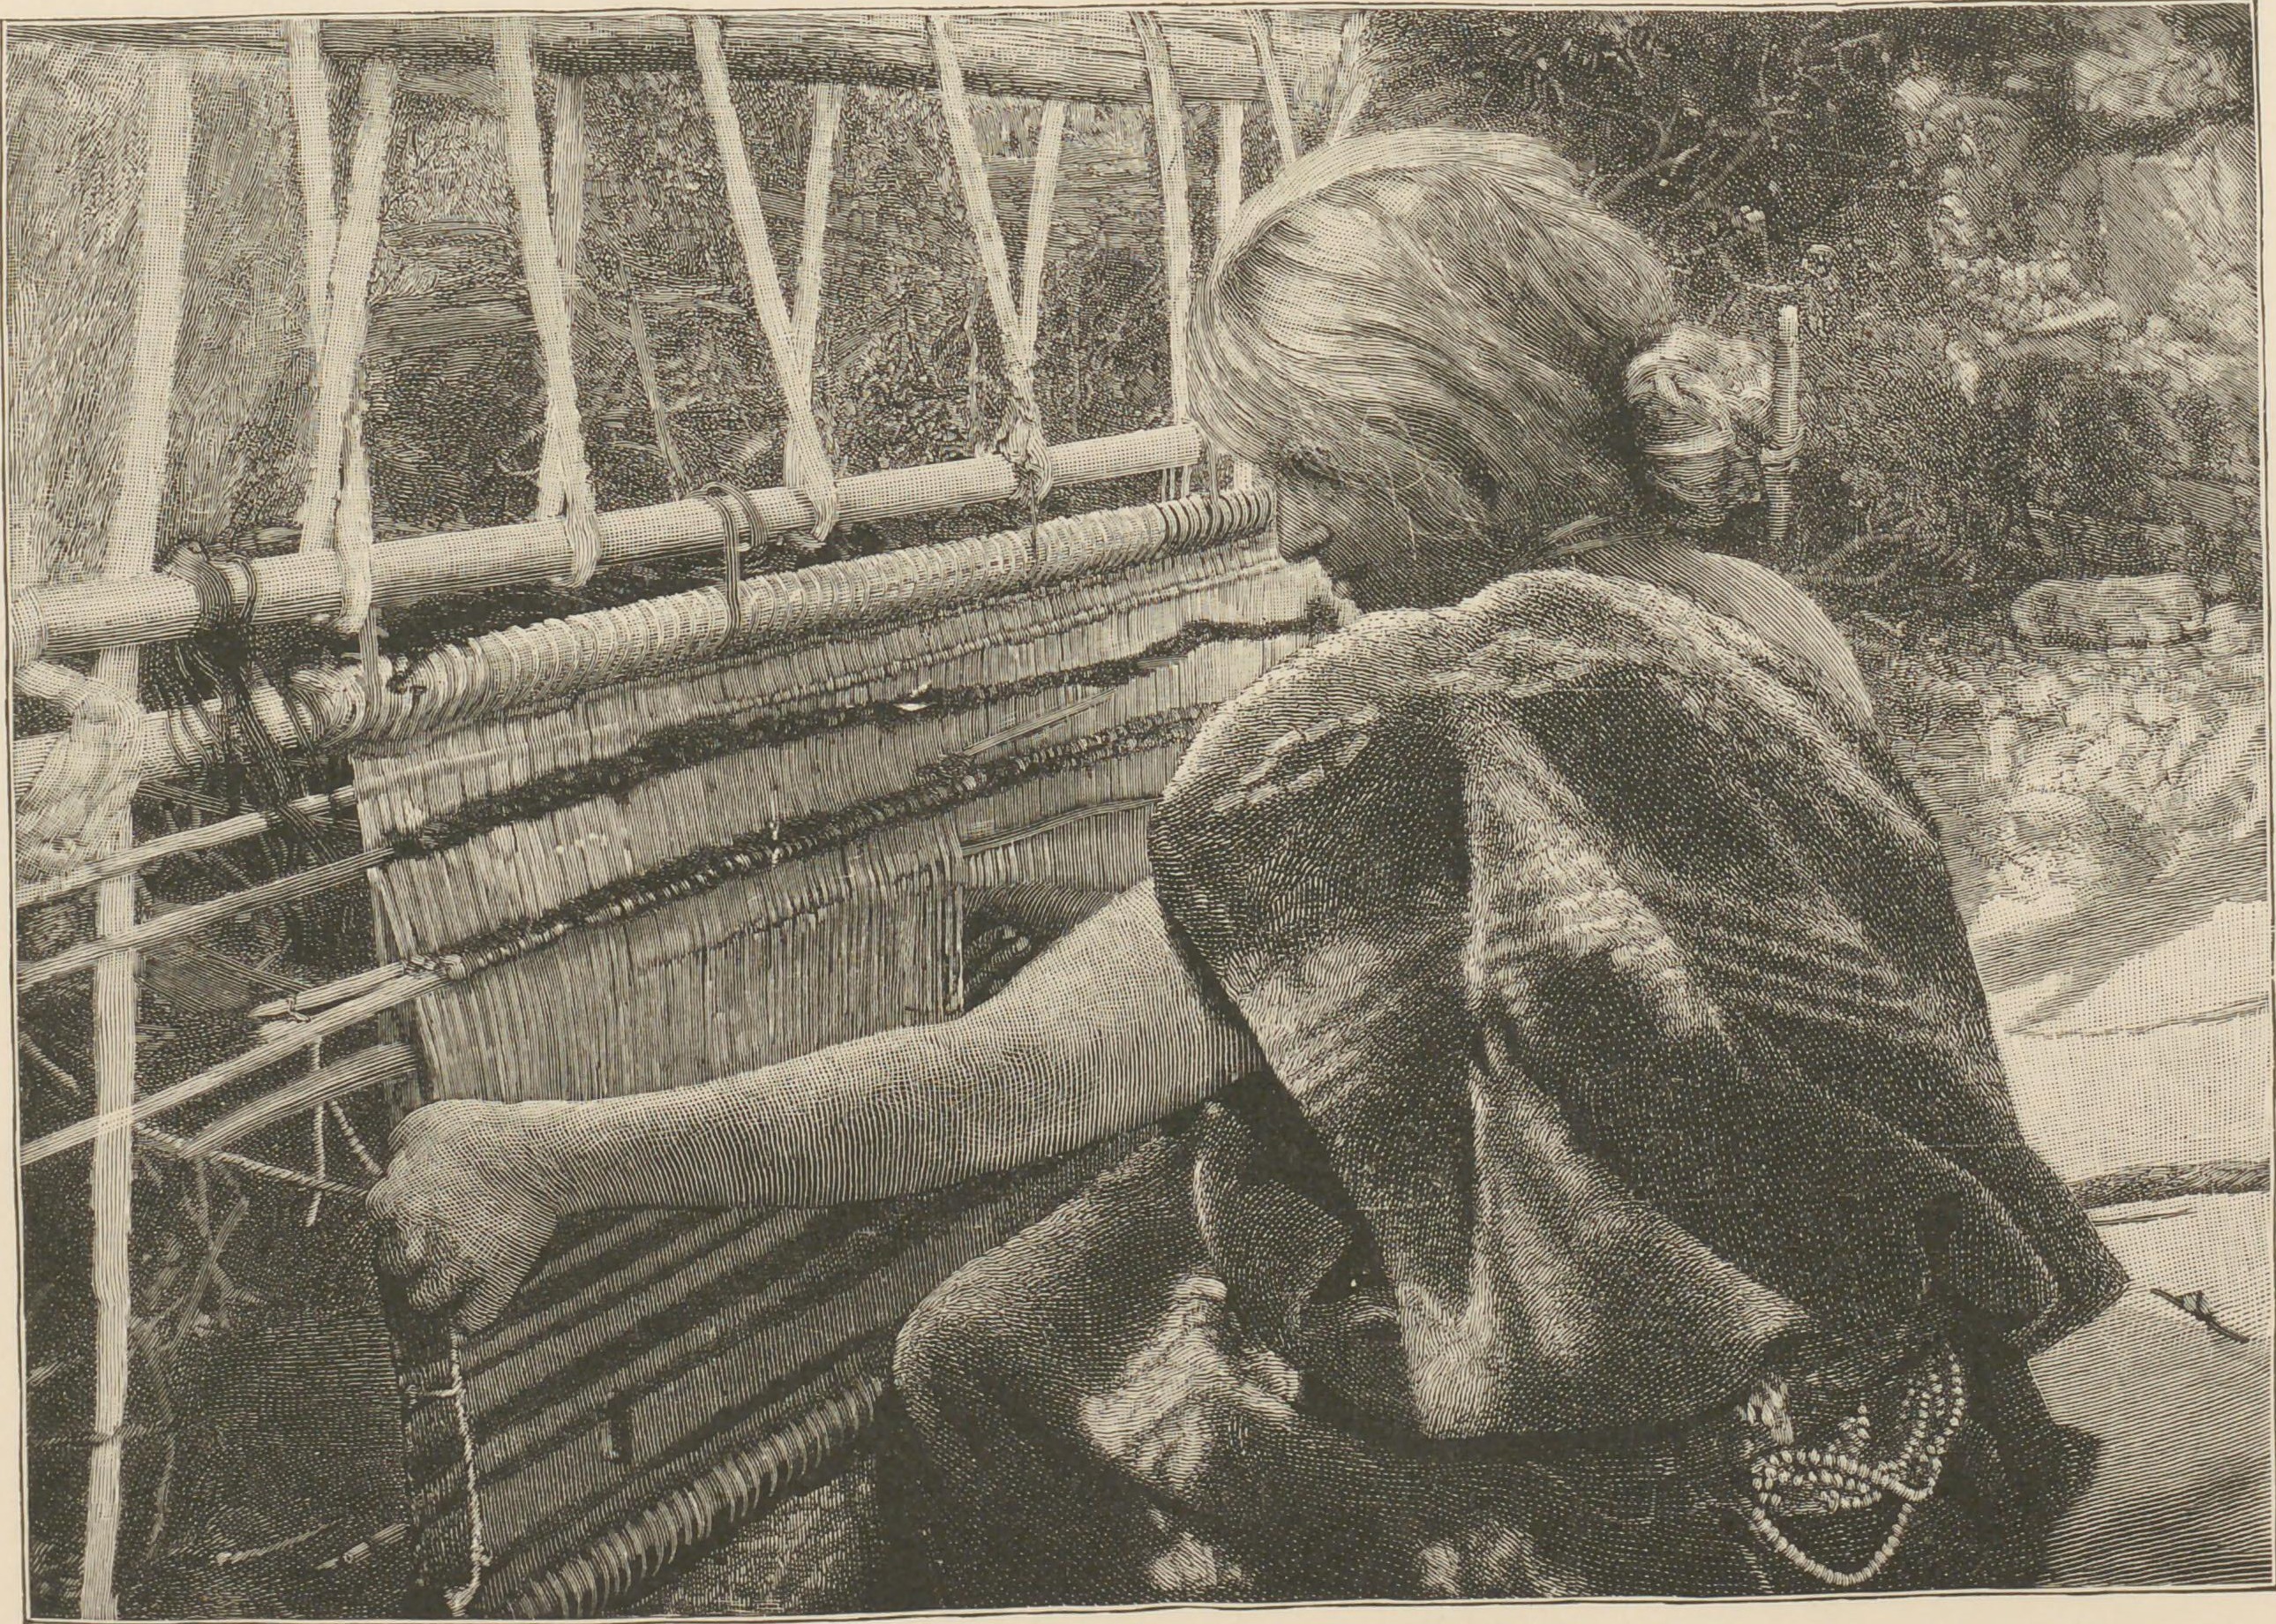


Navajo Blanket Weaving: Figure-8 Warp on Two Poles, String Healds, Batten Turned Flat to Open the Shed (Matthews, 1884)
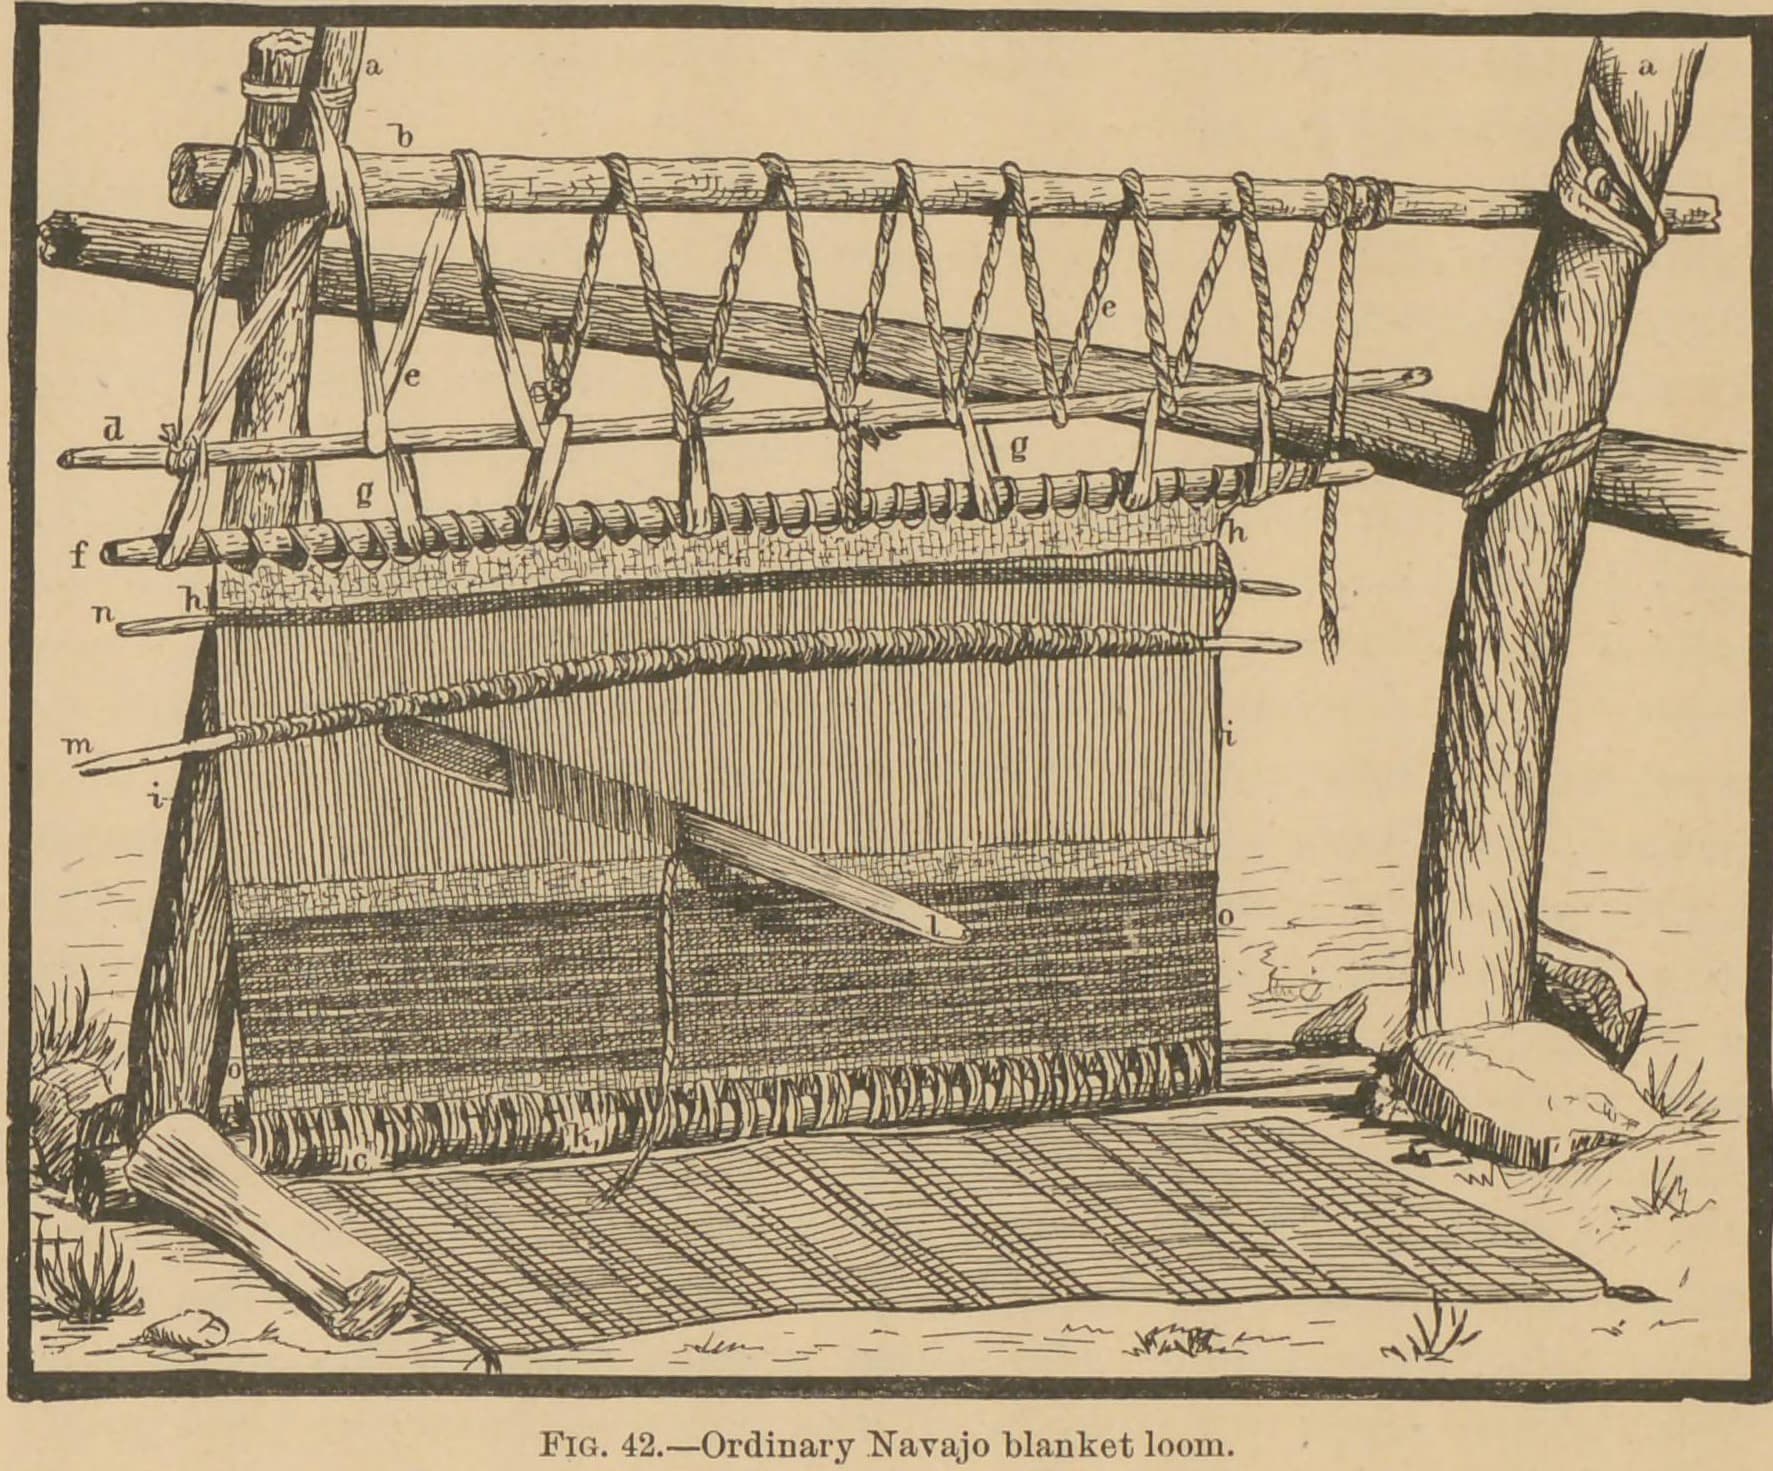
How a Navajo (Diné) weaver made a blanket, as Washington Matthews recorded it: the warp wound in figures of eight between two poles so both sheds exist from the start, three-strand cords twined across each end, a string heald made loop by loop on a rod, and every pick beaten down with a broad oak batten that is first turned flat to open the shed.
Avançado
Weeks for a blanket
Instruções
1
1
His measures
His measures
A carregar o notebook Jupyter…
2
2
Read Matthews
Read Matthews
"It is by the vigorous use of the batten that the Navajo serapes are rendered water-proof."
3
3
Lay the warp
Lay the warp
On the ground make a frame of four sticks: rough saplings at the sides, smooth round poles top and bottom, as far apart as the blanket is long. Tie the warp string to pole 1, take it over pole 2, back under 2 and over 1, and on: the turns cross in the middle in figures of eight, which makes both sheds. Tie off on pole 2 and put a rod in each shed, the rods tied together at their ends.
Materiais para este passo:
 Fio de lã por tingir1 peça
 Varas de madeira verde1 peça
Ferramentas necessárias:
 Faca
4
4
Twine the end cords
Twine the end cords
Tie three strings together. Sitting outside one pole, fix them left of the warp; take one strand under the first turn of warp, twist a second strand with the others and take in the second bend, the third the third bend, and so along. Pull the cord tight to space the threads, and do the same at the other pole. These become the stout end edges.
Materiais para este passo:
 Cordame1 peça
Ferramentas necessárias:
Faca5
5
Mount and make the healds
Mount and make the healds
Bind the end cords to the loom beams (see the loom blueprint). Keep the upper-shed rod. For the lower shed: pass the end of a ball of string left through the shed, tie a loop on a slender rod, then with a finger draw a fold of string between each pair of front threads, give it one twist into a loop and push the rod through, left to right, until every front thread is in a loop; tie the string to the rod.
Materiais para este passo:
Cordame1 peçaFerramentas necessárias:
 Tear de moldura simplesFaca
6
6
Weave
Weave
Sit on the ground facing the loom and weave upward. Lower shed: pull the healds toward you (about 1 in. opening), slide the batten in edgewise and turn it flat to open the shed about 3 in. (8 cm), pass the weft, push it down with the reed-fork, turn the batten edgewise and beat hard. Upper shed: let the healds go, push the shed-rod down to them, and weft, fork and batten again. Pass weft only as far as the batten reaches, rarely over 3 ft (90 cm). Two stout yarn cords, tied at the cloth-beam just outside the warp and up to the yarn-beam, make the side edges.
Materiais para este passo:
 Fio de lã tingido1 peça
Ferramentas necessárias:
Tear de moldura simples7
7
Lower the web
Lower the web
When the work gets too high, loosen the spiral rope, lower the yarn-beam, fold the woven part and sew the fold's upper edge tightly to the cloth-beam (needle ours). Most weavers weave a little at the top before finishing the middle, so both ends match.
Materiais para este passo:
Cordame1 peçaFerramentas necessárias:
 Agulha de costuraTear de moldura simples
8
8
Troubleshooting
Troubleshooting
Weaving troubleshooting.
Flow
Loading...
9
9
History and honest limits
History and honest limits
From Washington Matthews, "Navajo Weavers", **3rd Annual Report of the Bureau of Ethnology** (1884), pp. 378-381, Fig. 43 and Plate XXXV (checked on the archive.org scan 101714660.nlm.nih.gov; p. 380 taken from the scan's text layer). In coarser blankets the end cords were taken out and the warp tied in pairs as a fringe. Yarn amounts, frame size and the needle are ours.
Materiais
4- 1 peçaReferência
- 1 peçaReferência
- 3 peçasReferência
- 1 peçaReferência
Este projeto faz
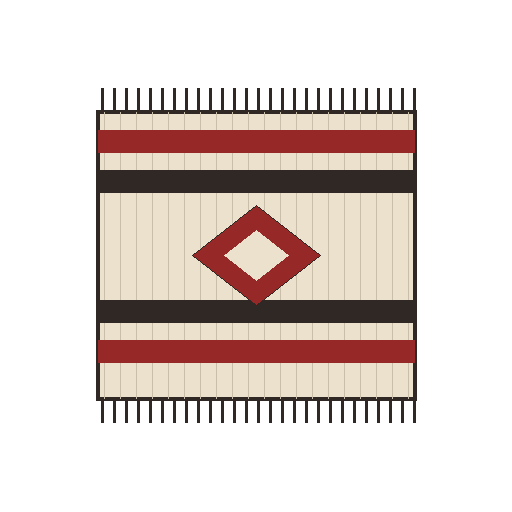
Blueprints relacionados
Estes blueprints compartilham conhecimento — técnicas, materiais ou princípios


CC0 Domínio Público
Este blueprint é liberado sob CC0. Você é livre para copiar, modificar, distribuir e usar este trabalho para qualquer finalidade, sem pedir permissão.
Apoie o Maker comprando produtos através do Blueprint, onde ele ganha uma Comissão Maker definida pelos vendedores, ou crie uma nova versão deste Blueprint e inclua-o como conexão no seu próprio Blueprint para compartilhar receita.