ARTE
BELEZA E BEM-ESTAR
ARTESANATO
CULTURA E HISTÓRIA
ENTRETENIMENTO
MEIO AMBIENTE
COMIDA E BEBIDAS
ENGENHARIA REVERSA
CIÊNCIAS
ESPORTES
TECNOLOGIA
TECNOLOGIA VESTÍVEL
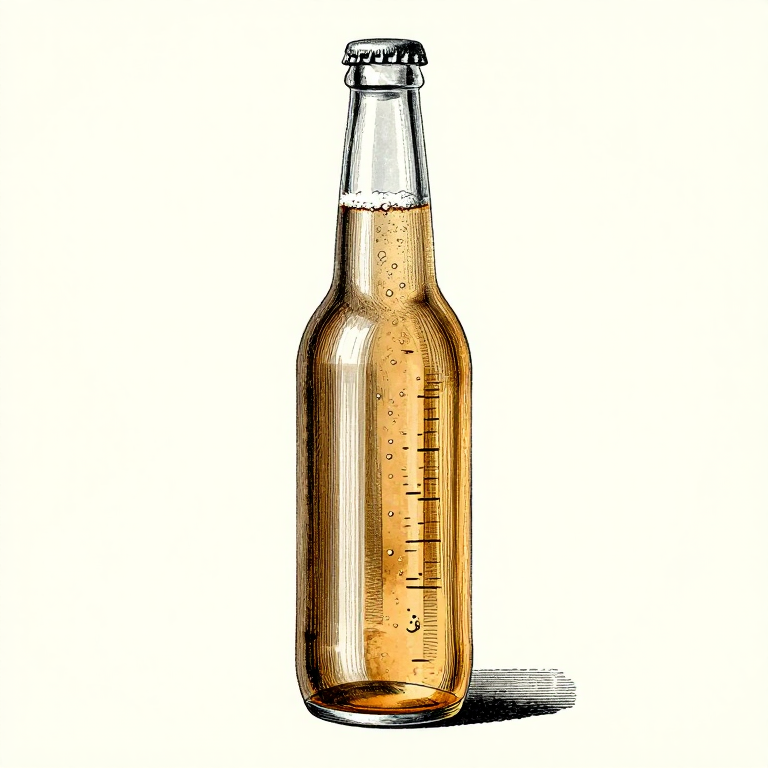


Packaging: Priming Sugar, Headspace, and the Bottle Bomb
Bottle conditioning works by giving the surviving yeast a measured amount of sugar in a sealed container. It ferments, the CO2 cannot escape, and the drink carbonates.
The danger is that the yeast does not know when to stop. Give it too much sugar — or bottle before fermentation finished, which is the same thing — and the pressure keeps rising until the bottle fails. A glass bottle failing under pressure is genuinely dangerous, and it is the one real hazard in home brewing.
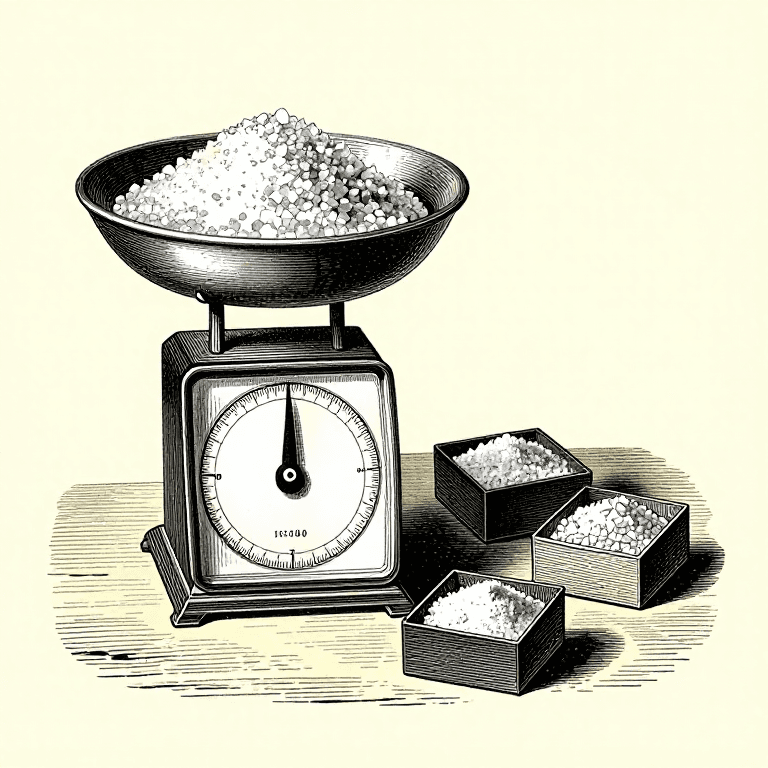
The arithmetic that prevents it is simple and worth doing every single time: a weight of sugar, calculated from the volume and the carbonation wanted, and a final gravity that has been stable for days.
Avançado
3 hours
Instruções
1
1
Priming sugar, calculated not guessed
Priming sugar, calculated not guessed
A carregar o notebook Jupyter…
Materiais para este passo:
 Mel1 peça
 Água1 litro
Ferramentas necessárias:
 Balança de precisão
 Computador de secretária
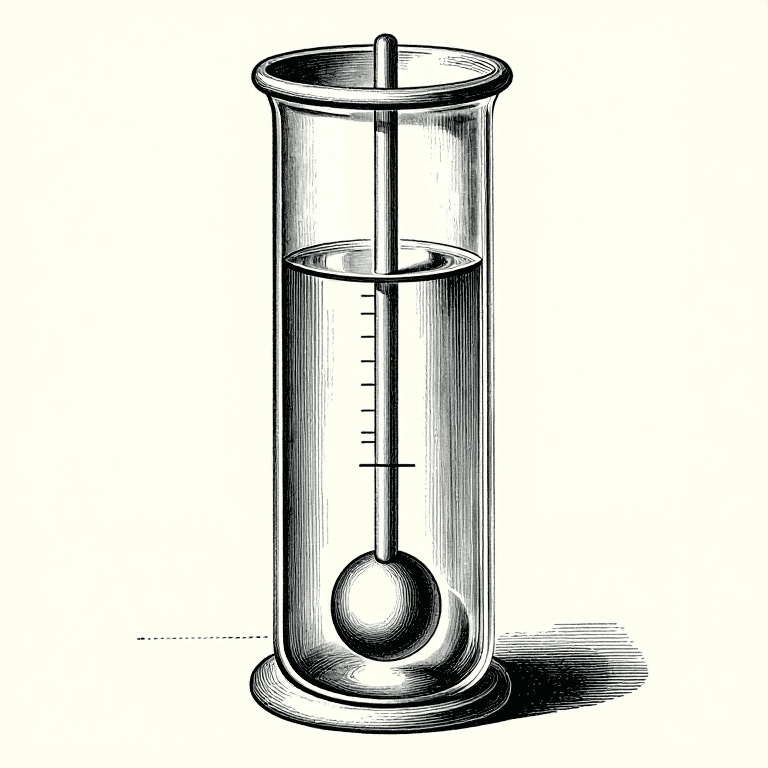
 Densímetro e proveta de fabrico
2
2
Mix the sugar into the batch, not into the bottles
Mix the sugar into the batch, not into the bottles
Dissolve the weighed sugar in a little boiled water, cool it, put it in the bottling vessel, and rack the beer gently onto it. The racking mixes it without splashing.
Priming each bottle individually is where inconsistent carbonation comes from, and inconsistent means some bottles are flat and some are over-pressure. A measured tablet or drop per bottle is more consistent than a spoon and still less consistent than batch priming.
Stir gently once, if at all. Vigorous stirring at this stage is oxygen introduction at the very last moment, which the oxygen rung says is when the beer is most vulnerable — it will be sitting in the bottle for months.
Materiais para este passo:
Mel1 peçaÁgua1 litroFerramentas necessárias:
 Sifão automáticoBalança de precisão
 Recipiente de fermentação (garrafão de vidro)
3
3
Fill low, cap high, and leave the right headspace
Fill low, cap high, and leave the right headspace
Fill from the bottom of the bottle with the tube all the way down, and let the level rise. Leave about 25 mm of headspace — enough for the cap to seat and for the liquid to expand, and no more than that.
Too little headspace risks the cap being pushed off; too much is a reservoir of air that will oxidise the beer over the months it is stored. Consistent fill height is also what makes the carbonation consistent between bottles.
Cap immediately after filling. A row of open filled bottles waiting to be capped is a row of bottles taking on oxygen and whatever is in the air, which is the sanitation rung arriving at the very last step.
Ferramentas necessárias:
 Capsulador de garrafas
 Cápsulas coroaSifão automático
 Conjunto de limpeza e desinfeção para fabrico de cerveja
4
4
Condition warm, then cold, and test one
Condition warm, then cold, and test one
Leave the bottles at fermentation temperature for two weeks. The yeast needs warmth to work through the priming sugar, and bottles put straight into a cold store stay flat until they are warmed again.
Then open one. That is a real measurement: if it is under-carbonated, the rest need longer; if it gushes, move the whole batch somewhere cool and drink it quickly. Testing one bottle at two weeks is how a problem is found while it can still be managed.
After conditioning, cold storage slows everything and keeps it stable. And record what went into the batch — the priming weight, the volume, the temperature, the date — because a carbonation that came out exactly right is worth being able to repeat.
Ferramentas necessárias:
 Termómetro de leitura instantâneaBalança de precisão
Ferramentas necessárias
9- Referência
- Referência
- Densímetro e proveta de fabrico10% de comissãoReferência
- Referência
- Referência
- Referência
- Conjunto de limpeza e desinfeção para fabrico de cerveja10% de comissãoReferência
- Referência
Blueprints relacionados
Estes blueprints compartilham conhecimento — técnicas, materiais ou princípios

CC0 Domínio Público
Este blueprint é liberado sob CC0. Você é livre para copiar, modificar, distribuir e usar este trabalho para qualquer finalidade, sem pedir permissão.
Apoie o Maker comprando produtos através do Blueprint, onde ele ganha uma Comissão Maker definida pelos vendedores, ou crie uma nova versão deste Blueprint e inclua-o como conexão no seu próprio Blueprint para compartilhar receita.