ARTE
BELEZA E BEM-ESTAR
ARTESANATO
CULTURA E HISTÓRIA
ENTRETENIMENTO
MEIO AMBIENTE
COMIDA E BEBIDAS
ENGENHARIA REVERSA
CIÊNCIAS
ESPORTES
TECNOLOGIA
TECNOLOGIA VESTÍVEL
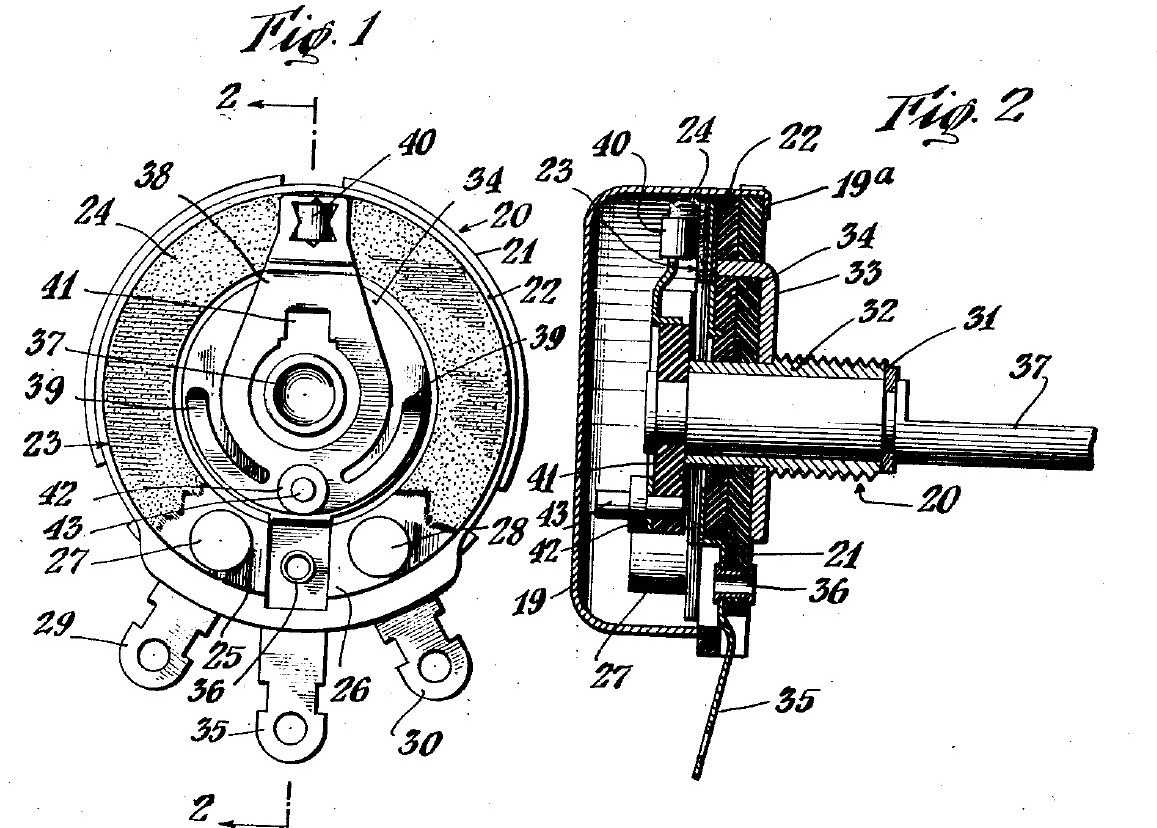


Potentiometer: Mallory Volume Control on a Tung-Oil Paper Ring
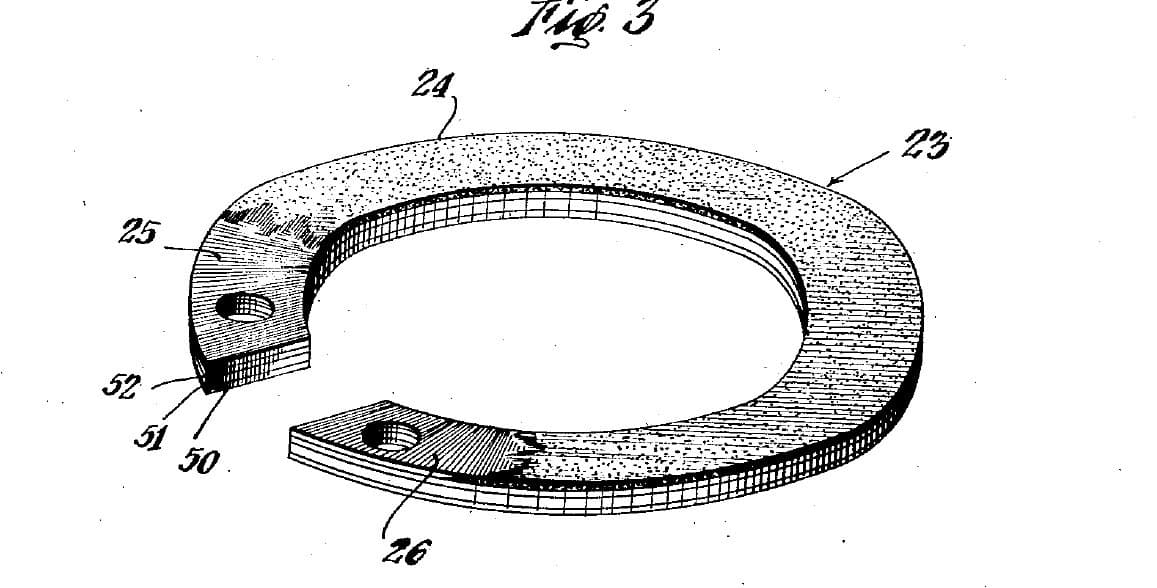
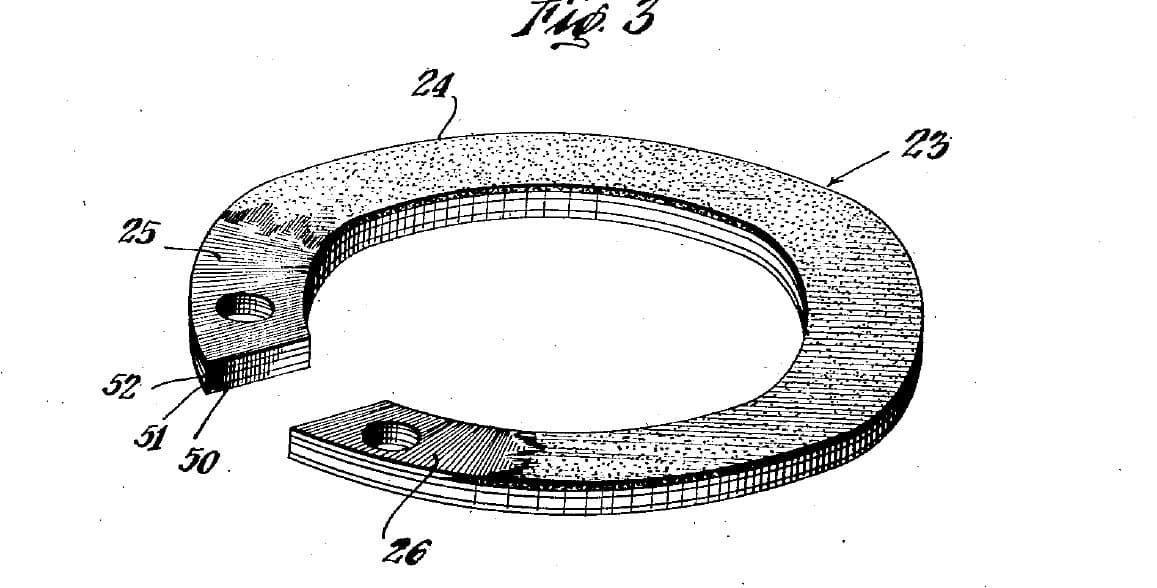
A 1930s radio volume control from Mallory's patent (US 2,144,925, 1939). A carbon ring sits on a base of two resin-fibre discs. A spring arm on the shaft wipes the ring with one contact and a centre metal ring with its fingers, so turning the knob changes the resistance between the centre lug and either end lug. The patent gives no sizes; the parts are named by what they do.
The picture: the patent's drawing (Figs. 1 and 2).
Intermediário
2 hours
Instruções
1
1
Clamp the two base discs on the bushing
Clamp the two base discs on the bushing
Stack two discs of resin-impregnated fibre. A metal bushing through their centres clamps them together, with a metal disc clamped against the back of the rear disc. Ours: close the bushing with a hammer and rivet set.
Materiais para este passo:
 Disco de fibra impregnada com resina2 peças
 Bucha metálica1 peça
 Disco de reforço metálico1 peça
Ferramentas necessárias:
 Martelo de rebitar
 Jogo de rebitar
2
2
Fit the centre contact ring
Fit the centre contact ring
Lay the metal contact ring, with its own terminal lug, on the face of the front disc, centred. An eyelet (or rivet) through the lug holds it. Ours: set with a rivet set and hammer.
Materiais para este passo:
 Anel de contacto com terminal1 peça
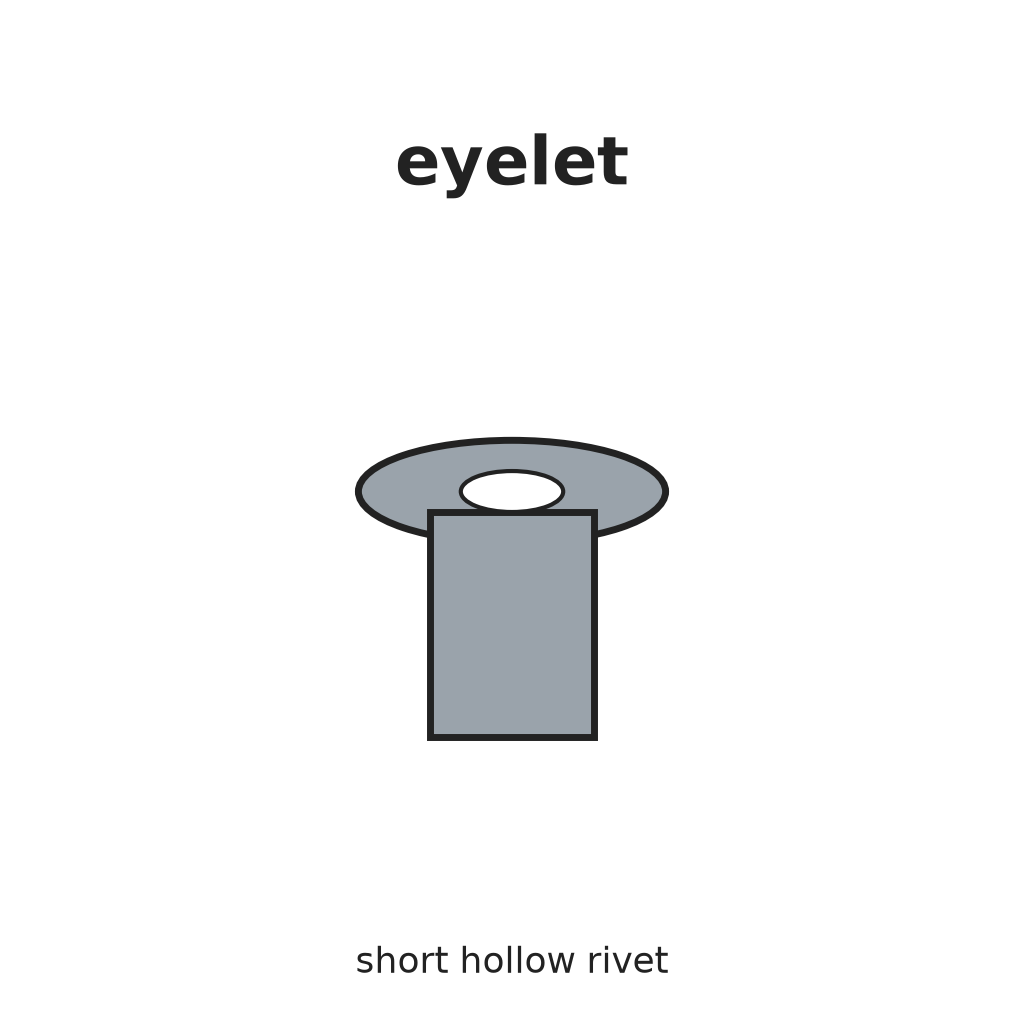 Ilhós1 peça
Ferramentas necessárias:
Martelo de rebitarJogo de rebitar3
3
Bolt on the resistance ring
Bolt on the resistance ring
Lay the carbon resistance ring on the front disc, round the contact ring. Two terminal bolts pass through the ring's silver-painted ends and the disc; each holds a terminal lug under the disc. The bolts clamp the ring and connect its ends.
Materiais para este passo:
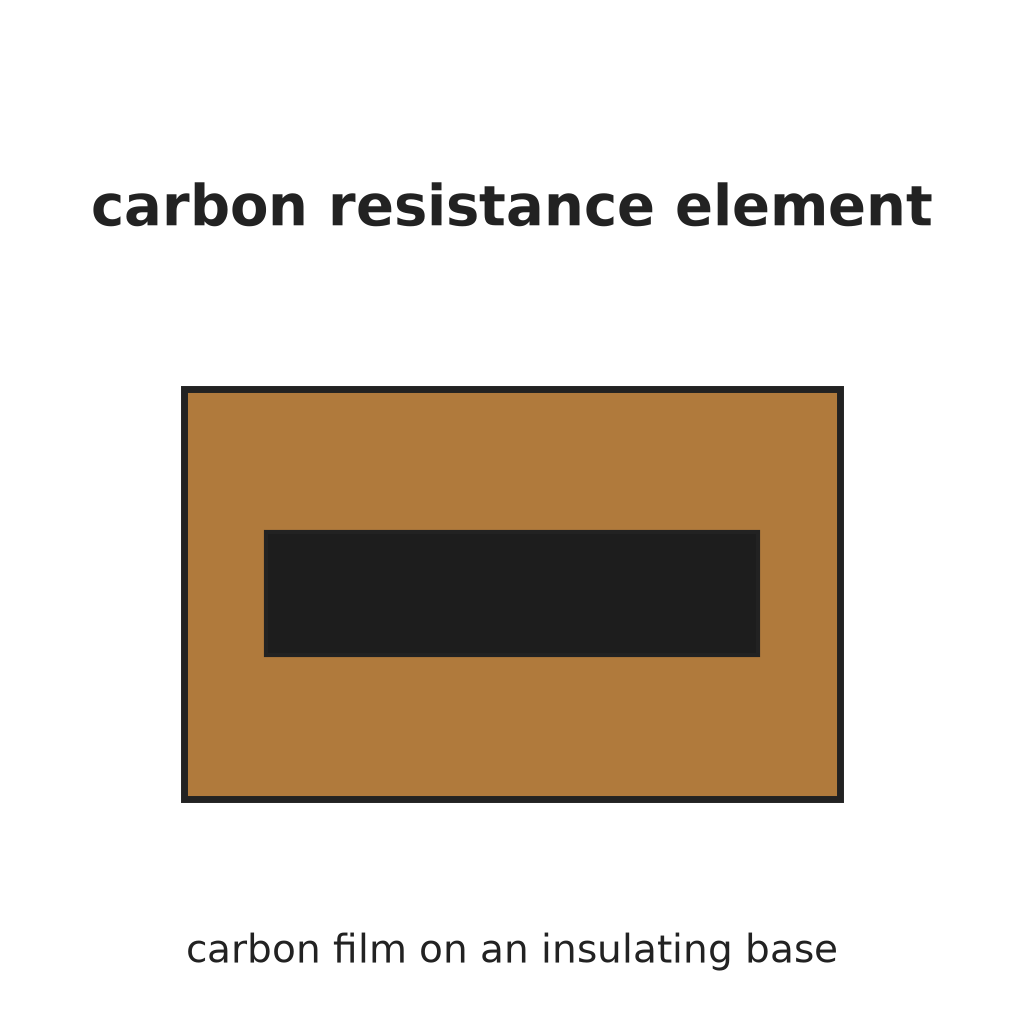 Elemento de resistência de carbono1 peça
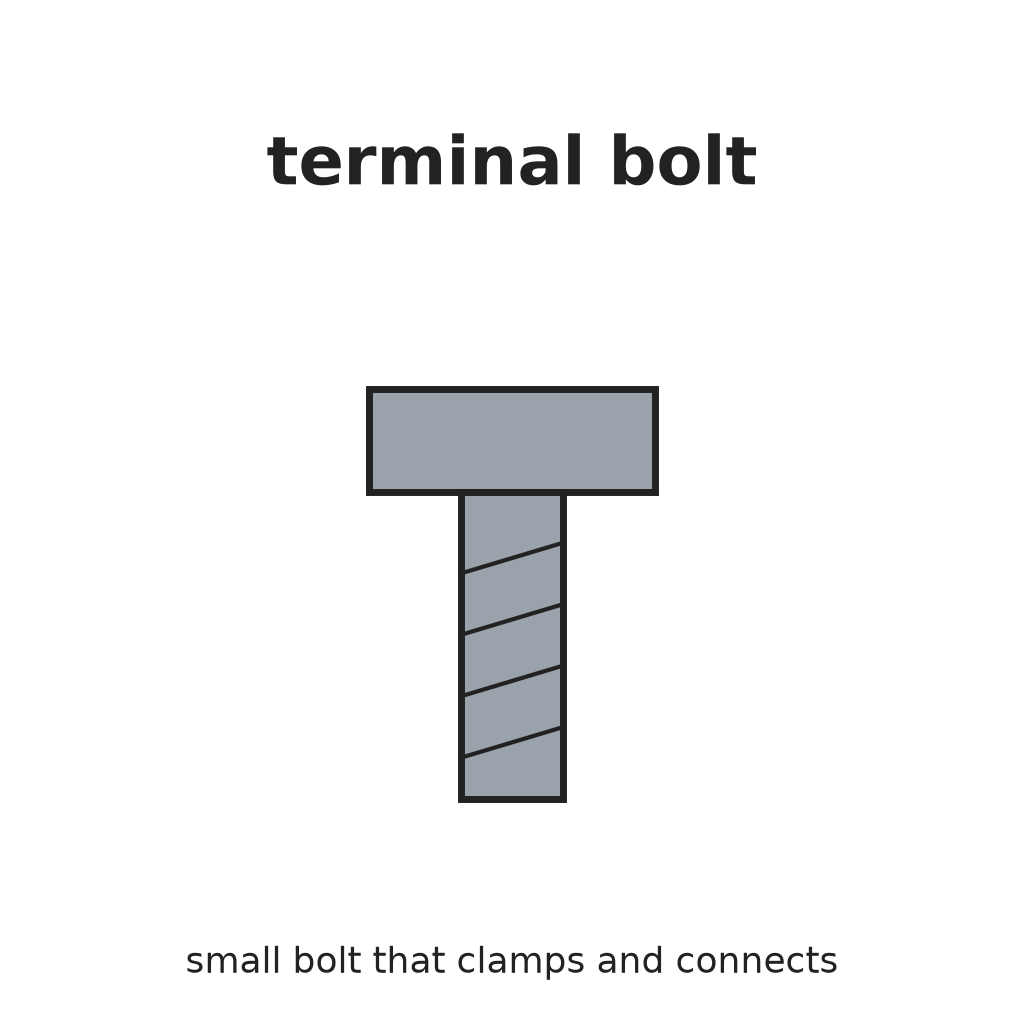 Parafuso de terminal2 peças
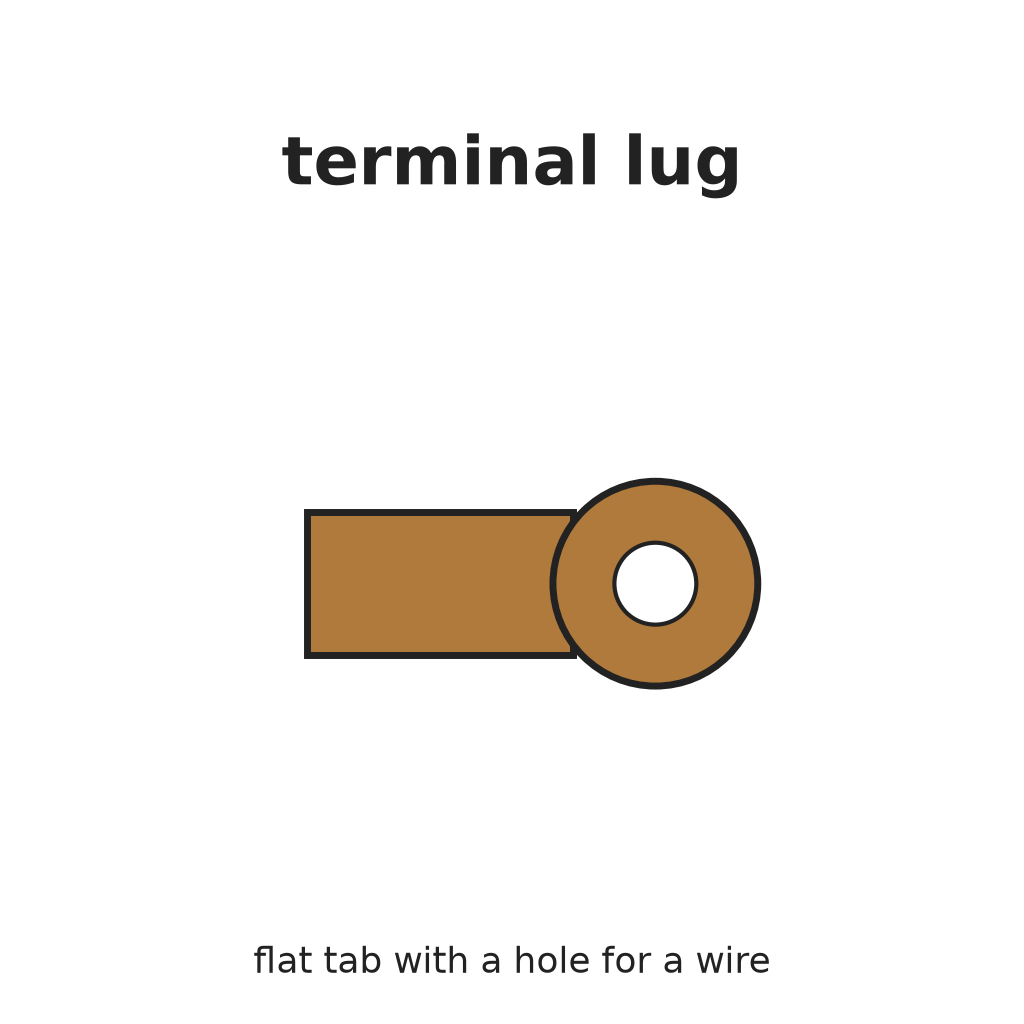 Terminal de cabo2 peças
Ferramentas necessárias:
 Alicate de bico fino
4
4
Fit shaft and spring contact arm
Fit shaft and spring contact arm
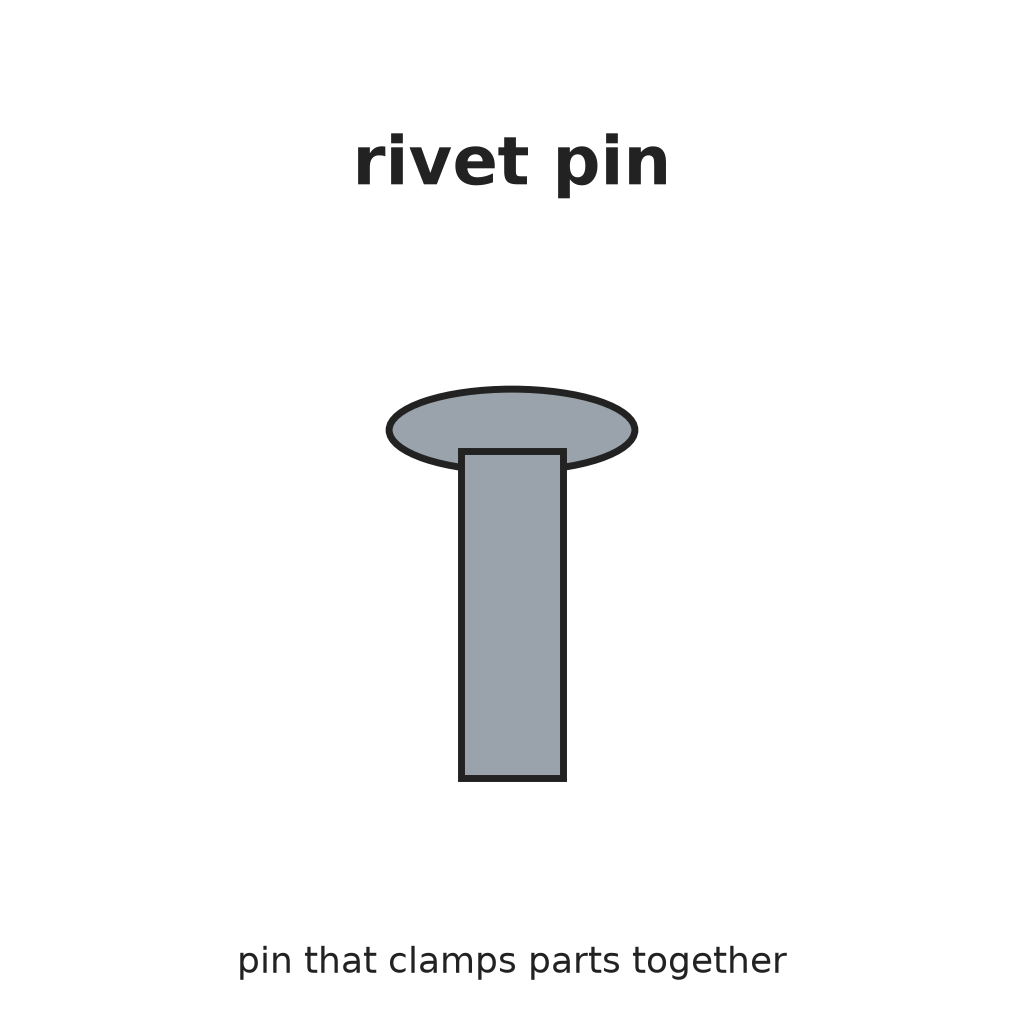
Put the shaft through the bushing. On its front end fix the spring contact arm over a small piece of sheet insulation: upset the shaft end to hold the insulation, and clamp arm and insulation together with a rivet pin. The arm's contactor rides on the carbon track, its fingers on the contact ring.
Materiais para este passo:
 Eixo de comando1 peça
 Braço de contacto elástico1 peça
 Folha isolante1 peça
 Pino de rebite1 peça
Ferramentas necessárias:
Martelo de rebitarJogo de rebitar5
5
Clip washer and cover
Clip washer and cover
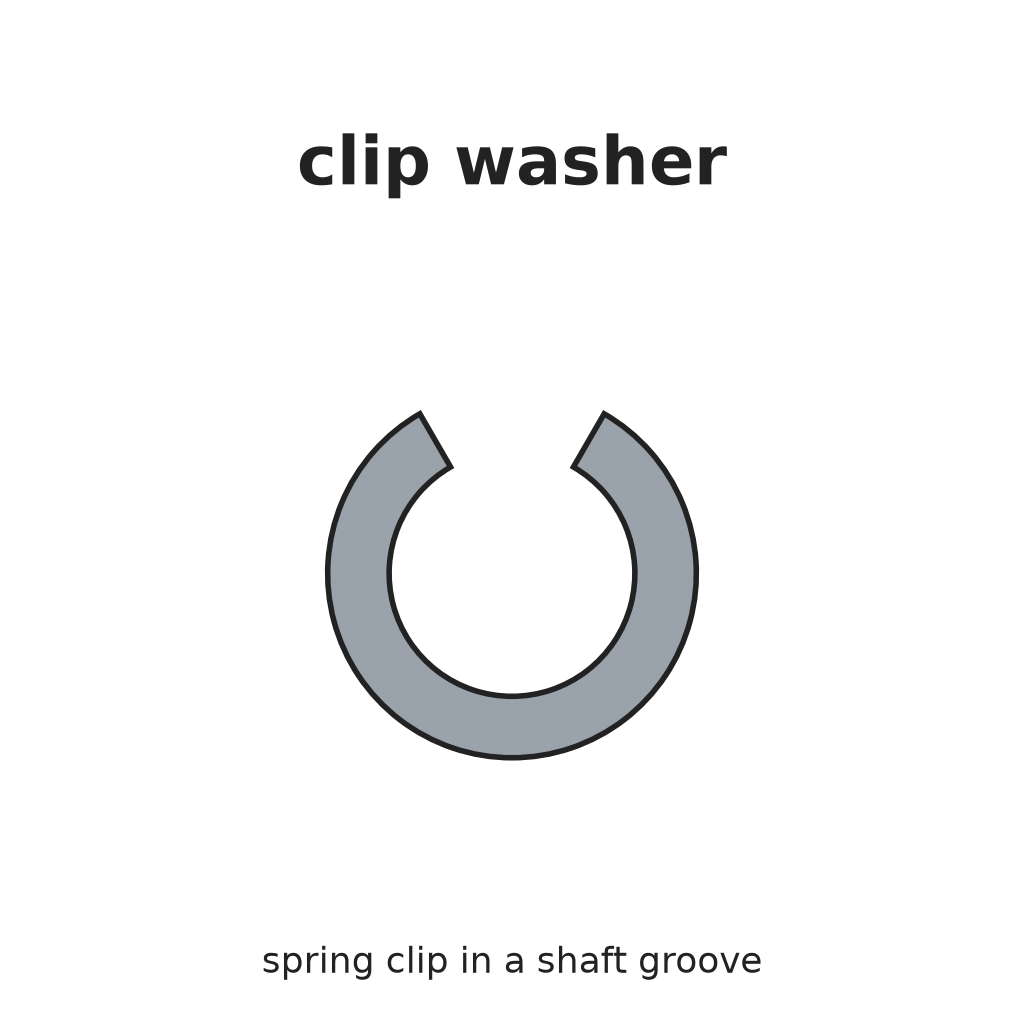
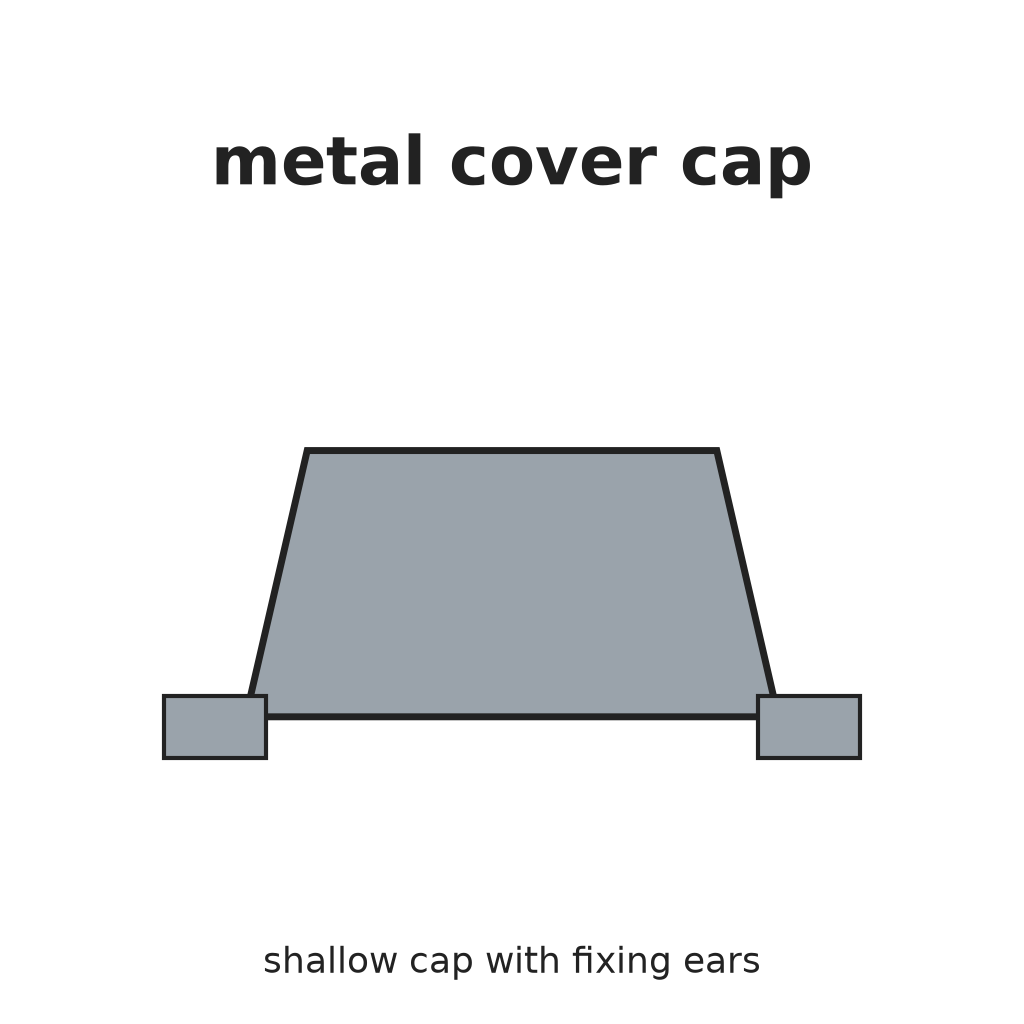
Snap a clip washer into the groove in the shaft behind the bushing. It stops the shaft sliding and keeps the arm and fingers pressed on their rings. Fix the metal cover cap over the parts by bending its ears onto the discs.
Materiais para este passo:
 Arruela de pressão1 peça
 Tampa metálica com abas1 peça
Ferramentas necessárias:
Alicate de bico fino Alicate de bico chato
Materiais
14- Referência
- 1 peçaReferência
- Referência
- Referência
- 1 peçaReferência
- Referência
- 2 peçasReferência
- 2 peçasReferência
- 1 peçaReferência
- Referência
- 1 peçaReferência
- 1 peçaReferência
- 1 peçaReferência
- 1 peçaReferência
Este projeto faz

Blueprints relacionados
Estes blueprints compartilham conhecimento — técnicas, materiais ou princípios
CC0 Domínio Público
Este blueprint é liberado sob CC0. Você é livre para copiar, modificar, distribuir e usar este trabalho para qualquer finalidade, sem pedir permissão.
Apoie o Maker comprando produtos através do Blueprint, onde ele ganha uma Comissão Maker definida pelos vendedores, ou crie uma nova versão deste Blueprint e inclua-o como conexão no seu próprio Blueprint para compartilhar receita.