ARTE
BELEZA E BEM-ESTAR
ARTESANATO
CULTURA E HISTÓRIA
ENTRETENIMENTO
MEIO AMBIENTE
COMIDA E BEBIDAS
FUTURO VERDE
ENGENHARIA REVERSA
CIÊNCIAS
ESPORTES
TECNOLOGIA
TECNOLOGIA VESTÍVEL
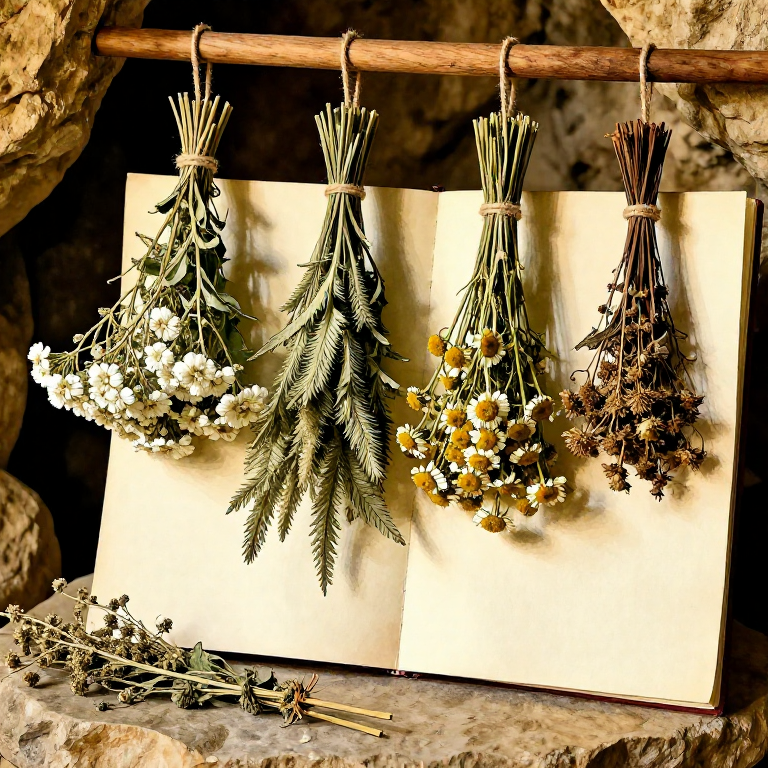
Drying Medicinal Herbs for Winter Storage — Preserving Nature's Pharmacy
Once prehistoric humans discovered which plants healed wounds, eased pain, and reduced fever, the next critical innovation was preserving them. Fresh yarrow, willow bark, chamomile, and plantain grow only during specific seasons, but injuries and illness strike year-round. Air-drying is the oldest known preservation method for plant material — evidence of dried herb bundles dates back tens of thousands of years in cave sites across Europe and the Middle East. The process removes moisture while retaining the volatile oils and active compounds that give medicinal herbs their healing properties. This blueprint teaches the complete drying process: harvesting at peak potency, bundling stems, hanging in warm dry shade, testing for dryness, and storing in bark containers to keep herbs usable through winter. Every material is available in a prehistoric context — no modern tools required.
Iniciante
2-3 hours active (7-14 days drying)
Instruções
1
1
Choose Herbs at Peak Potency
Choose Herbs at Peak Potency
Harvest medicinal herbs when their active compounds are most concentrated. For flowering herbs like yarrow and chamomile, harvest when flowers are fully open but not yet wilting. For bark like willow, harvest in spring when sap flows freely.
Materiais para este passo:
 Yarrow (Achillea millefolium)200 g
2
2
Harvest in Dry Morning Conditions
Harvest in Dry Morning Conditions
Gather herbs after morning dew has evaporated but before the midday sun draws volatile oils from the leaves. Wet plant material is prone to mould during drying. Avoid harvesting after rain — wait at least one full dry day.
3
3
Inspect Each Plant for Quality
Inspect Each Plant for Quality
Examine every stem, leaf, and flower head. Discard any plant material showing brown spots, insect damage, mildew, or wilting. Only healthy, undamaged plant parts retain full medicinal properties after drying.
4
4
Shake Off Insects and Debris
Shake Off Insects and Debris
Gently shake each stem over the ground to dislodge spiders, beetles, and small insects. Remove any grass, dead leaves, or foreign plant material mixed in with the harvest.
5
5
Rinse Roots and Bark Only
Rinse Roots and Bark Only
If drying roots or bark, rinse briefly in clean water to remove soil and grit. Do not rinse leaves or flowers — water delays drying and can wash away surface oils. Pat rinsed roots dry immediately.
Materiais para este passo:
 Clean Water500 ml
6
6
Sort Herbs by Type
Sort Herbs by Type
Separate different herb species into distinct piles. Each species dries at a different rate — thick-stemmed plants take longer than thin-leaved ones. Mixing species leads to some herbs overdrying while others remain damp and spoil.
7
7
Bundle Stems in Small Groups
Bundle Stems in Small Groups
Gather 5 to 8 stems of the same species together. Avoid large bundles — air must circulate around every stem for even drying. Thick bundles trap moisture in the centre and cause the inner stems to rot.
8
8
Tie Bundles at the Stem Ends
Tie Bundles at the Stem Ends
Bind each bundle tightly at the cut end of the stems using plant fiber cordage. Wrap the cord several times and tie a secure knot. Leave a long tail of cord for hanging. As stems shrink during drying, retighten the binding after 2 to 3 days.
Materiais para este passo:
 Cordage3 metros
9
9
Select a Warm, Dry, Shaded Location
Select a Warm, Dry, Shaded Location
Choose a spot with good air circulation, consistent warmth, and no direct sunlight. A sheltered rock overhang, the inside of a lean-to, or a cave entrance facing away from prevailing wind works well. Direct sun degrades volatile oils and bleaches the herbs.
10
10
Hang Bundles Upside Down
Hang Bundles Upside Down
Suspend each bundle with the flower or leaf end pointing downward and the tied stem end at the top. Hanging upside down draws the plant oils from the stems into the leaves and flowers as the plant dries, concentrating the medicinal compounds.
Materiais para este passo:
Cordage2 metros11
11
Space Bundles for Air Circulation
Space Bundles for Air Circulation
Hang bundles at least 10 cm apart from each other. They should not touch. Crowded bundles restrict airflow and create damp pockets where mould grows. Air must flow freely around all sides of every bundle.
12
12
Lay Thick Roots on a Flat Stone Surface
Lay Thick Roots on a Flat Stone Surface
Roots, bark strips, and thick plant parts that cannot be bundled should be spread in a single layer on a clean flat stone in the drying area. Turn them once daily to ensure even drying on all surfaces.
Ferramentas necessárias:
 Flat Stone Slab
13
13
Check Daily for Mould
Check Daily for Mould
Inspect every bundle each day for white or grey fuzzy spots, musty odour, or dark discoloration. Remove and discard any affected stems immediately — mould spreads rapidly to neighbouring bundles. Increase air circulation if mould appears.
14
14
Test Dryness After 7 to 14 Days
Test Dryness After 7 to 14 Days
After one to two weeks, test the herbs. Properly dried leaves should crumble when rubbed between your fingers. Stems should snap cleanly, not bend. Flowers should be papery and hold their shape. If any part bends rather than snaps, continue drying.
15
15
Strip Dried Leaves from Stems
Strip Dried Leaves from Stems
Once fully dry, run your hand along each stem from top to bottom. The brittle dried leaves and flower petals will break away cleanly. Collect the stripped material on a clean flat stone surface. Discard the bare stems.
Ferramentas necessárias:
Flat Stone Slab16
16
Crush to Desired Size
Crush to Desired Size
For wound poultices, leave the dried material in small crumbled pieces. For teas and decoctions, crush further using a smooth stone against a flat surface to create a coarse powder. Do not grind to fine dust — larger pieces retain volatile oils longer in storage.
Ferramentas necessárias:
 Smooth Stone
17
17
Prepare Storage Containers
Prepare Storage Containers
Line a birch bark container, tightly woven basket, or hollow gourd with large dry leaves to create a moisture barrier. The container must seal as completely as possible to prevent humidity from rehydrating the dried herbs.
Materiais para este passo:
 Broad Dock Leaf4 peças
18
18
Fill Containers by Species
Fill Containers by Species
Store each herb species in its own container. Never mix species — each has different uses and combining them makes accurate dosing impossible. Fill containers loosely, not packed tight, to allow any residual moisture to escape.
19
19
Store in a Cool, Dark, Dry Place
Store in a Cool, Dark, Dry Place
Place sealed containers in a cool, dark area — the back of a cave, a dry root cellar, or a sheltered overhang. Heat, light, and moisture are the three enemies of dried herbs. Properly stored dried herbs retain medicinal potency for 6 to 12 months.
Materiais
4- Referência
- 500 mlReferência
- 4 peçasReferência
Ferramentas necessárias
2- Referência
- Referência
Materiais de Blueprints conectados
Blueprints relacionados
Estes blueprints compartilham conhecimento — técnicas, materiais ou princípios
Related blueprints
Other builds that share materials, tools, or techniques with this one.
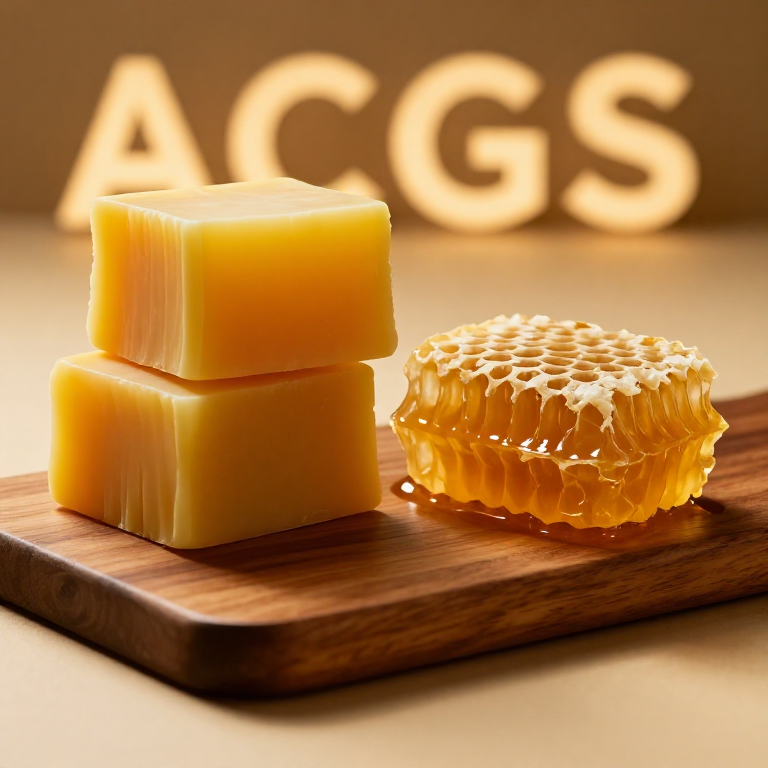
Rendering Beeswax from Honeycomb — The Original Natural Waxbiology
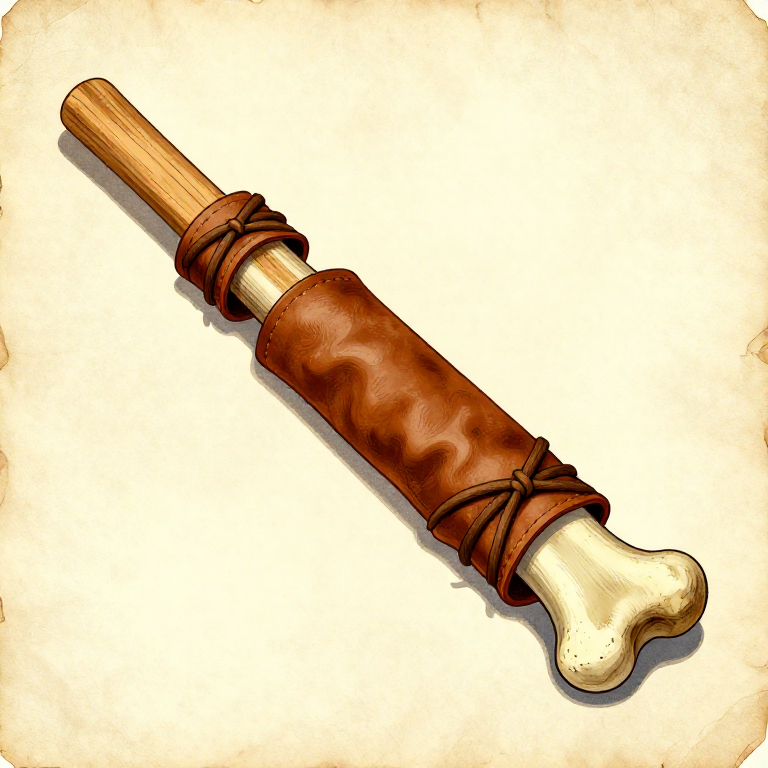
Setting a Broken Bone with a Splint and Bandage — Prehistoric Fracture Treatmentbiology
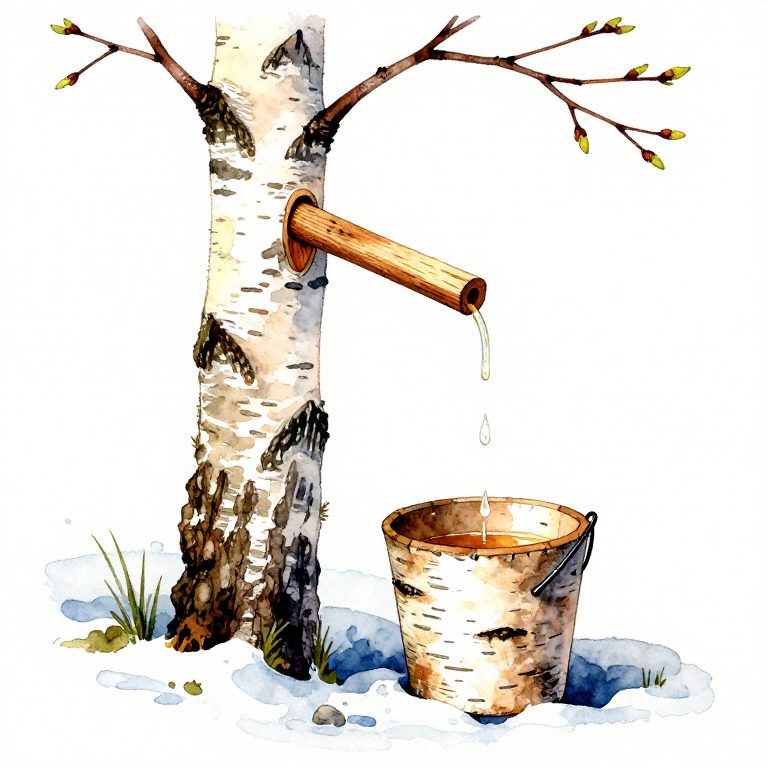
Tapping Birch Sap — Spring Harvestbiology
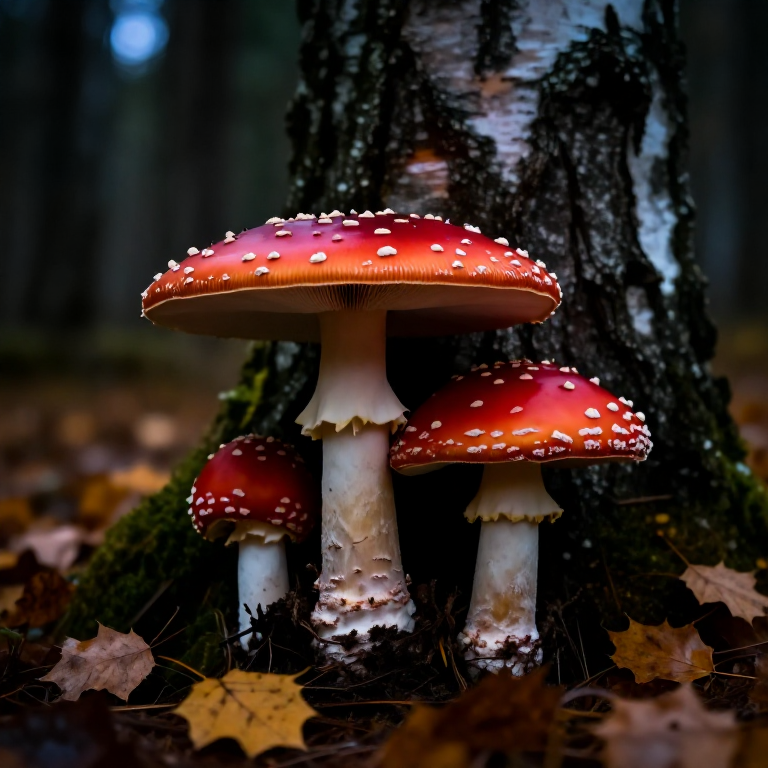
The Berserker's Fly Agaric — How Amanita muscaria May Have Fuelled Viking Battle Ragebiology
Growing a Kombucha SCOBY from Sweetened Tea — The Symbiotic Culture That Brews Itselfbiology
Selecting, Drying, and Storing Seeds for Future Planting — The Birth of Agriculturebiology
CC0 Domínio Público
Este blueprint é liberado sob CC0. Você é livre para copiar, modificar, distribuir e usar este trabalho para qualquer finalidade, sem pedir permissão.
Apoie o Maker comprando produtos através do Blueprint, onde ele ganha uma Comissão Maker definida pelos vendedores, ou crie uma nova versão deste Blueprint e inclua-o como conexão no seu próprio Blueprint para compartilhar receita.