ARTE
BELEZA E BEM-ESTAR
ARTESANATO
CULTURA E HISTÓRIA
ENTRETENIMENTO
MEIO AMBIENTE
COMIDA E BEBIDAS
FUTURO VERDE
ENGENHARIA REVERSA
CIÊNCIAS
ESPORTES
TECNOLOGIA
TECNOLOGIA VESTÍVEL
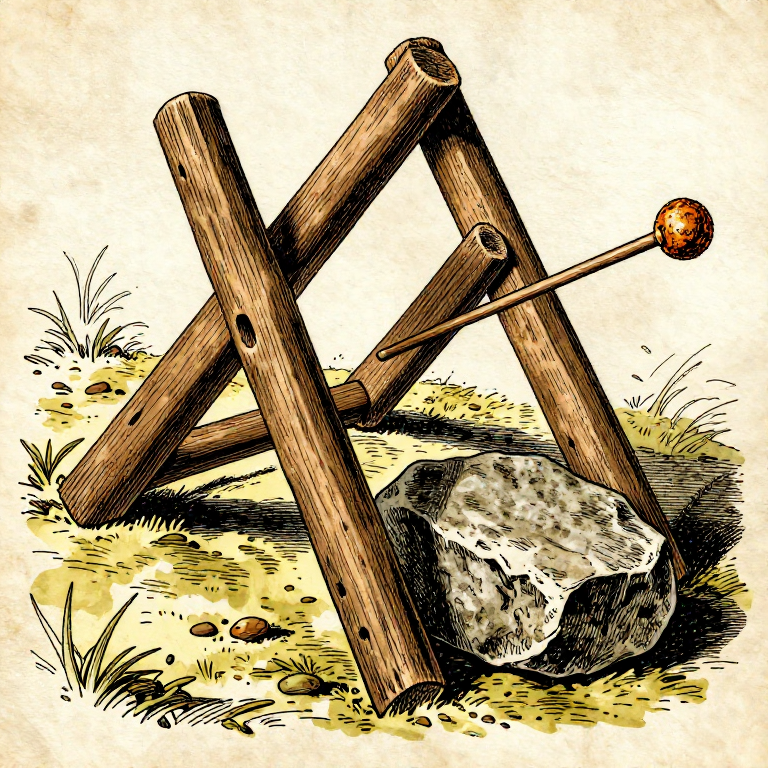
Building a Figure-4 Deadfall Trap — Stone Weight Trigger Mechanism
The figure-4 deadfall is one of humanity's earliest mechanical traps — a heavy flat stone balanced on three interlocking sticks carved to form a figure-4 shape. When an animal disturbs the bait stick, the trigger collapses and the stone drops, pinning the animal beneath its weight. Unlike snares that work by restraint, a deadfall kills instantly through impact force. Archaeological and ethnographic evidence shows deadfall traps were used across every inhabited continent from the Upper Palaeolithic onward. The figure-4 mechanism is remarkably elegant: three sticks notched to interlock at precise angles create a structure that is stable enough to hold a heavy stone yet sensitive enough to collapse from the lightest touch on the bait. This blueprint teaches how to carve the three trigger components, assemble the figure-4 mechanism, select and position the deadfall stone, and set the trap on a game trail. The only tools required are a sharp stone blade and patience.
Intermediário
1-2 hours
Instruções
1
1
Select a Flat, Heavy Deadfall Stone
Select a Flat, Heavy Deadfall Stone
Find a flat stone weighing 5 to 15 kg depending on target animal size. The stone must be flat on the bottom to distribute weight evenly and heavy enough to pin an animal instantly. Test by lifting — if you struggle with one hand, it is heavy enough for rabbits.
Materiais para este passo:
 Flat Stone Slab1 peça
2
2
Gather Three Straight Hardwood Sticks
Gather Three Straight Hardwood Sticks
Find three straight, dry hardwood sticks each approximately 20 to 25 cm long and 1.5 to 2 cm thick. Use dead, seasoned wood — green wood flexes under load and the trigger will not hold. Oak, ash, hazel, or birch work well. Avoid softwoods like pine.
Materiais para este passo:
 Hardwood Sapling3 peças
3
3
Carve the Vertical Post (Upright Stick)
Carve the Vertical Post (Upright Stick)
Take the first stick. Carve a flat chisel edge at the top end — this rests against the underside of the stone. At the bottom, carve a square notch on one side, about 3 cm from the base. This notch receives the horizontal bait stick.
Ferramentas necessárias:
 Flint Knife
4
4
Carve the Diagonal Support (Lever Stick)
Carve the Diagonal Support (Lever Stick)
Take the second stick. Sharpen one end to a flat chisel point — this presses against the stone's underside at an angle. At the other end, carve a square notch that will interlock with the vertical post. The notch faces downward when the stick angles from stone to ground.
Ferramentas necessárias:
Flint Knife5
5
Carve the Horizontal Bait Stick (Trigger)
Carve the Horizontal Bait Stick (Trigger)
Take the third stick. Carve a square notch near one end that interlocks with the notch on the vertical post. The opposite end holds the bait and extends under the stone. Sharpen this bait end to a point for skewering food.
Ferramentas necessárias:
Flint Knife6
6
Test-Fit the Three Sticks Without the Stone
Test-Fit the Three Sticks Without the Stone
Assemble the figure-4 on flat ground. The vertical post stands upright. The diagonal support angles from the top of the post toward the ground. The horizontal bait stick connects at the notch on the vertical post and extends outward. All three notches must interlock snugly.
7
7
Adjust Notch Depths for Sensitivity
Adjust Notch Depths for Sensitivity
The notches must be deep enough to hold the stone's weight but shallow enough to collapse when the bait stick is disturbed. If the trigger holds too firmly, shave the notches slightly shallower. If it collapses on its own, deepen them. Test repeatedly until the balance is right.
Ferramentas necessárias:
Flint Knife8
8
Prepare the Bait
Prepare the Bait
Skewer bait onto the pointed end of the horizontal stick. For rabbits, use leafy greens, root vegetables, or fresh herbs. For ground birds, use seeds or berries. For rodents, use nuts or dried fruit. The bait must be firmly attached so the animal tugs the stick rather than stealing the food.
9
9
Clear a Flat Base Area
Clear a Flat Base Area
Choose a flat, firm patch of ground near the game trail. Clear away loose stones, sticks, and debris from an area slightly larger than the deadfall stone. The stone must land flat against the ground — gaps underneath let the animal escape.
10
10
Position the Vertical Post
Position the Vertical Post
Stand the vertical post upright on the cleared ground. The chisel-point top faces upward toward where the stone edge will rest. The notched end sits at ground level. Press the base slightly into the soil so it does not slide.
11
11
Lean the Stone Against the Vertical Post
Lean the Stone Against the Vertical Post
Carefully lean one edge of the flat stone against the chisel point at the top of the vertical post. Hold the stone steady with one hand while you assemble the remaining trigger components with the other. The stone should lean at approximately 45 degrees.
12
12
Connect the Diagonal Support
Connect the Diagonal Support
While holding the stone, position the diagonal stick so its chisel end presses against the underside of the stone and its notched end interlocks with the top of the vertical post. The diagonal creates a rigid triangle between stone, post, and ground.
13
13
Insert the Horizontal Bait Stick
Insert the Horizontal Bait Stick
Slide the horizontal bait stick into the notch at the base of the vertical post, extending outward beneath the stone. The notch connection is the critical trigger point — when an animal pushes or pulls the bait stick, this joint separates and the entire structure collapses.
14
14
Release and Test the Set Trap
Release and Test the Set Trap
Slowly release your hold on the stone. The figure-4 mechanism should support the stone's full weight. Gently tap the bait end of the horizontal stick — the trap should collapse instantly, dropping the stone flat to the ground. If it does not, re-adjust the notch depths.
15
15
Reset and Conceal the Trap
Reset and Conceal the Trap
Reassemble the trigger mechanism with the stone in position. Scatter leaves and natural debris lightly around the base to conceal the mechanism, but keep the area directly under the stone clear. The bait must remain visible and accessible while the trigger sticks blend into the surroundings.
16
16
Mark the Location and Check Daily
Mark the Location and Check Daily
Place a distinctive marker — a stack of small stones or a broken branch in a pattern — near the trap so you can find it again. Check the trap at dawn and dusk. Reset after each trigger event whether successful or not. Replace bait daily to keep it fresh and attractive.
Materiais
2- 1 peçaReferência
- 3 peçasReferência
Materiais de Blueprints conectados
Blueprints relacionados
Estes blueprints compartilham conhecimento — técnicas, materiais ou princípios
Related blueprints
Other builds that share materials, tools, or techniques with this one.
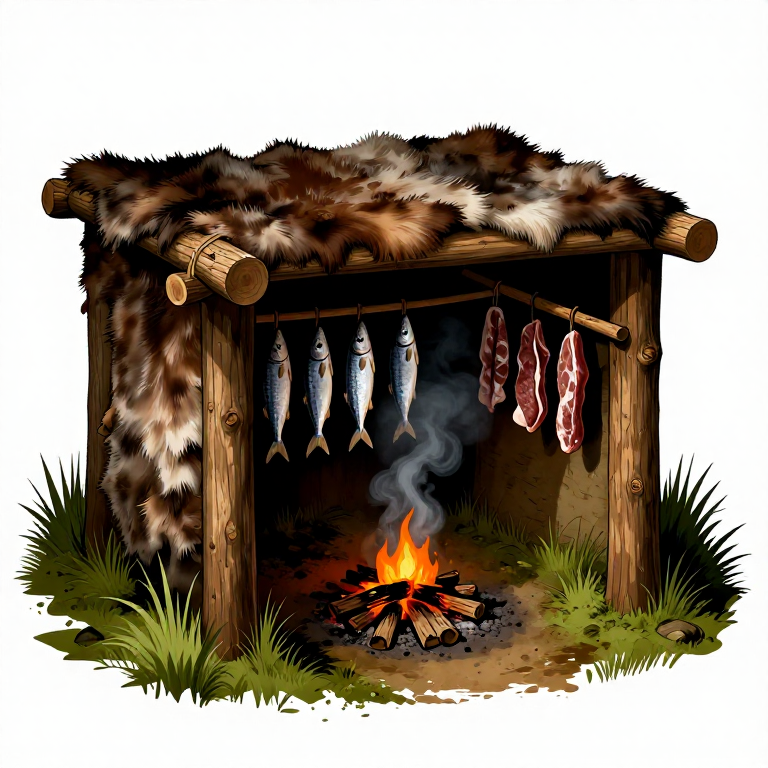
Building a Prehistoric Smokehouse — Semi-Permanent Pole Frame for Meat and Fish Preservationsurvival
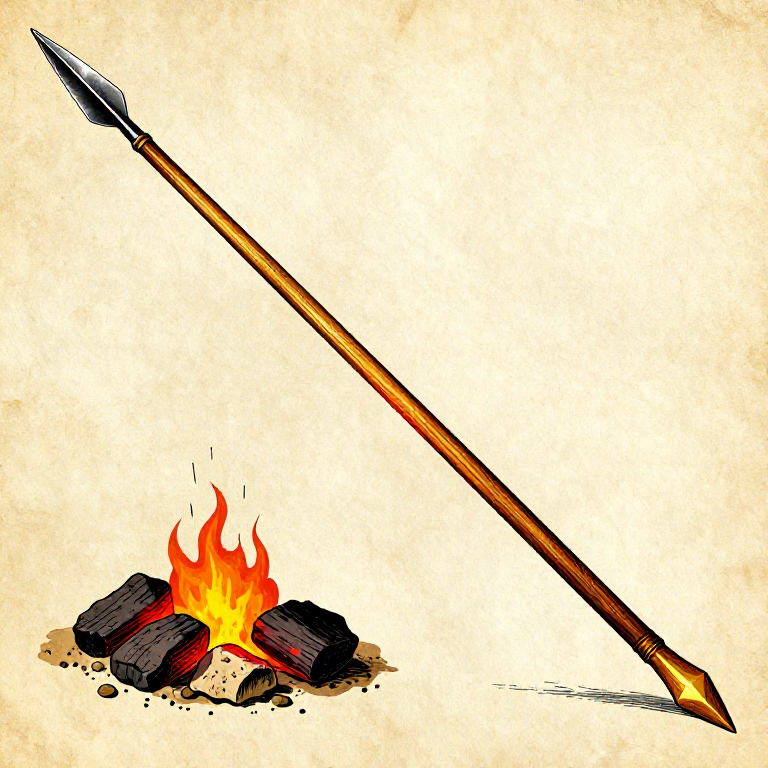
Making a Fire-Hardened Hunting Spear — The Oldest Weaponsurvival
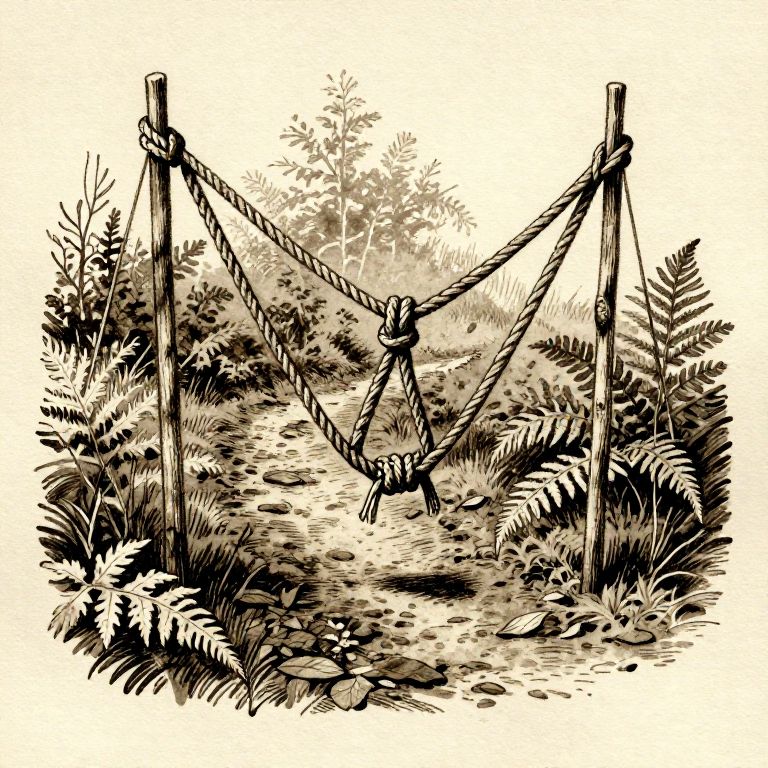
Setting a Simple Snare Trap on a Game Trail — Cordage Loop Huntingsurvival
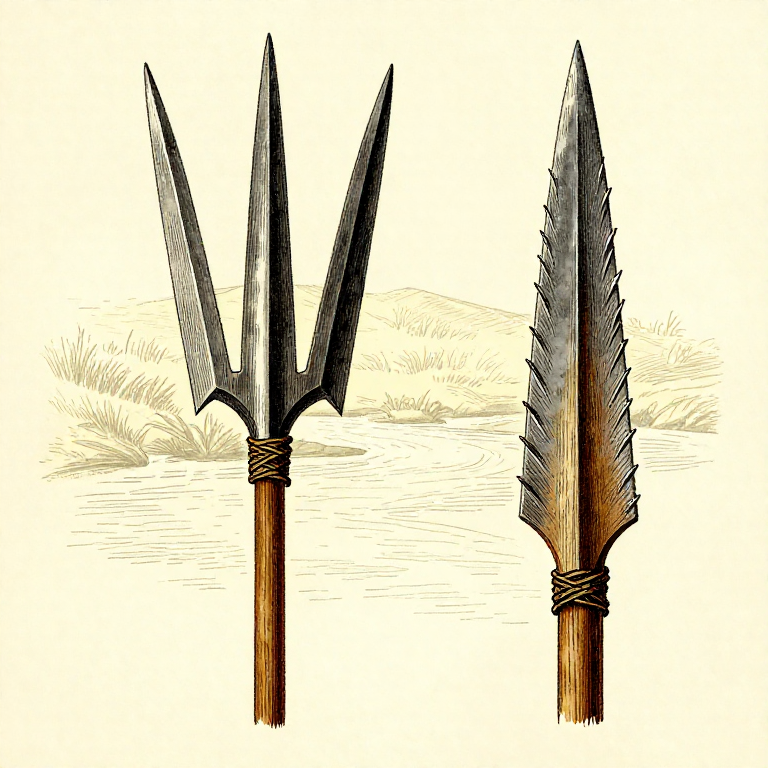
Making a Fishing Spear (Leister) — Multi-Pronged Fish Gigsurvival
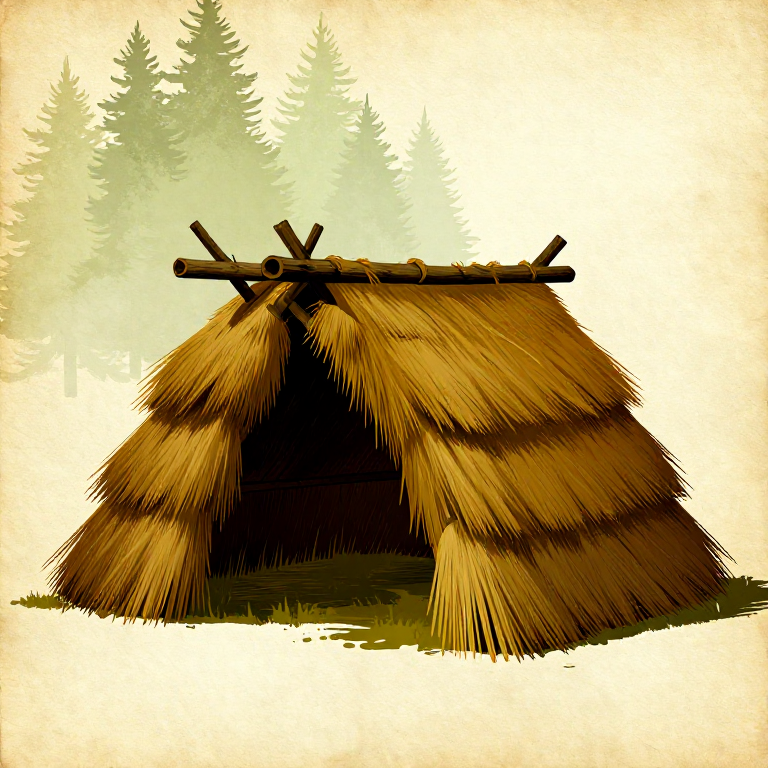
Building a Thatched Lean-To Shelter — Basic Wind and Rain Protectionsurvival
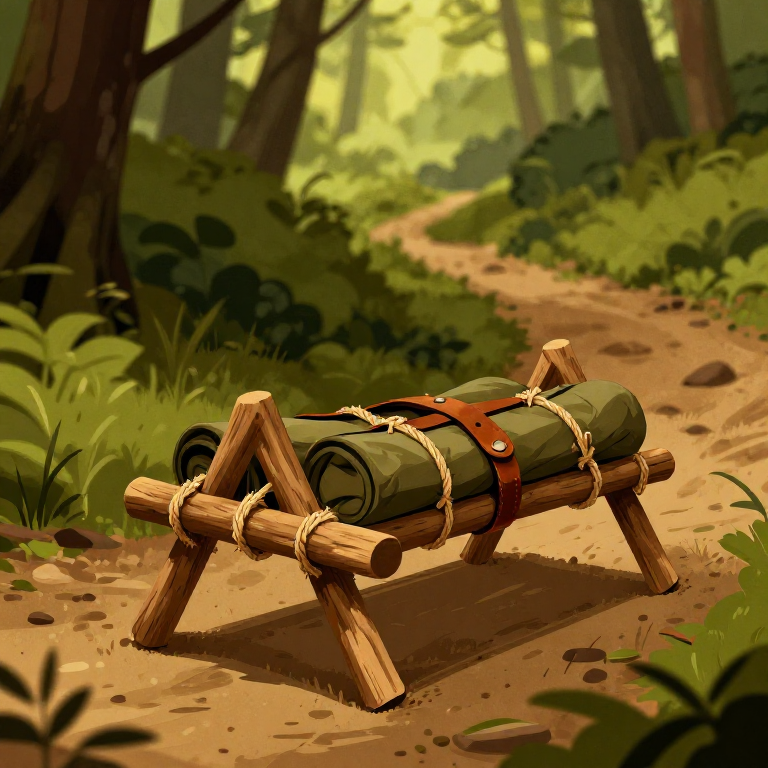
Building a Carrying Frame (Pack Frame) — Wooden Backpack for Heavy Loadssurvival
CC0 Domínio Público
Este blueprint é liberado sob CC0. Você é livre para copiar, modificar, distribuir e usar este trabalho para qualquer finalidade, sem pedir permissão.
Apoie o Maker comprando produtos através do Blueprint, onde ele ganha uma Comissão Maker definida pelos vendedores, ou crie uma nova versão deste Blueprint e inclua-o como conexão no seu próprio Blueprint para compartilhar receita.