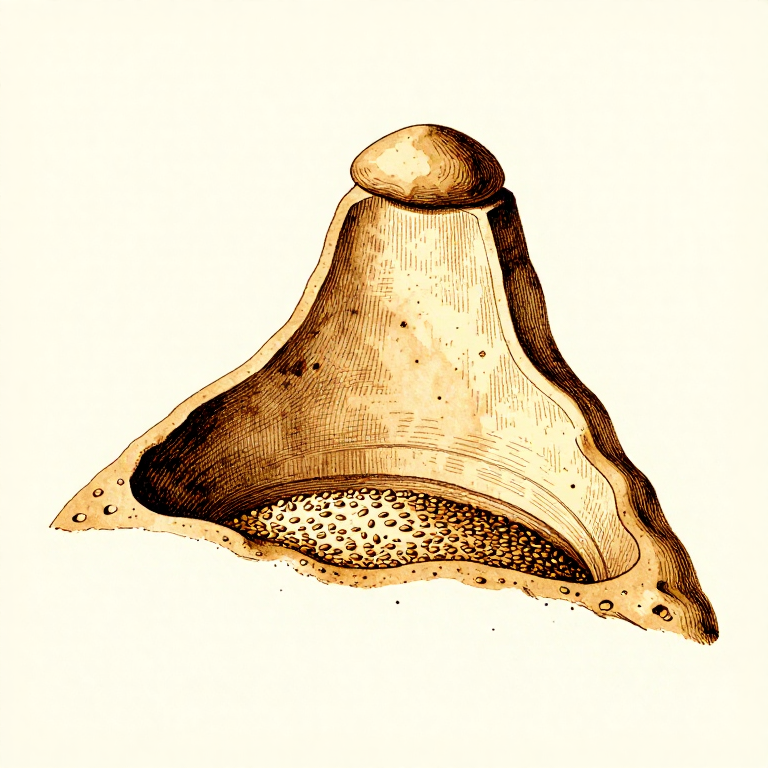
Digging a Grain Storage Pit — Underground Sealed Granary
Instruções
Choose Location and Dig the Pit
Choose Location and Dig the Pit
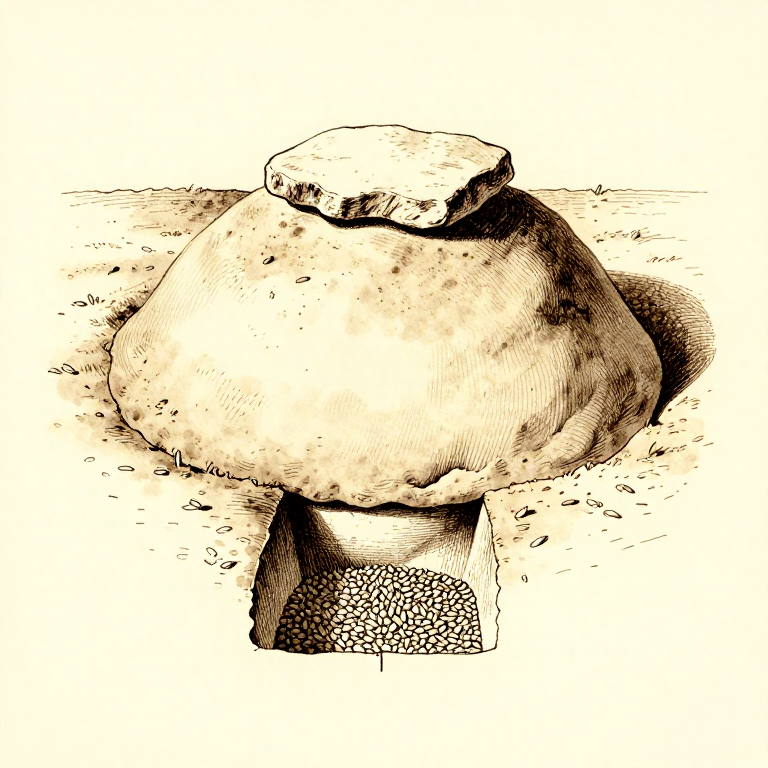
Select a site on well-drained high ground — waterlogged soil is unsuitable because moisture will ruin the grain. Dig into stable subsoil (chalk, clay, or compacted glacial till) to a depth of 1-1.5 metres. The pit should be bell-shaped or beehive-shaped: a narrow opening at the top (40-50 cm diameter) widening to a broader chamber below (80-120 cm diameter). This shape maximises storage volume while minimising the opening that must be sealed. The narrow opening also prevents collapse of the pit walls. Archaeological grain pits at Danebury hillfort in England are typically 1.2-1.8 metres deep with this classic bell profile.
Materiais para este passo:
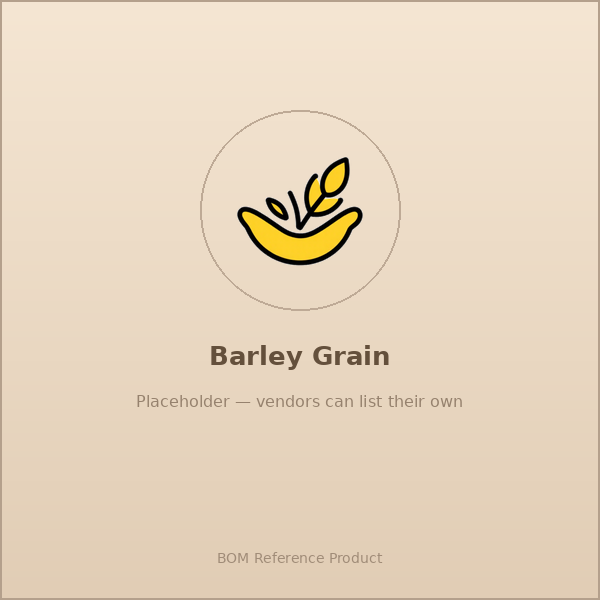 Barley Grainenough to fill the pit peça
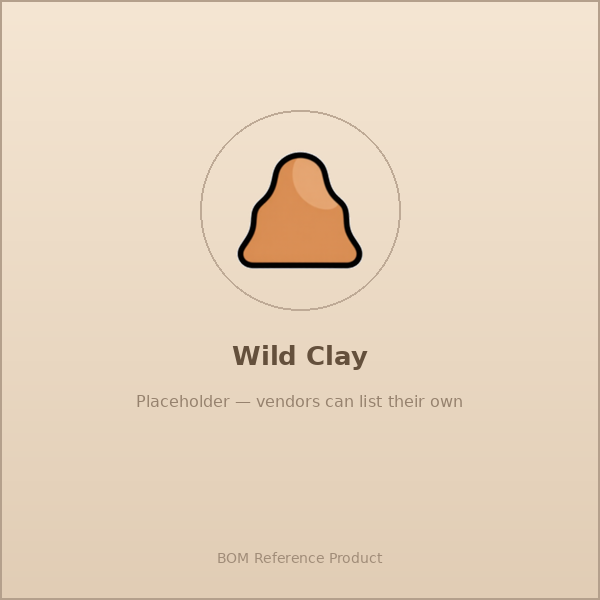 Clayenough for a thick cap peça
 Flat Stone (Trowel / Shaping Tool)1 large piece peça
Ferramentas necessárias:
 Digging Tool (Stone / Antler / Stick)
 Harvest Basket
Line and Prepare the Interior
Line and Prepare the Interior
Line the walls and floor of the pit with a thick layer of dry straw or chaff. This lining serves as insulation and prevents the grain from coming into direct contact with the damp earth. Some prehistoric communities fired the interior of the pit with a small fire to harden the clay walls and sterilise the surface before filling — evidence of fire-blackened pit interiors is common at Iron Age sites. If the soil is very porous, smear the walls with a thin layer of clay and allow it to dry before adding the straw lining.

Fill with Dried Grain
Fill with Dried Grain
Pour thoroughly dried grain into the lined pit, filling it as close to the top as possible. The grain must be bone-dry — a moisture content below 13 percent is necessary for long-term storage. Damp grain supports fungal growth, especially Aspergillus species that produce dangerous aflatoxins. Pack the grain tightly by tamping it down as you fill. A full pit minimises the volume of trapped air, which is important for the anaerobic preservation mechanism to work. Top the grain with a final thick layer of straw before sealing.
Seal the Pit
Seal the Pit
Seal the opening with a thick cap of clay, 10-15 cm thick, smoothed and shaped to shed rainwater away from the pit mouth. Place a flat stone slab over the clay cap for additional protection. The seal must be airtight. When the pit is sealed, the remaining trapped oxygen is consumed by the grain's own respiration and by any residual aerobic micro-organisms. This produces carbon dioxide, which fills the void spaces between grains and creates an anaerobic atmosphere that kills insects and suppresses fungal growth. This self-generating carbon dioxide atmosphere is the key to the pit's preservation effectiveness.
Retrieval and Pit Lifespan
Retrieval and Pit Lifespan
When grain is needed, break the seal and remove the required amount. A thin layer of grain around the pit edges — typically 2-5 cm — will have spoiled due to moisture penetration from the soil, but the core of the grain mass remains in excellent condition. After removing grain, re-seal immediately to maintain the anaerobic environment. Once opened, the entire contents should ideally be consumed within a few weeks before aerobic deterioration begins. Each pit is typically used for 1-3 storage cycles before the walls deteriorate. Exhausted pits at prehistoric settlements were commonly reused as rubbish pits. Experimental archaeology has shown that grain stored this way remains viable as seed for planting after 12 months of sealed storage.
Materiais
4- enough to fill the pit peçaReferência
- large armful peçaReferência
- 1 large piece peçaReferência
Ferramentas necessárias
2- Referência
- Referência
Related blueprints
Other builds that share materials, tools, or techniques with this one.


CC0 Domínio Público
Este blueprint é liberado sob CC0. Você é livre para copiar, modificar, distribuir e usar este trabalho para qualquer finalidade, sem pedir permissão.
Apoie o Maker comprando produtos através do Blueprint, onde ele ganha uma Comissão Maker definida pelos vendedores, ou crie uma nova versão deste Blueprint e inclua-o como conexão no seu próprio Blueprint para compartilhar receita.