ARTE
BELEZA E BEM-ESTAR
ARTESANATO
CULTURA E HISTÓRIA
ENTRETENIMENTO
MEIO AMBIENTE
COMIDA E BEBIDAS
FUTURO VERDE
ENGENHARIA REVERSA
CIÊNCIAS
ESPORTES
TECNOLOGIA
TECNOLOGIA VESTÍVEL
Making Hide Glue by Boiling Rawhide Scraps — Prehistoric Collagen Adhesive
Hide glue is one of humanity's earliest synthetic adhesives, produced by extracting collagen protein from animal skins, tendons, and connective tissue through sustained boiling. While birch tar (made by pyrolysis) predates it, hide glue offered a different and complementary set of properties: it is water-soluble when warm, sets rigid when cool, and bonds porous materials like wood, bone, and leather with exceptional strength. Archaeological evidence of hide glue use dates back to at least the Middle Stone Age. The collagen in animal hides breaks down into gelatin when heated in water above 70 degrees Celsius — the resulting sticky liquid dries to form a hard, transparent film that can be reactivated with warmth and moisture. This made hide glue ideal for hafting stone tools, attaching feathers to arrow shafts, sealing bark containers, and joining wooden components. This blueprint teaches the hot stone boiling method for making hide glue — the technique used before pottery made direct-fire boiling possible.
Intermediário
3-4 hours
Instruções
1
1
Collect Rawhide Scraps and Trimmings
Collect Rawhide Scraps and Trimmings
Gather leftover pieces of rawhide from hide processing — ears, lips, tail, hoof edges, and any trimmings from brain tanning. Fresh scraps work best. If using dried rawhide, soak in water overnight until fully rehydrated and pliable.
Materiais para este passo:
 Raw Hide500 g
2
2
Cut Rawhide into Small Pieces
Cut Rawhide into Small Pieces
Cut the rawhide into strips or squares no larger than 3 cm across. Smaller pieces expose more surface area to the hot water, allowing collagen to dissolve faster. Use a sharp flint blade — rawhide is tough and resists tearing.
Ferramentas necessárias:
 Flint Knife
3
3
Wash the Rawhide Pieces
Wash the Rawhide Pieces
Rinse the cut rawhide thoroughly in clean water to remove dirt, blood, and fat residue. Fat contamination weakens the final glue by preventing collagen strands from bonding properly. Squeeze and agitate the pieces in water until it runs clear.
Materiais para este passo:
 Clean Water2 litros
4
4
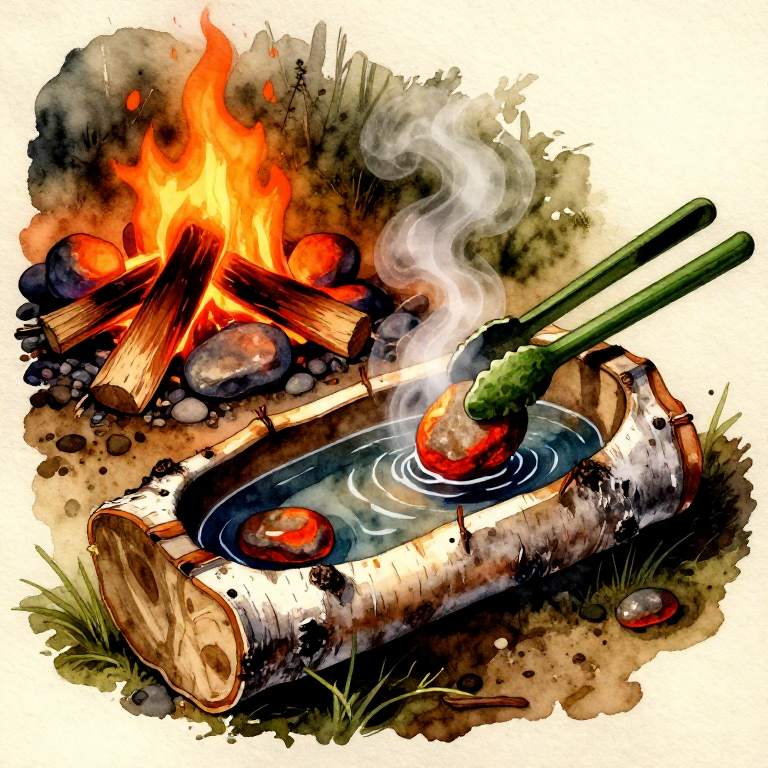
Prepare a Bark Container for Boiling
Prepare a Bark Container for Boiling
Set up a bark container or hide-lined pit filled with approximately 2 litres of clean water. The rawhide pieces must be fully submerged with at least 5 cm of water above them. Place the container near the fire for easy stone transfer.
Materiais para este passo:
 Birch Bark Sheets1 peçaClean Water2 litros
5
5
Add Rawhide Pieces to the Water
Add Rawhide Pieces to the Water
Place all the washed rawhide pieces into the water-filled container. Push them below the surface. They will float initially but should sink as they absorb water. The water-to-rawhide ratio should be approximately 4 to 1 by volume.
6
6
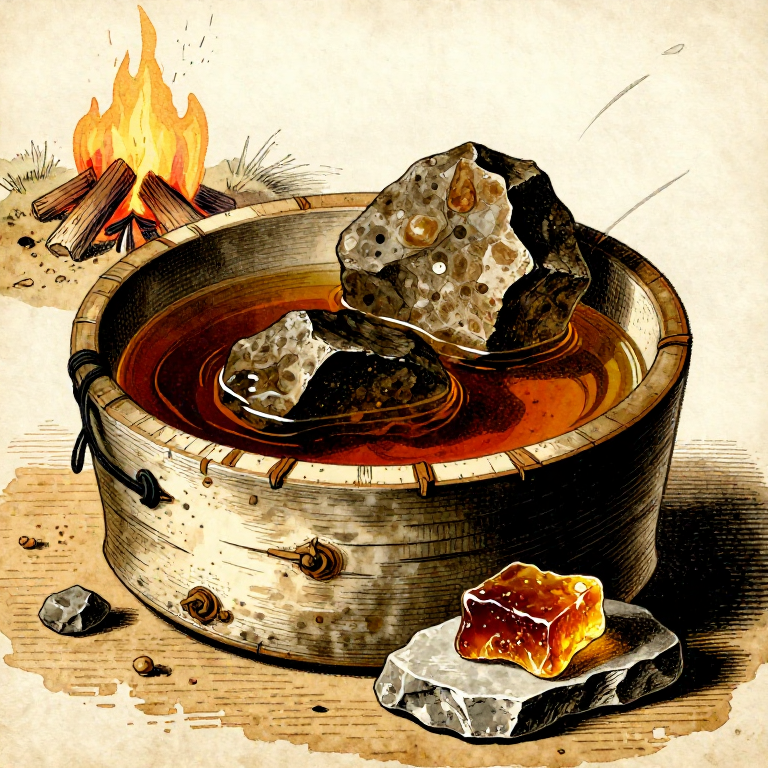
Heat Stones in the Fire
Heat Stones in the Fire
Place 8 to 10 dense, non-porous river stones into a strong hardwood fire. Heat for at least 25 minutes until the stones glow dull red. Use the same stone selection criteria as standard stone boiling — avoid sandstone and any layered or cracked rocks.
Materiais para este passo:
 Smooth Stone10 peças
7
7
Begin Stone Boiling the Rawhide
Begin Stone Boiling the Rawhide
Transfer heated stones into the bark container using green wood tongs. The water will boil violently on contact. Maintain a sustained simmer — not a rolling boil — by rotating stones steadily. Collagen extracts best between 70 and 85 degrees Celsius.
8
8
Maintain the Simmer for 2 to 3 Hours
Maintain the Simmer for 2 to 3 Hours
Continue rotating hot stones in and out of the container for 2 to 3 hours. The rawhide pieces will gradually soften, swell, and begin dissolving. The water will thicken and turn cloudy, then amber-coloured as collagen leaches into solution.
9
9
Stir Occasionally with a Stick
Stir Occasionally with a Stick
Use a clean wooden stick to stir the mixture every 15 minutes, breaking apart softened rawhide pieces. Scrape any material clinging to the stones before removing them. Stirring ensures even heat distribution and maximum collagen extraction.
10
10
Test the Glue Consistency
Test the Glue Consistency
Dip a stick into the liquid and lift it out. If the liquid drips in a thin, continuous stream and feels tacky between your fingers when cooled, the collagen concentration is sufficient. If it drips like plain water, continue boiling to reduce and concentrate the solution.
11
11
Strain Out Solid Remnants
Strain Out Solid Remnants
Remove all stones from the liquid. Pour the glue solution through a bundle of grass or plant fibers stretched over a second container to filter out undissolved rawhide fragments. The strained liquid should be a clear amber colour with the viscosity of warm honey.
12
12
Reduce the Glue to Working Strength
Reduce the Glue to Working Strength
If the filtered liquid is still too thin, continue gentle stone boiling to evaporate excess water. The finished glue should coat a stick thickly and feel strongly tacky when a drop is tested between finger and thumb after 10 seconds of cooling.
13
13
Apply the Warm Glue Immediately
Apply the Warm Glue Immediately
Hide glue must be applied warm — it gels and loses adhesion as it cools below 30 degrees Celsius. Brush or drip the warm liquid glue onto the surfaces to be joined, press them firmly together, and hold in place until the glue sets. Full strength develops as the glue dries completely over 12 to 24 hours.
14
14
Store Excess Glue as Dried Cakes
Store Excess Glue as Dried Cakes
Pour unused glue onto a flat stone or bark sheet in a thin layer and let it dry completely in warm air. The dried glue forms hard, translucent amber cakes that store indefinitely. To reuse, break off a piece, add a small amount of warm water, and reheat by stone boiling until liquid again.
Materiais para este passo:
 Flat Stone Slab1 peça
Materiais
5- 1 peçaReferência
- 4 litrosReferência
- 10 peçasReferência
- 1 peçaReferência
Ferramentas necessárias
1- Referência
Materiais de Blueprints conectados
Blueprints relacionados
Estes blueprints compartilham conhecimento — técnicas, materiais ou princípios
Related blueprints
Other builds that share materials, tools, or techniques with this one.
Boiling Water with Hot Stones in a Bark Container — Stone Boilingsurvival3 shared materials
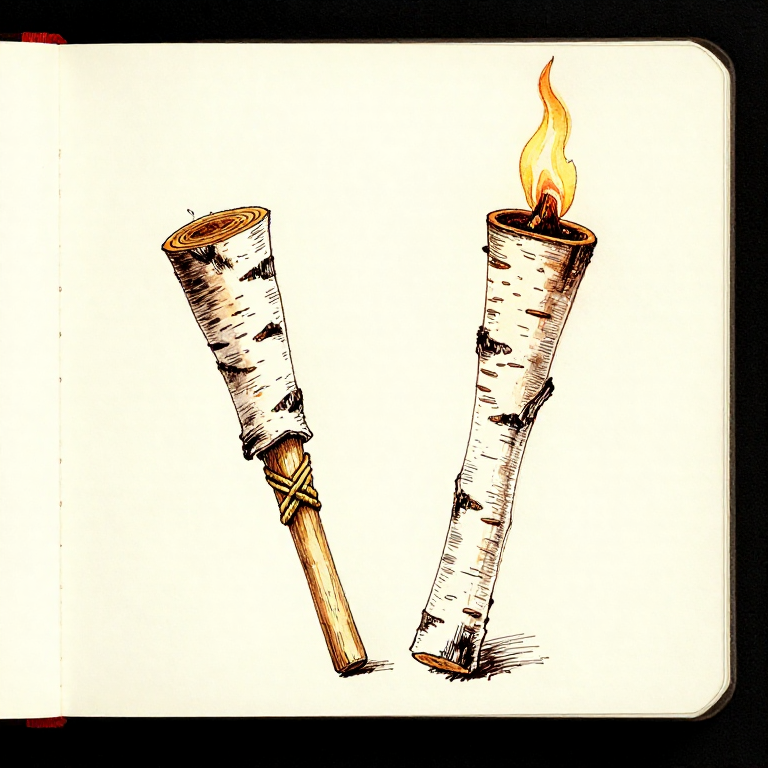
Making a Birch Bark Torch — Portable Fire Lightingwoodworking1 shared material

Making a Leather Sling — The Shepherd's Projectile Weaponsurvival
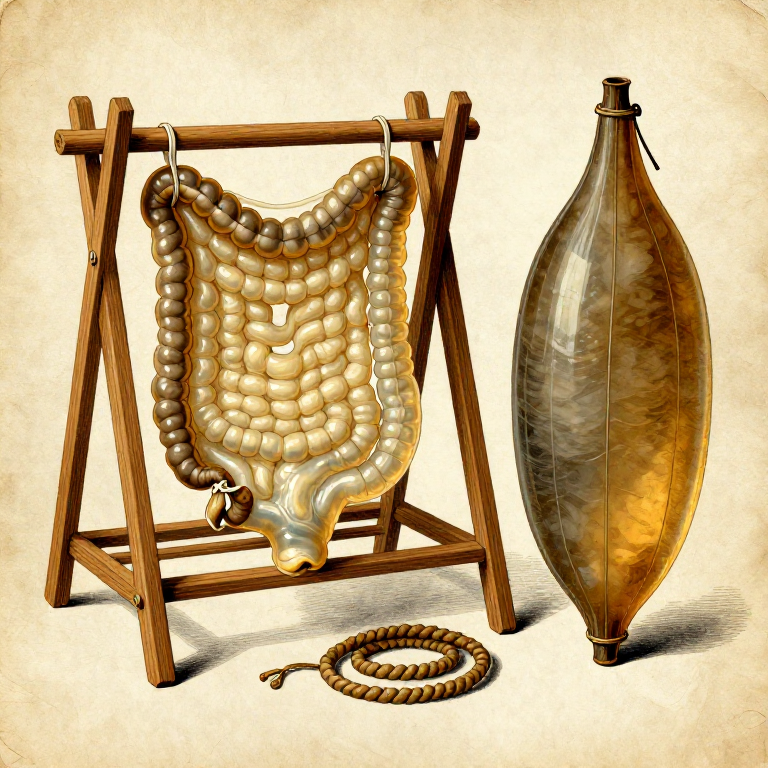
Preparing Animal Gut for Cord and Containers — Waterproof Material from Intestinessurvival
Making a Bone Fish Gorge — The Oldest Fishing Devicesurvival
Making Rope from Stinging Nettle Fibre — Plant Bast Extraction and Reverse Twistsurvival
CC0 Domínio Público
Este blueprint é liberado sob CC0. Você é livre para copiar, modificar, distribuir e usar este trabalho para qualquer finalidade, sem pedir permissão.
Apoie o Maker comprando produtos através do Blueprint, onde ele ganha uma Comissão Maker definida pelos vendedores, ou crie uma nova versão deste Blueprint e inclua-o como conexão no seu próprio Blueprint para compartilhar receita.