ARTE
BELEZA E BEM-ESTAR
ARTESANATO
CULTURA E HISTÓRIA
ENTRETENIMENTO
MEIO AMBIENTE
COMIDA E BEBIDAS
FUTURO VERDE
ENGENHARIA REVERSA
CIÊNCIAS
ESPORTES
TECNOLOGIA
TECNOLOGIA VESTÍVEL
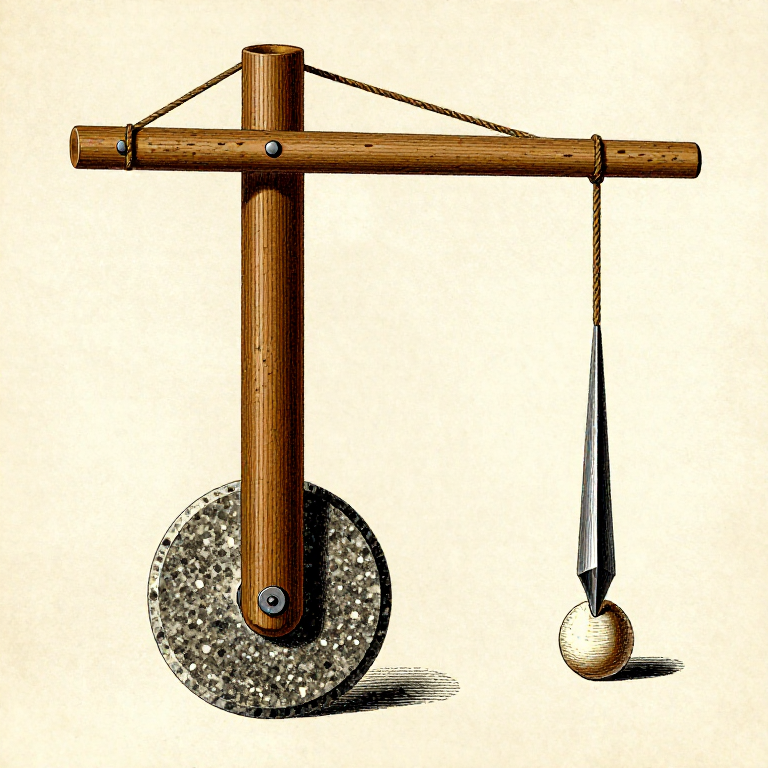
Making a Pump Drill — Flywheel-Powered Rotary Drill
The pump drill is an ingenious device that converts the up-and-down motion of a crossbar into continuous rotary drilling. A heavy flywheel disc near the bottom of a vertical shaft stores rotational energy, while a cord attached to a horizontal crossbar winds and unwinds around the shaft as the crossbar is pumped up and down. Each pump cycle spins the drill bit in alternating directions, maintaining enough speed and pressure to bore through stone, shell, bone, and hardwood. The pump drill was used across the ancient world for bead-making, fire-starting, and any task requiring a sustained rotating bore. It drills faster and more consistently than a bow drill for hole-boring because both hands are free to guide the tool.
Intermediário
2-3 hours
Instruções
1
1
Select a Straight Hardwood Shaft
Select a Straight Hardwood Shaft
Find a straight, dry hardwood stick 40 to 50 cm long and 8 to 12 mm in diameter. Oak, ash, maple, or birch are ideal — the shaft must be rigid enough not to flex during operation. Green wood will warp as it dries, so use seasoned wood. Remove all bark and smooth the surface by scraping with a stone flake.
Materiais para este passo:
 Hardwood Sapling1 peça
2
2
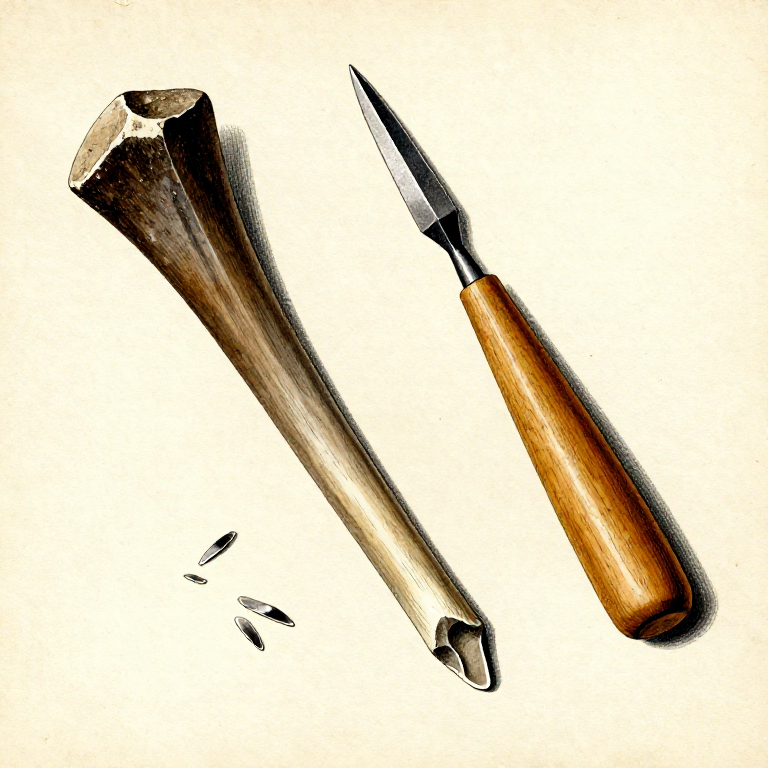
Carve the Lower End to Accept a Drill Bit
Carve the Lower End to Accept a Drill Bit
Carve a shallow socket or a flat split in the bottom end of the shaft to hold a drill bit. If using a socket, carve a tapered hole about 1 cm deep that matches the taper of your flint drill bit. If using a split, saw a narrow slot into the end that the bit can be wedged into and bound tight.
3
3
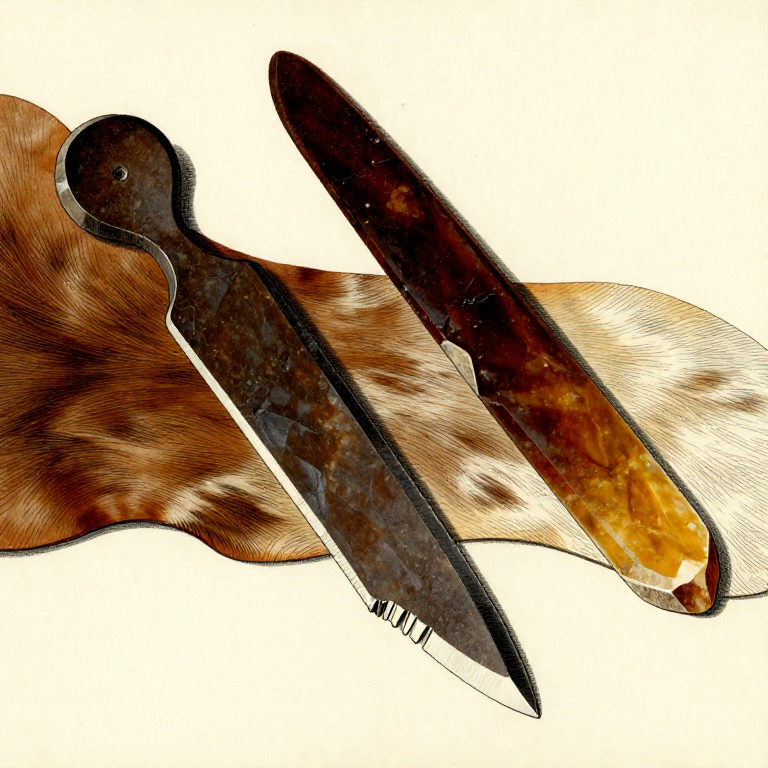
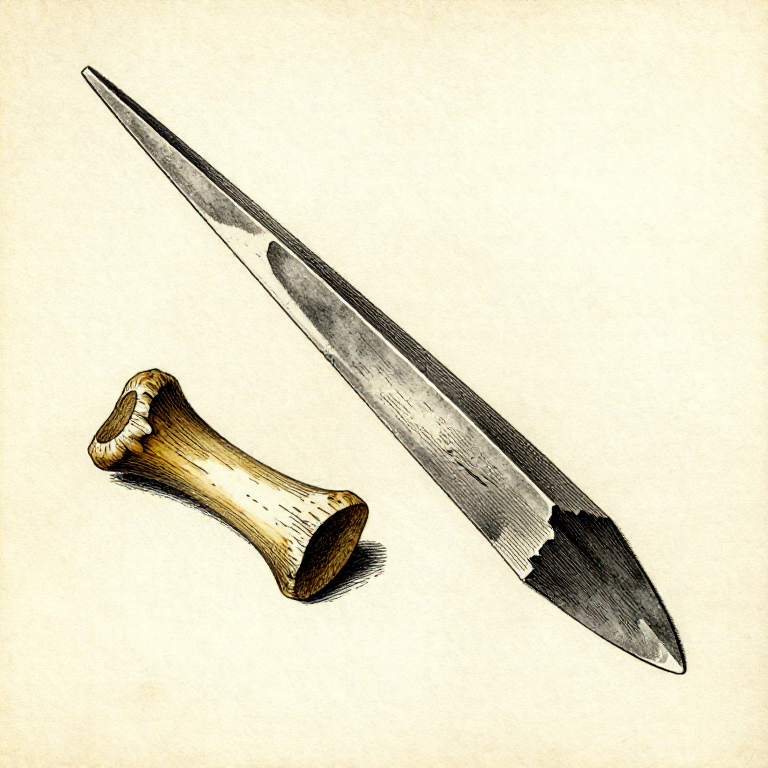
Select or Knap a Pointed Flint Drill Bit
Select or Knap a Pointed Flint Drill Bit
Choose or knap a small, pointed flint drill bit approximately 3 to 5 cm long with a symmetrical point. The bit should have a slightly rounded tip rather than a needle-sharp point — rounded tips resist snapping under the lateral forces of rotary drilling. Flint, chert, or obsidian all work well. The base of the bit must fit your shaft socket or split.
4
4
Bind the Drill Bit to the Shaft
Bind the Drill Bit to the Shaft
Secure the flint drill bit into the shaft socket or split using wet sinew wrapped tightly around the joint. Wet sinew is pliable during wrapping but shrinks and hardens as it dries, creating an extremely tight binding. Wrap in a criss-cross pattern for maximum grip. Allow the sinew to dry completely before use — at least several hours.
Materiais para este passo:
 Sinew Thread1 peça
5
5
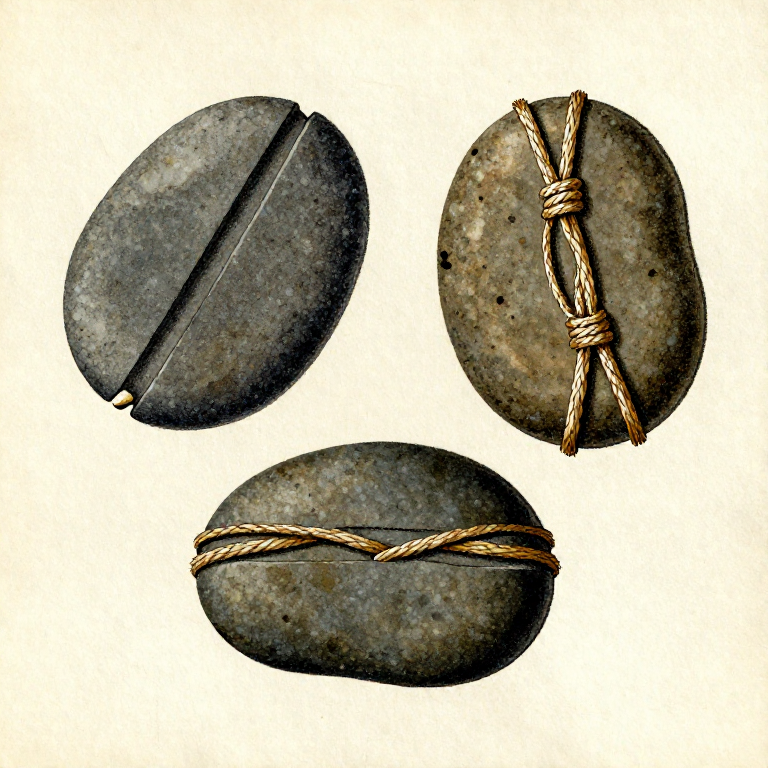
Make a Flywheel Disc
Make a Flywheel Disc
Find or shape a flat, heavy stone disc 8 to 10 cm in diameter and 1 to 2 cm thick. A flat river cobble is ideal. Peck or grind a centre hole through the disc using a pointed hammerstone — work from both sides alternately, creating two conical depressions that meet in the middle. The hole must be just large enough to friction-fit tightly onto the shaft.
Ferramentas necessárias:
 Hammerstone
6
6
Mount the Flywheel on the Shaft
Mount the Flywheel on the Shaft
Slide the stone flywheel disc onto the shaft, positioning it about 5 to 8 cm above the drill bit. The flywheel must fit tightly — it should not wobble or slide. If the hole is slightly too large, wrap the shaft with a thin layer of sinew or rawhide at the mounting point to build up the diameter. The flywheel's mass is what stores energy between pump strokes.
7
7
Cut a Hardwood Crossbar
Cut a Hardwood Crossbar
Select a straight, rigid piece of hardwood 30 to 40 cm long and about 1.5 to 2 cm in diameter for the crossbar. This piece must be strong enough to withstand repeated downward pumping pressure without flexing. Smooth it and remove any bark.
Materiais para este passo:
Hardwood Sapling1 peça8
8
Drill a Centre Hole in the Crossbar
Drill a Centre Hole in the Crossbar
Bore a hole through the centre of the crossbar just large enough for the main shaft to pass through freely. The shaft must slide up and down through this hole without binding but should not wobble excessively. Use a pointed stone or bone awl to start the hole, then widen it by rotating a tapered stick with abrasive sand.
9
9
Thread the Shaft Through the Crossbar
Thread the Shaft Through the Crossbar
Slide the main shaft through the centre hole in the crossbar. The crossbar should rest above the flywheel, free to travel up and down the shaft. The crossbar needs about 10 to 15 cm of shaft above it — this upper section is where the cord winds and unwinds.
10
10
Attach the Cord from Crossbar to Shaft Top
Attach the Cord from Crossbar to Shaft Top
Cut a length of strong cordage about 70 to 80 cm long. Tie one end to the left end of the crossbar, pass it up and over the top of the shaft (through a small notch carved at the shaft top), and tie the other end to the right end of the crossbar. When the crossbar is at the top of its travel, the cord should hang slack in a V shape from the crossbar tips through the shaft top.
Materiais para este passo:
 Cordage1 peça
11
11
Wind the Cord by Spinning the Shaft
Wind the Cord by Spinning the Shaft
Hold the crossbar level with both hands. Spin the shaft by rolling it quickly between your palms or by flicking it with one hand. The cord wraps around the upper shaft, pulling the crossbar upward as it winds. Continue spinning until the crossbar has risen to near the top of the shaft and the cord is fully wound. This loads the system with rotational energy stored in the wound cord.
12
12
Pump the Crossbar to Drill
Pump the Crossbar to Drill
Place the drill bit on the workpiece and push the crossbar down firmly with both hands. The unwinding cord spins the shaft and drill bit at high speed. As the crossbar reaches the bottom of its stroke, the flywheel's momentum carries the shaft past centre and rewinds the cord in the opposite direction, pulling the crossbar back up. Push down again to continue the cycle. Add a pinch of wet sand at the drill point as an abrasive — the flint bit grinds the sand into the workpiece, boring a clean hole through stone, shell, or bone.
Materiais
3- 2 peçasReferência
- 1 peçaReferência
Ferramentas necessárias
1- Referência
Materiais de Blueprints conectados
Blueprints relacionados
Estes blueprints compartilham conhecimento — técnicas, materiais ou princípios
Related blueprints
Other builds that share materials, tools, or techniques with this one.

Knapping an Obsidian Blade — Pressure-Flaked Volcanic Glassstoneworking

Making a Stone Chisel — Splitting and Grooving Toolstoneworking
Making a Stone Scraper for Hide Working — Conchoidal Flake Toolstoneworking
Making an Antler Pressure Flaker — Precision Flint-Knapping Toolstoneworking
Making a Stone Burin — The Engraving Chisel That Enabled Bone and Antler Workstoneworking
Making Grooved Stone Net Sinkers — Weighted Stones for Fishing Netsstoneworking
CC0 Domínio Público
Este blueprint é liberado sob CC0. Você é livre para copiar, modificar, distribuir e usar este trabalho para qualquer finalidade, sem pedir permissão.
Apoie o Maker comprando produtos através do Blueprint, onde ele ganha uma Comissão Maker definida pelos vendedores, ou crie uma nova versão deste Blueprint e inclua-o como conexão no seu próprio Blueprint para compartilhar receita.