ARTE
BELEZA E BEM-ESTAR
ARTESANATO
CULTURA E HISTÓRIA
ENTRETENIMENTO
MEIO AMBIENTE
COMIDA E BEBIDAS
FUTURO VERDE
ENGENHARIA REVERSA
CIÊNCIAS
ESPORTES
TECNOLOGIA
TECNOLOGIA VESTÍVEL
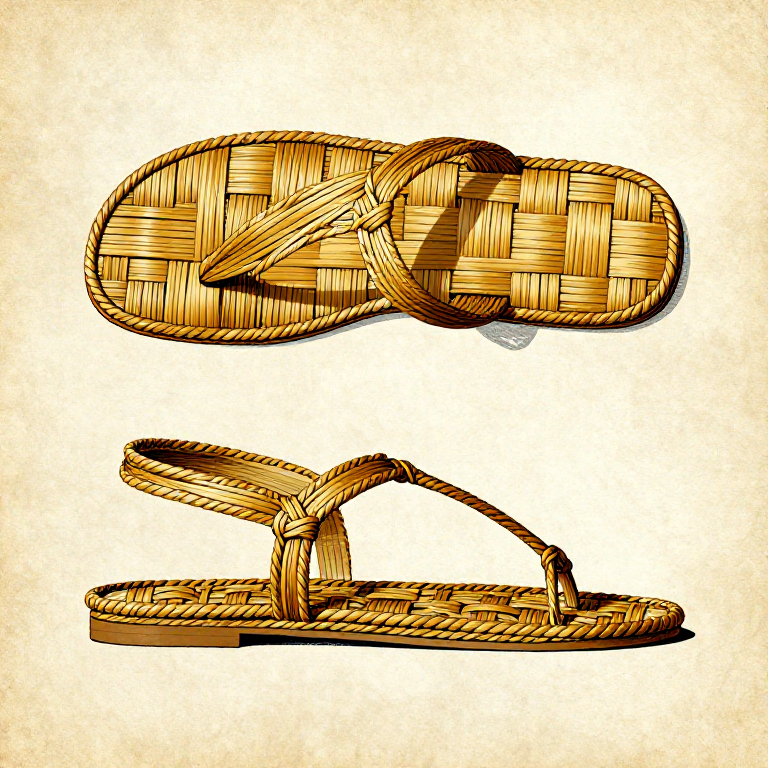
Weaving Reed Sandals — Prehistoric Woven Fibre Footwear
Woven fibre sandals are among the oldest known footwear in the archaeological record. The Fort Rock sandals from Fort Rock Cave in Oregon, radiocarbon dated to approximately 10,500 years ago (about 8,500 BCE), are the oldest directly dated footwear in the world — woven from shredded sagebrush bark (Artemisia tridentata) in a flat-twined technique. Even older footwear may have existed but decomposed in less favourable preservation conditions. Fibre sandals protected the feet from sharp rocks, thorns, scorching sand, and cold ground while remaining breathable, lightweight, and quick to make from abundant local materials. The basic construction principle: a flat sole is created from parallel warp fibres interlaced with weft fibres in a twining or plain-weave pattern, shaped to the foot. Toe loops and heel cups are then worked into the sole edges to secure the sandal to the foot, with ankle ties to hold everything in place. Suitable materials include tule reeds (Schoenoplectus acutus), cattail leaves (Typha), yucca fibres (Yucca), shredded bark (sagebrush, juniper, linden), and twisted grass. The Fort Rock sandals used a distinctive flat-twined technique with sagebrush bark fibre, creating a sole approximately 1 cm thick that was both flexible and durable. This blueprint teaches a generalized prehistoric reed sandal using the twined sole technique, adaptable to whatever local plant fibres are available.
Iniciante
2-3 hours
Instruções
1
1
Harvest and Prepare Reed Fibres
Harvest and Prepare Reed Fibres
Gather mature dried reeds — tule, cattail, or bulrush — each at least 60 cm long. Harvest in late summer or autumn when the leaves have turned brown and dry, which indicates the fibres are at maximum strength. You need approximately 40 to 60 reeds per sandal. If using fresh green reeds, bundle them loosely and hang to dry for 1 to 2 weeks before use — weaving with green material produces a sandal that shrinks and loosens as it dries. Once dry, soak the reeds in water for 20 to 30 minutes immediately before weaving to restore flexibility without compromising strength.
Materiais para este passo:
 Dried Reed100 peças
2
2
Create a Foot Template
Create a Foot Template
Stand on a flat piece of bark or a cleared patch of ground and trace around your foot with a sharp stick, adding approximately 1 cm of extra width on each side and 1.5 cm at the toe and heel. This oversized template accounts for the thickness of the weave and ensures the finished sandal is not too tight. Cut the template from bark if available — it serves as a form to shape the sole during weaving and can be placed beneath the warp fibres as a guide.
3
3
Lay Out the Warp Fibres
Lay Out the Warp Fibres
Select 10 to 14 of the thickest, strongest reeds as warp fibres. Lay them parallel, running from heel to toe, spaced approximately 1 cm apart. The warps should extend at least 15 cm beyond the template at both ends — these extensions will fold up to form the toe and heel structure. Weight the heel ends with a stone to hold them in place while you begin weaving. The warp fibres form the structural backbone of the sole — they bear the wearer's weight, so they must be the strongest fibres in the batch.
Materiais para este passo:
Dried Reed14 peças4
4
Begin Twining the Sole at the Toe
Begin Twining the Sole at the Toe
Take two thinner reeds as the first pair of weft (cross) fibres. Fold the pair in half around the outermost warp fibre at the toe end. Now twine: pass one weft fibre over the first warp and the other under it, then twist the two weft fibres around each other between each warp. This half-twist between warps is what distinguishes twining from plain weaving — it locks each warp in place and prevents the weave from shifting. Work from one edge of the sole to the other, maintaining firm tension.
5
5
Weave Successive Twined Rows
Weave Successive Twined Rows
Continue adding twined weft rows, spacing each row approximately 0.5 to 1 cm from the previous one. Pack each row tightly against the last by pushing it toward the toe with your fingers. As you work from the toe toward the heel, follow the foot template outline — gradually increase the width of the active weaving area as the foot widens, then taper it again toward the heel. To add a new weft when the current one runs short, overlap the new fibre alongside the old one for at least 3 warps, then continue twining with the new fibre. This splice should be firm enough that no knot is needed.
6
6
Shape the Sole to the Foot Outline
Shape the Sole to the Foot Outline
As you weave, trim or fold the edge warps inward where the sole narrows at the arch and heel. The sole should match your foot template shape — widest across the ball of the foot (approximately 10 cm for an average adult), narrowing at the arch, and slightly wider again at the heel. Maintain at least 8 active warps across the narrowest point for structural strength. The finished sole should be approximately 0.8 to 1.2 cm thick — dense enough to protect against sharp stones but flexible enough to bend with the foot.
Ferramentas necessárias:
 Flint Knife
7
7
Form the Toe Loops
Form the Toe Loops
At the toe end, the warp extensions that project beyond the sole weave are folded upward and back to create toe loops. Bundle 2 to 3 adjacent warps together, fold them up and over the big toe area, and tuck them back into the sole weave, securing by twining them in with the last 2 to 3 weft rows. Create one loop wide enough for the big toe and a second wider loop for the remaining toes. These loops hold the front of the sandal against the foot. The loops should be snug but not tight — they need to allow the toes to flex during walking.
8
8
Form the Heel Cup
Form the Heel Cup
At the heel end, fold the projecting warp ends upward to create a shallow cup approximately 3 to 4 cm high that wraps around the back of the heel. Bring each warp up and forward along the sole edge, tucking the ends back into the weave along the sides. Reinforce the heel cup by twining 2 to 3 rows of weft horizontally around the upturned warps, binding them into a firm, basket-like structure. The heel cup prevents the foot from sliding backward off the sandal during walking on uneven terrain.
9
9
Attach Ankle Ties
Attach Ankle Ties
Cut two lengths of cordage, each approximately 50 to 60 cm long. Thread one cord through the sole weave on each side of the sandal at the ankle point (just forward of the heel cup), pulling each cord halfway through so equal lengths extend from both sides. These cords cross over the top of the foot and tie around the ankle to hold the sandal securely in place. The attachment point must be reinforced — loop the cord around at least 3 warp fibres to distribute the load and prevent tearing.
Materiais para este passo:
 Cordage2 metre
10
10
Trim Excess Fibres and Tuck Loose Ends
Trim Excess Fibres and Tuck Loose Ends
Using a flint knife, trim all protruding fibre ends flush with the sole surface on the bottom (walking surface) — any loose ends on the sole bottom will catch and fray during use. On the top surface, tuck loose ends back into the weave using a bone awl to open gaps between the twining. A clean finish extends the lifespan of the sandals significantly by preventing progressive unravelling from snagged fibres.
Ferramentas necessárias:
Flint Knife Bone Awl
11
11
Weave the Second Sandal
Weave the Second Sandal
Repeat the entire process for the second foot, mirroring the toe loop positions. Use the same foot template flipped over as a guide. Ensure both sandals are the same thickness and weave density for even wear. An experienced maker can weave a complete pair in 2 to 3 hours. The Fort Rock sandals show evidence of standardised production — their consistent weave density suggests practiced, skilled makers.
Materiais para este passo:
Dried Reed50 peçasCordage2 metre12
12
Fit and Adjust
Fit and Adjust
Put on both sandals, thread the ankle ties across the top of the foot and around the ankle, and tie securely. Walk on varied terrain — flat ground, loose gravel, and a gentle slope. The sandals should stay on without slipping and the sole should flex naturally with each step at the ball of the foot. If the toe loops are too loose, re-tuck them tighter. If the ankle ties dig in, pad them with a small strip of soft bark. Reed sandals on rocky terrain typically last 1 to 3 weeks of daily walking before needing replacement — they were designed as disposable footwear made quickly from abundant materials, not as permanent gear.
Materiais de Blueprints conectados
Blueprints relacionados
Estes blueprints compartilham conhecimento — técnicas, materiais ou princípios
Related blueprints
Other builds that share materials, tools, or techniques with this one.
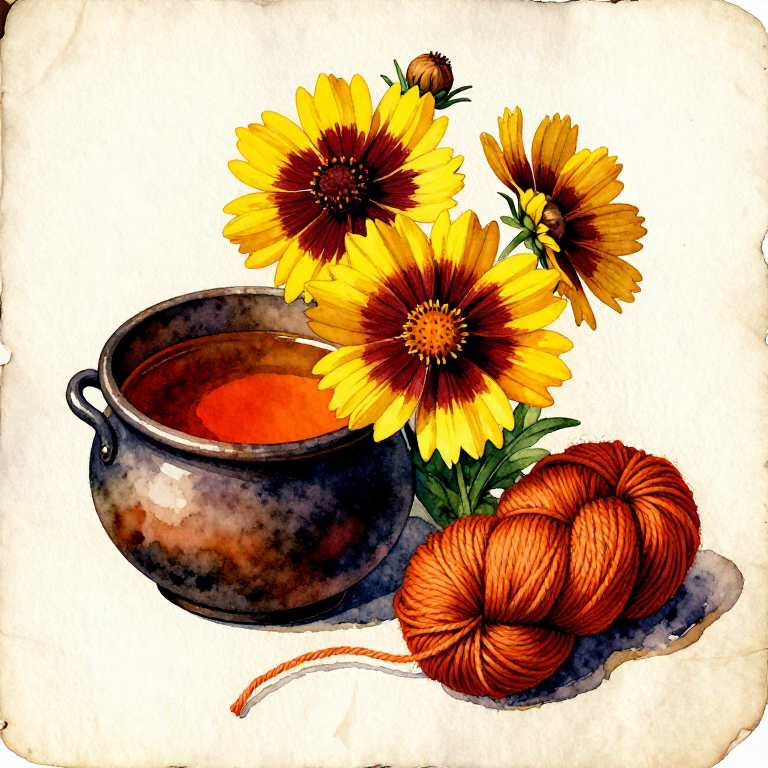
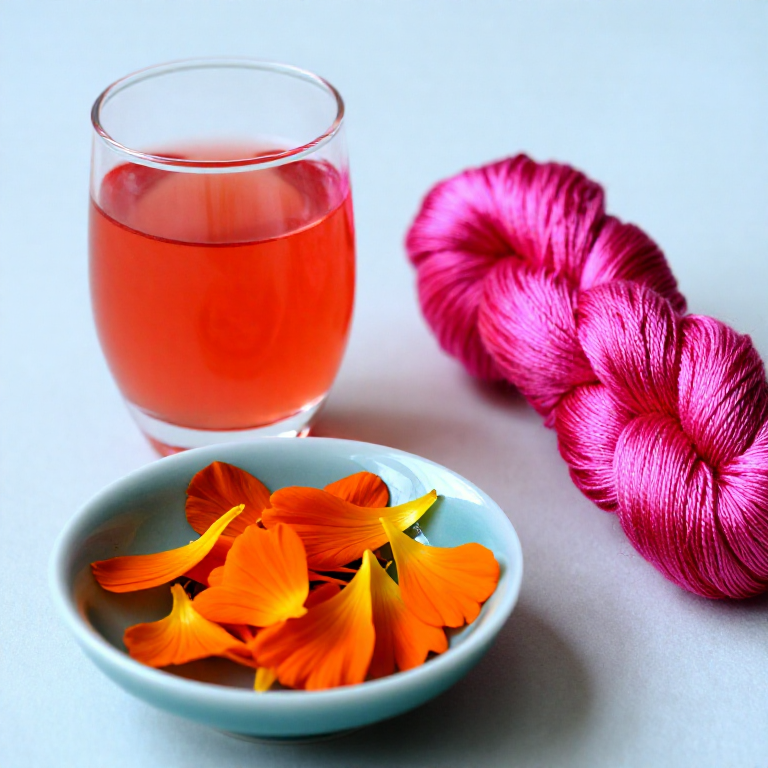
Dyeing Red-Orange with Coreopsis — The Plains Flower That Dyes from Yellow to Rusttextiles
Dyeing with Safflower — Two Colours from One Flowertextiles
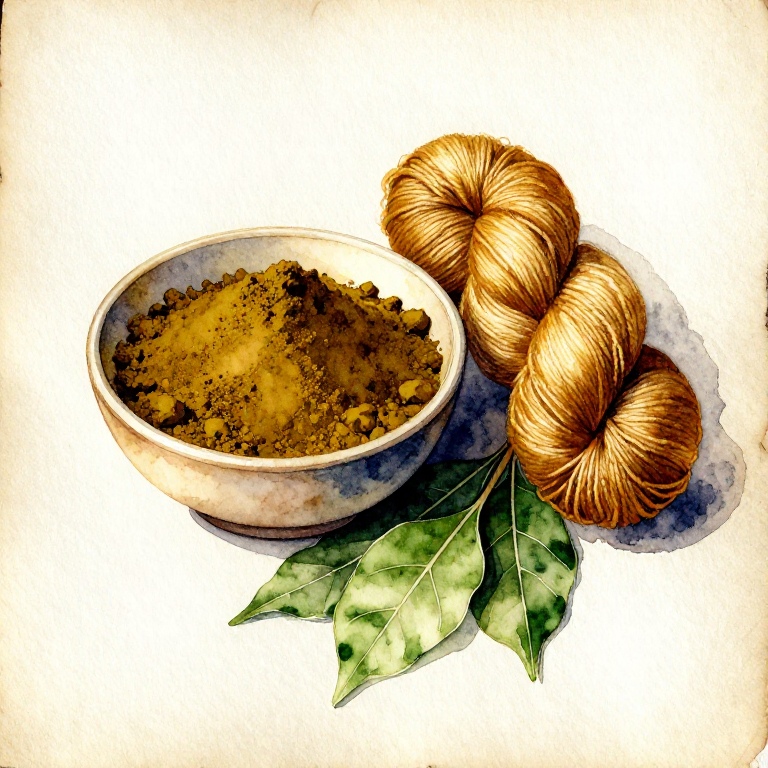
Dyeing with Henna — The Lawsone Pigment That Colours Fibre, Skin, and Hairtextiles
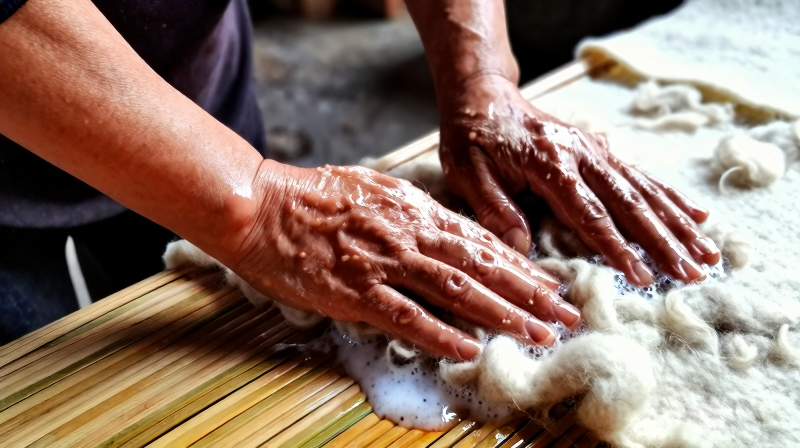
Wet Felting — Matting Raw Wool into Fabric Without Spinning or Weavingtextiles
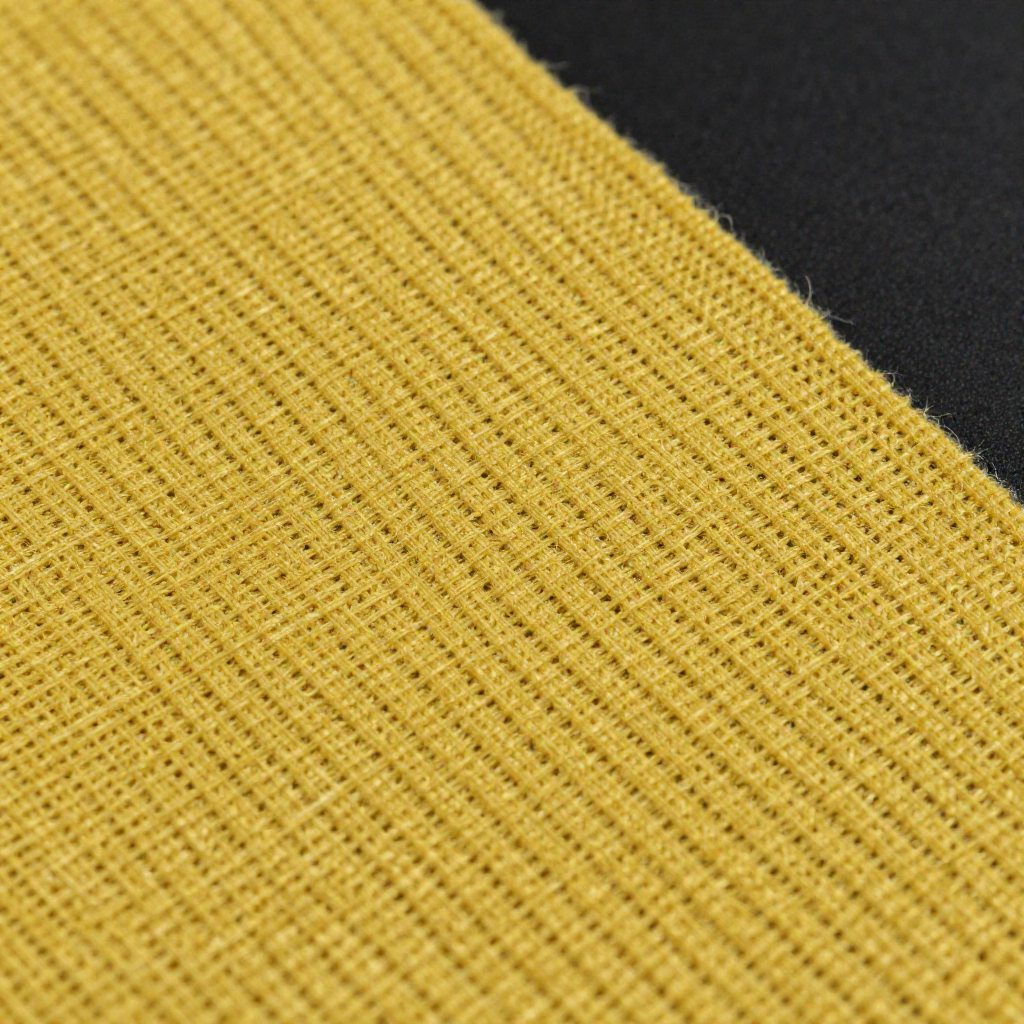
Kevlar — The Aramid Fiber Stronger Than Steeltextiles
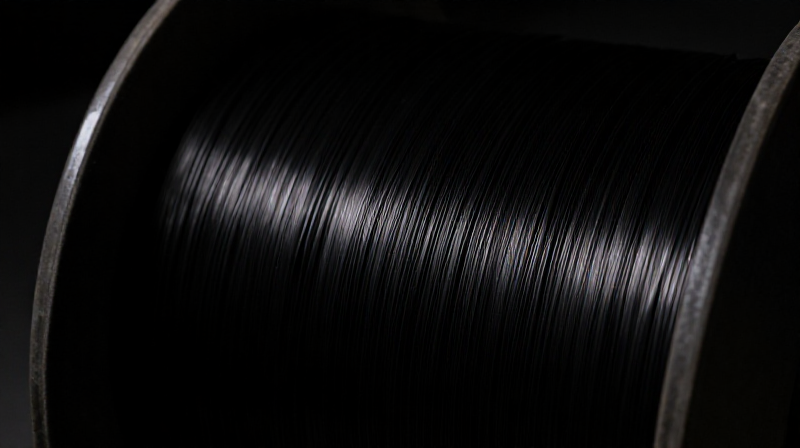
Carbon Fiber — From Polymer Precursor to the Strongest Textile Fiber on Earthtextiles
CC0 Domínio Público
Este blueprint é liberado sob CC0. Você é livre para copiar, modificar, distribuir e usar este trabalho para qualquer finalidade, sem pedir permissão.
Apoie o Maker comprando produtos através do Blueprint, onde ele ganha uma Comissão Maker definida pelos vendedores, ou crie uma nova versão deste Blueprint e inclua-o como conexão no seu próprio Blueprint para compartilhar receita.