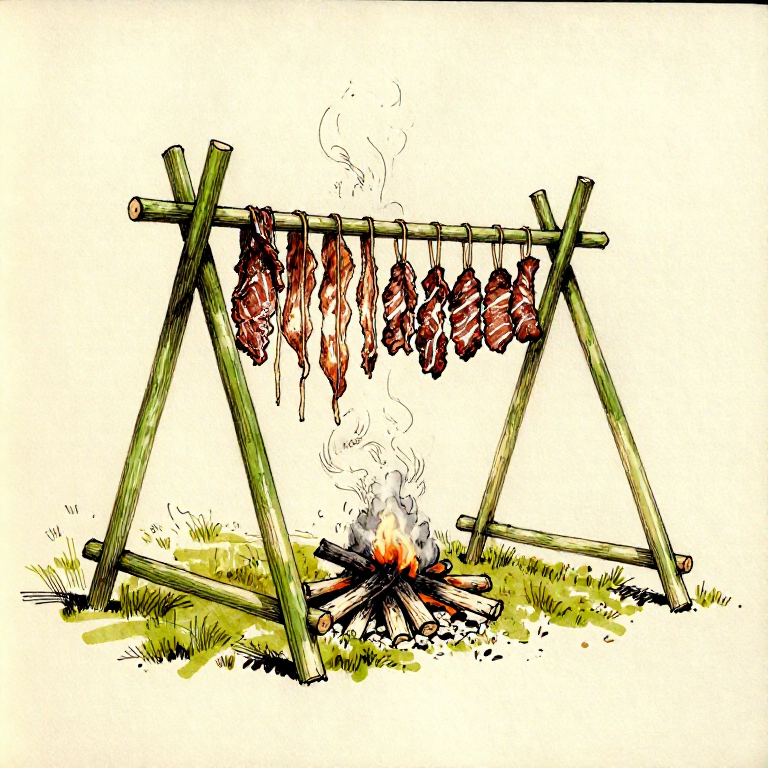
Building a Meat Smoking Rack — Pole Frame for Preservation
Instruções
Select the Site and Gather Poles
Select the Site and Gather Poles
Choose a sheltered location near your fire pit but away from overhanging branches that could catch fire. Gather 8-12 straight green wood poles — willow, hazel, and alder are ideal because green wood resists burning. You need 4 upright poles approximately 1.5-2 m long and 4-8 cross-bars about 1-1.5 m long. Green wood is essential — dry wood placed above a fire will eventually ignite and collapse the entire rack. Cut forked tops on 4 of the poles if possible; the forks cradle the horizontal cross-bars naturally.
Materiais para este passo:
 Cordage5-8 m m
 Hardwood Ash5-10 kg kg
 Lamb Meat5-15 kg, sliced thin kg
Ferramentas necessárias:
 Drawknife
 Welding Fire Watch Kit
Build the Frame
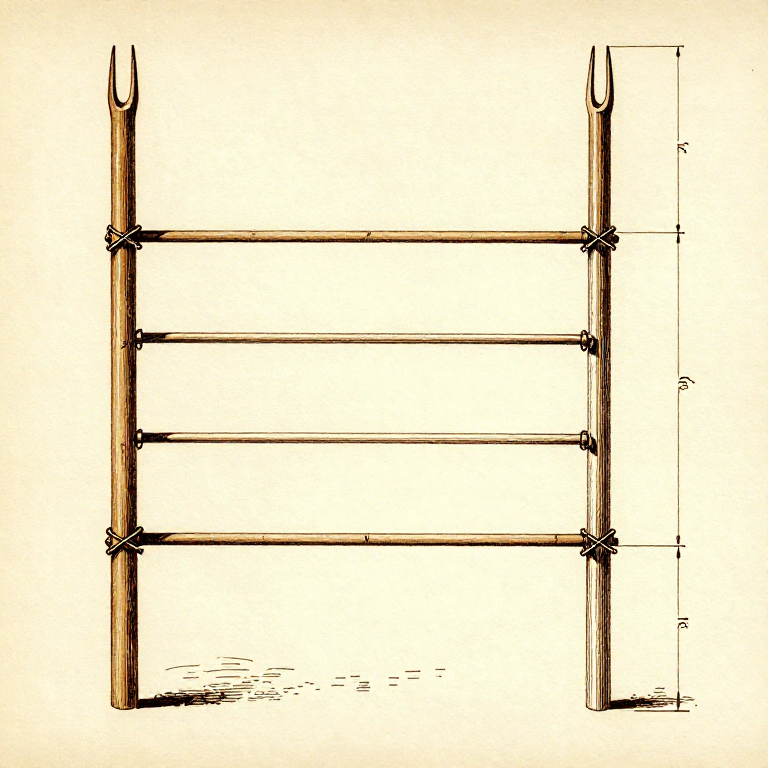
Build the Frame
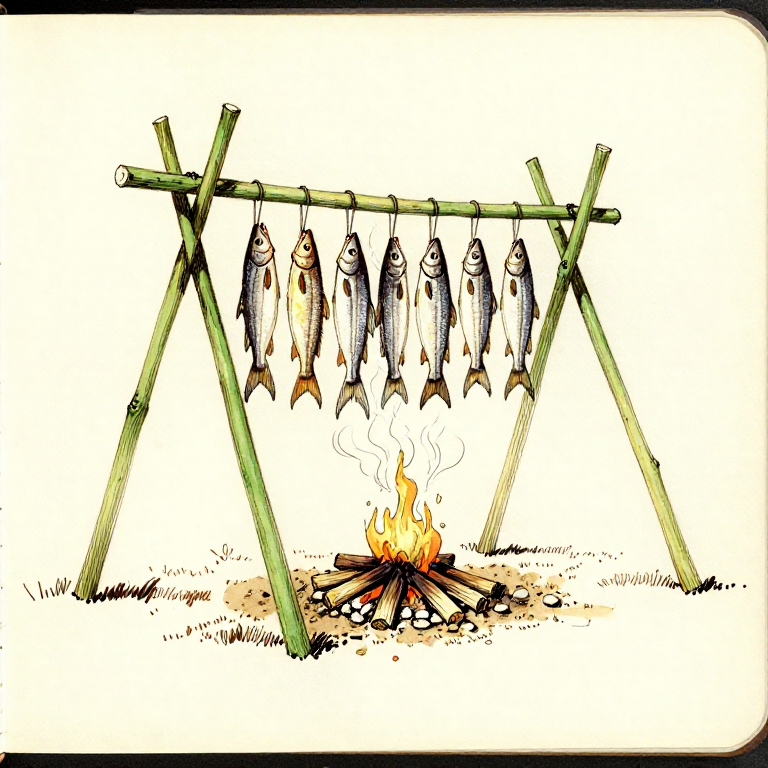
Drive 4 upright poles into the ground in a rectangle approximately 1 m x 0.5 m, with each pole sunk 20-30 cm deep for stability. If the ground is too hard to drive poles, lash pairs of poles together in an X or A-frame configuration and lean them against each other. Lay horizontal cross-bars between the upright forks at 2-3 different heights, starting at about 50-60 cm above the ground for the lowest level. Space the cross-bars 15-20 cm apart at each level. Lash all joints securely with cordage or flexible green withies — the rack must support the weight of several kilograms of meat without sagging or collapsing.
Materiais para este passo:
Cordage5-8 m mHardwood Ash5-10 kg kgLamb Meat5-15 kg, sliced thin kgPrepare the Meat
Prepare the Meat
Slice the meat into thin strips approximately 5-8 mm thick, cutting across the grain. Thin strips dry and smoke faster and more evenly than thick chunks. Remove as much fat as possible — fat does not dry well and can turn rancid, shortening the storage life of the finished product. If salt is available, rub a light coating onto each strip before smoking. Long, thin strips can be draped directly over the cross-bars. Shorter pieces can be threaded onto thin green sticks and laid across the bars like skewers.
Build and Manage the Smoke Fire
Build and Manage the Smoke Fire
Build a small fire directly beneath the rack. Once you have a coal bed, add green hardwood chips or damp hardwood chunks to produce heavy smoke. Oak, alder, apple, and mesquite produce the best smoke flavour. Avoid resinous softwoods like pine or spruce — they deposit bitter-tasting creosote on the meat. The fire should smoulder and smoke heavily without producing significant flame. If flames appear, dampen them with a sprinkle of water. Maintain this smoky fire for 6-12 hours for hot-smoked meat (cooked and preserved) or 24-48 hours at lower temperatures for cold-smoked meat (more thoroughly preserved for longer storage).
Materiais para este passo:
Cordage5-8 m mHardwood Ash5-10 kg kgLamb Meat5-15 kg, sliced thin kgCheck Doneness and Store
Check Doneness and Store
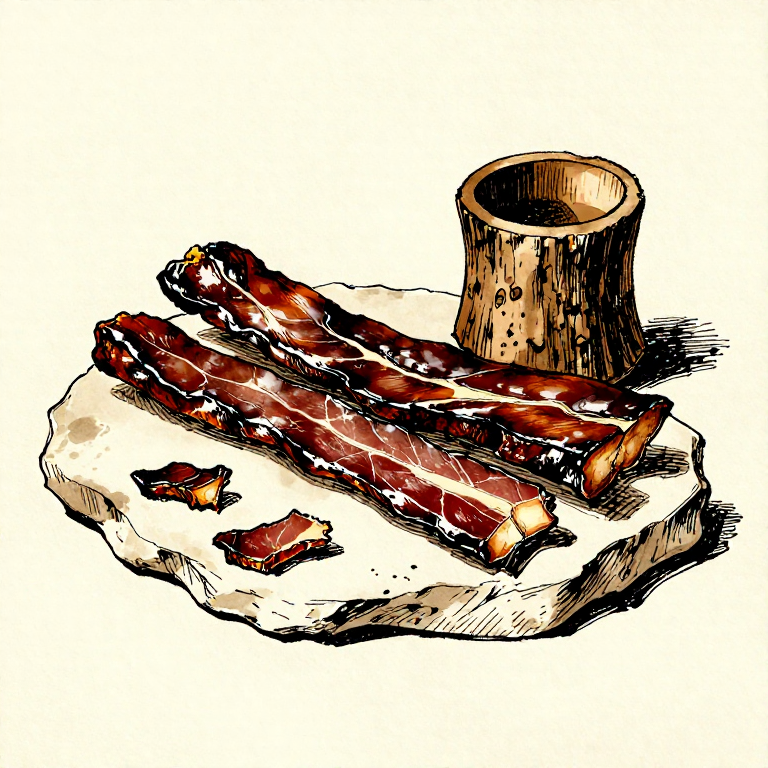
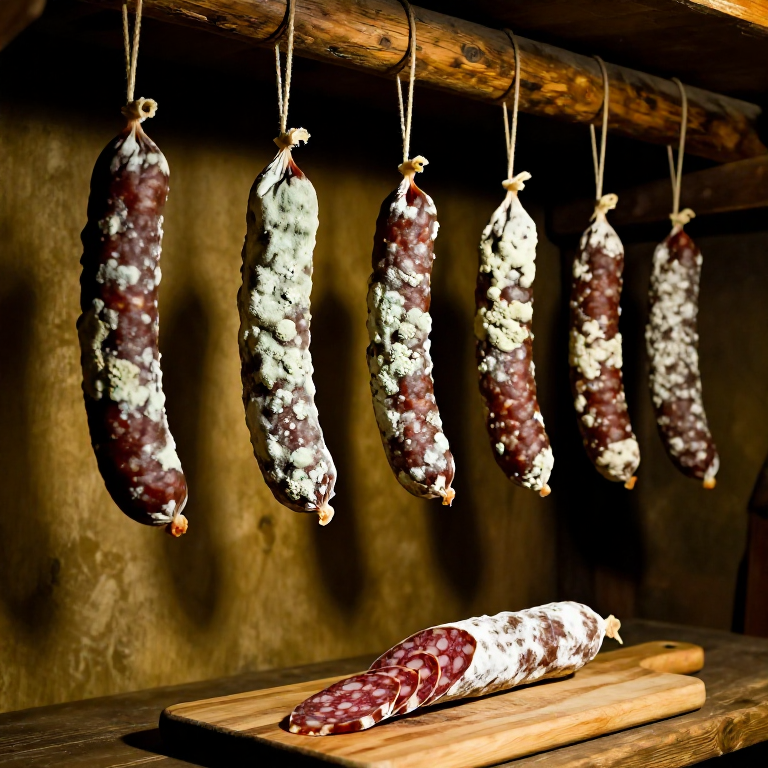
The meat is fully smoked when the strips are dark brown, dry to the touch, firm but still slightly flexible (like leather, not brittle), and have a pleasant smoky aroma. Break a thick piece in half — there should be no pink or moist interior. Well-smoked meat stored in a dry, ventilated container (a bark box or woven basket) keeps for 2-4 weeks at ambient temperature. In cool, dry conditions it lasts even longer. Smoke deposits phenolic compounds and formaldehyde on the meat surface that inhibit bacterial growth, while the heat and dehydration reduce the moisture content below the threshold needed for microbial activity.
Materiais
4- 8-12 poles, 1-2 m long peçaReferência
- 5-10 kg peçaReferência
Related blueprints
Other builds that share materials, tools, or techniques with this one.

CC0 Domínio Público
Este blueprint é liberado sob CC0. Você é livre para copiar, modificar, distribuir e usar este trabalho para qualquer finalidade, sem pedir permissão.
Apoie o Maker comprando produtos através do Blueprint, onde ele ganha uma Comissão Maker definida pelos vendedores, ou crie uma nova versão deste Blueprint e inclua-o como conexão no seu próprio Blueprint para compartilhar receita.