
Tuscan Clay Harvesting — From Earth to Ceramic Body
Instruções
Understand what Tuscan clay is
Understand what Tuscan clay is
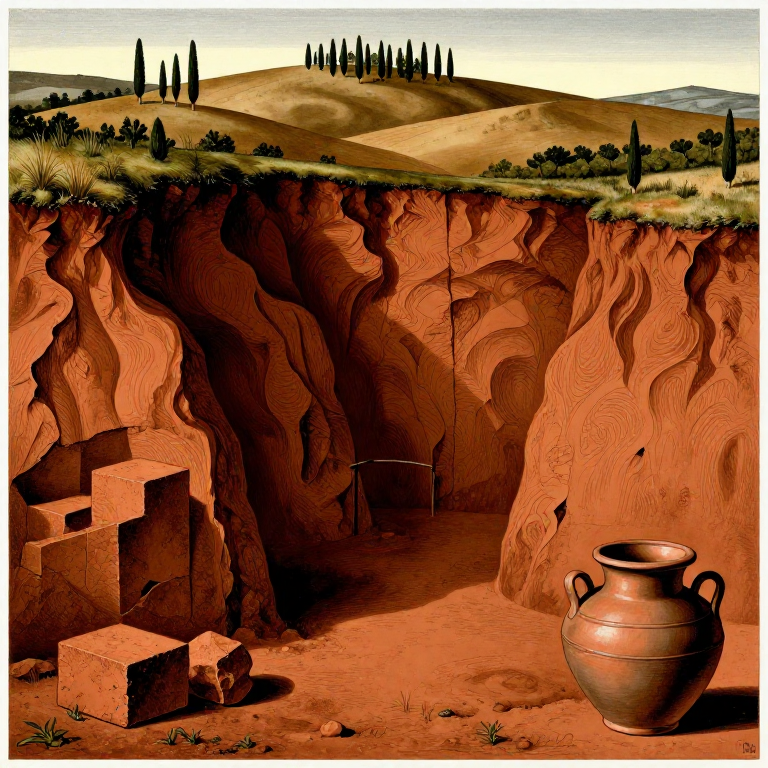
Clay is a hydrated aluminum silicate formed by the decomposition of feldspars through weathering over millions of years. In Tuscany, the clay is particularly rich in iron oxides (Fe2O3), which give it the characteristic red-orange color after firing. Clay particles have a diameter of less than 0.002 mm. Tuscan clay has been used since the Etruscan period (8th-1st century BCE) for producing bucchero pottery, roof tiles, and bricks.
Identify clay deposits
Identify clay deposits
The best deposits are found along riverbanks (Arno, Elsa, Era), at the foot of hills, in road cuts, and in eroded areas. Clay appears as a compact, smooth layer of uniform color (red, ochre, gray) beneath the humus layer. Look for areas where rain has exposed shiny, slippery soil layers that do not drain water quickly.
Ferramentas necessárias:
 Kit de leitura de cartas topográficas
Check collection permits
Check collection permits
In Italy, the subsoil belongs to the state according to the Civil Code (art. 840). For small quantities for personal and artisanal use, collection from public land is generally tolerated. For larger quantities or from private land, always ask the owner for permission. Avoid protected areas, nature parks, and archaeological sites.
Perform the ball test
Perform the ball test
Take a handful of soil, moisten it slightly and try to form a ball the size of an orange. If the ball maintains its shape without crumbling and the surface can be smoothed with your thumb, you have found clay with good plasticity. If it crumbles, the material contains too much sand.
Perform the cylinder test
Perform the cylinder test
Roll the moist clay into a cylinder 1 cm in diameter and 15 cm in length. Lift it by one end: if it holds at least 5 cm without breaking, the plasticity is sufficient for ceramics. Bend the cylinder into an arc: if it does not crack at the curve, the clay is of good quality. These tests are called simplified Atterberg tests.
Dig out the clay
Dig out the clay
Materiais para este passo:
 Barro cru de jazida20 kilogram
Ferramentas necessárias:
 Pá de cavar
 Balde de 20 litros
 Luvas de trabalho em couro
Dry the blocks in the sun
Dry the blocks in the sun
Spread the clay blocks on a cloth outdoors for 2-3 days until they are completely dry. Dry clay breaks easily into smaller fragments. Break the blocks into walnut-sized pieces using a wooden hammer. The smaller the fragments, the more quickly they will dissolve in water in the next phase.
Ferramentas necessárias:
 Lona impermeável
 Maço de madeira
Prepare the slip
Prepare the slip
Materiais para este passo:
 Água destilada40 litros
Ferramentas necessárias:
 Balde grande de amassar
 Pau de misturar
Sieving the slip
Sieving the slip
Filter the liquid slip through a 60 mesh sieve (0.25 mm opening) to remove stones, roots, coarse sand and organic debris. The fine clay passes through with the water. The material retained in the sieve is discarded. For a more refined result, pass a second time with 80 mesh (0.18 mm opening).
Ferramentas necessárias:
 Peneira de malha fina
 Balde de recolha
Decant the clay
Decant the clay
Ferramentas necessárias:
 Tubo de trasfega
Dry the mass to working consistency
Dry the mass to working consistency
Ferramentas necessárias:
 Bolacha de gesso para olaria
Knead the clay (wedging)
Knead the clay (wedging)
Ferramentas necessárias:
 Mesa de amassar barro
Test the final plasticity
Test the final plasticity
Package and store
Package and store
Materiais para este passo:
 Película aderente1 rolo
Document the collection source
Document the collection source
Ferramentas necessárias:
 Caderno de campo
Materiais
4- 20 kilogramReferência
- 40 litrosReferência
- 1 roloReferência
- 1 peçaReferência
Ferramentas necessárias
14- Referência
- Referência
- Referência
- Referência
- Referência
- Referência
- Referência
- Referência
- Referência
- Referência
- Referência
- Referência
- Referência
- Referência
CC0 Domínio Público
Este blueprint é liberado sob CC0. Você é livre para copiar, modificar, distribuir e usar este trabalho para qualquer finalidade, sem pedir permissão.
Apoie o Maker comprando produtos através do Blueprint, onde ele ganha uma Comissão Maker definida pelos vendedores, ou crie uma nova versão deste Blueprint e inclua-o como conexão no seu próprio Blueprint para compartilhar receita.