Cutting and Sewing a Caliga Leather Sandal — Roman Military Footwear
Instruções
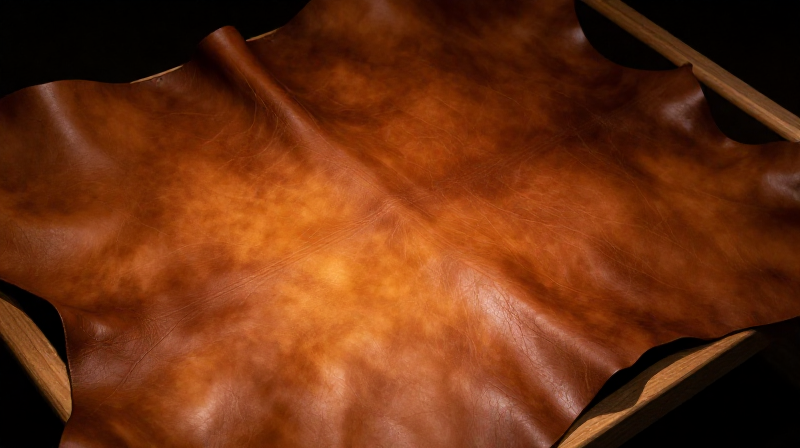
Cut the Sole Pattern
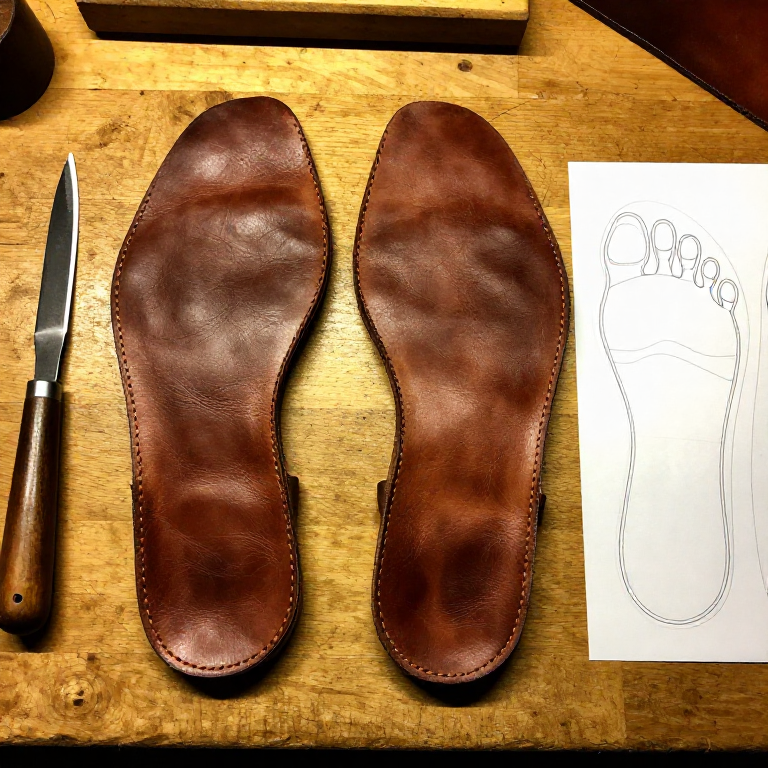
Cut the Sole Pattern
Trace the outline of the foot onto heavy sole leather, adding approximately 5 mm all around for the lasting margin where the upper will be attached. Cut two sole layers per sandal — a thick insole and a thick outsole — using a sharp leather knife. The Roman caliga sole was typically 8 to 12 mm total thickness (achieved with two or three laminated layers), providing protection against rough terrain. The sole should extend slightly beyond the foot outline at the heel and toe for durability. Mark the outline of the lasting margin (the outer 5 mm) where the upper will be folded under and stitched. Archaeological examples from Vindolanda show sole edges shaped to follow the natural foot contour closely, with a slight waist at the arch.
Materiais para este passo:
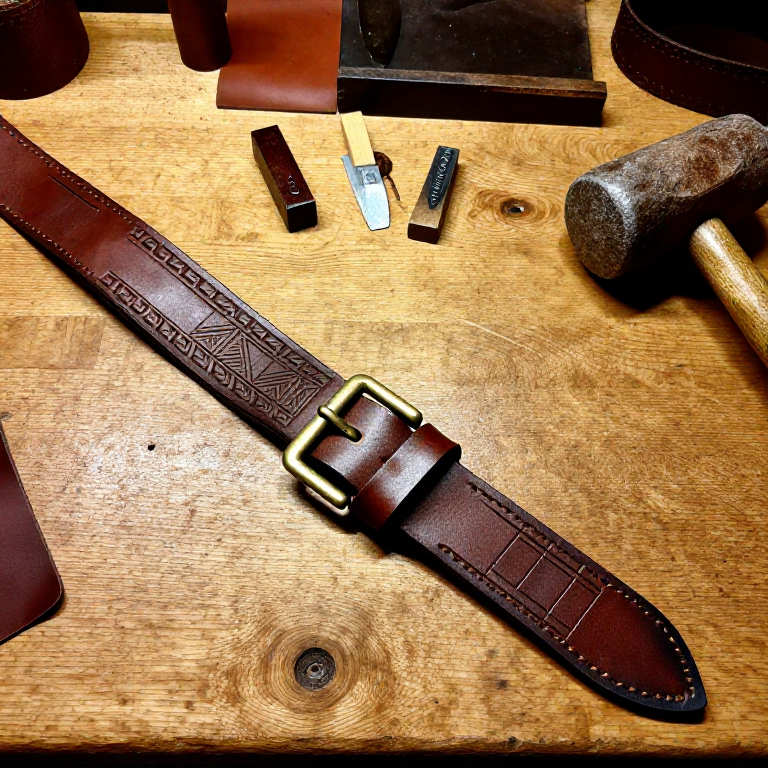
 Leather Belt Blank (Vegetable Tanned)1 piece approx. 40 x 40 cm per sandal cm
 Leather Strap2 sole-shaped pieces per sandal peça
 Iron Chisel60-80 per sandal peça
 Waxed linen thread3-4 metres per sandal peça
Ferramentas necessárias:
 Leather Stitching Kit
 Awl
Awl Hammer
 Smooth Stone
Cut the Upper from a Single Piece
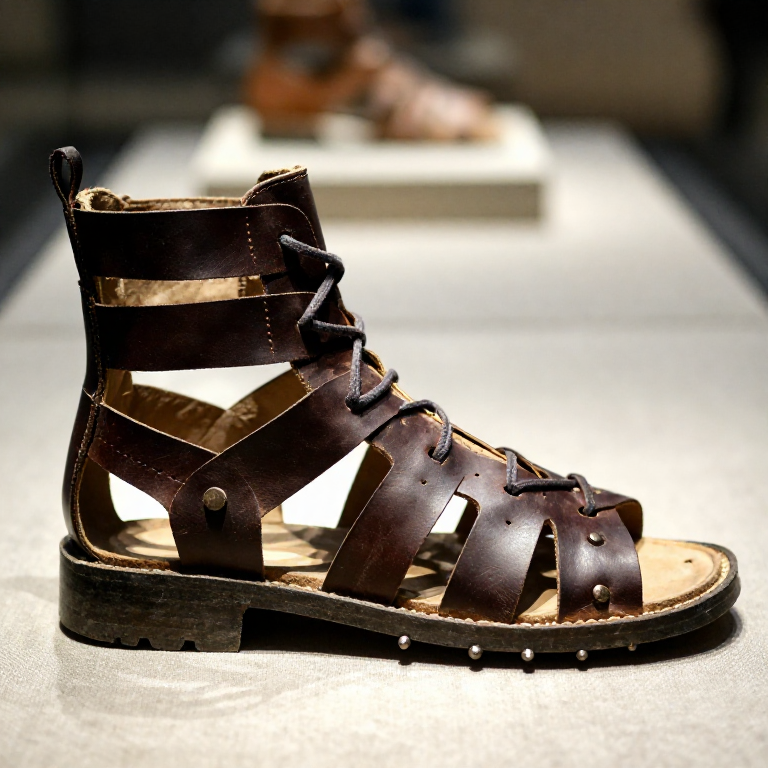
Cut the Upper from a Single Piece
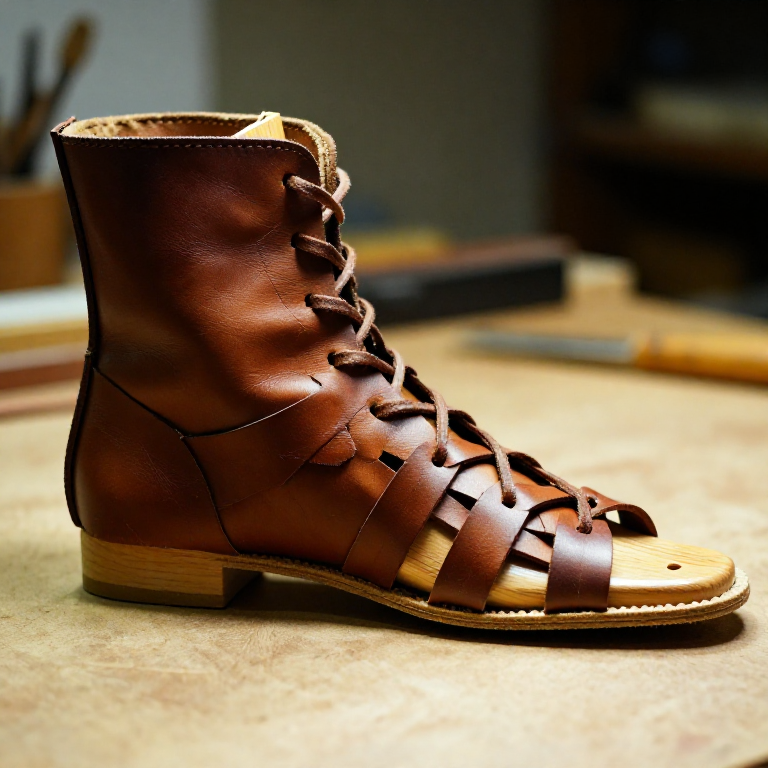
The upper of a caliga is cut from a single piece of thinner leather using an intricate pattern that, when folded up around the foot, creates a lattice of interlocking straps. Draw the pattern onto the leather: a central sole-shaped area (matching the insole dimensions) surrounded by a wide border that will fold upward. Within this border, cut a series of parallel slits and triangular openings that create the open-strap design. The pattern varies by period and location — the Vindolanda caligae show a particularly fine lattice. The key principle is that the straps must interlock when folded up, providing structural integrity without bulk. Cut all slits and openings cleanly with a sharp knife or scalpel — ragged cuts will weaken the straps and cause premature tearing.
Fold and Lace the Upper
Fold and Lace the Upper
Soak the cut upper in water for 10 to 15 minutes until pliable. Place it flat on the insole, centred, and fold the lattice straps upward around the foot form (a wooden last or the wearer's foot wrapped in cloth). The straps should interlock and overlap to form a secure cage around the foot, open enough for ventilation but closed enough for support. Thread the leather lacing thong through the topmost straps to draw them together over the instep, similar to lacing a shoe. Punch holes in the strap ends where they overlap using a leather punch. The fit should be snug but not constricting — Roman soldiers marched 20 to 30 km per day in their caligae, so comfort and ventilation were essential design priorities.
Stitch the Upper to the Sole
Stitch the Upper to the Sole
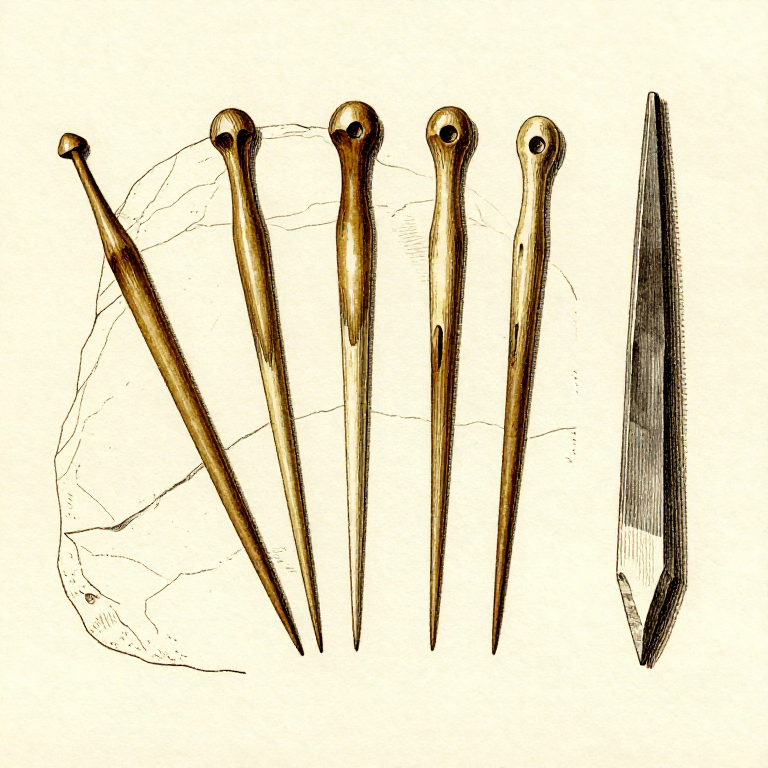
With the upper folded up and fitted, fold the lasting margin of the upper leather under the insole edge. Using an awl, pierce holes through the folded upper and the insole at approximately 5 mm intervals around the entire perimeter. Saddle-stitch through these holes using waxed linen thread and two harness needles — pass the needles through from opposite sides to create a strong, lockstitch seam. Pull each stitch tight. Then place the outsole beneath the insole and stitch or peg the two sole layers together around the edge. The stitching channel should be recessed into the leather by cutting a shallow groove along the stitch line, so the thread sits below the sole surface and does not wear against the ground.
Attach Hobnails
Attach Hobnails
Turn the sandal sole-up and drive iron hobnails through the outsole from below, so the broad heads protrude on the walking surface and the shanks clinch (bend over) against the insole on the interior — place a smooth iron last or stone inside the sandal as an anvil to clinch the nail points flat. Roman hobnail patterns were not random — archaeological evidence shows they were arranged in specific patterns for maximum grip and durability: a ring of nails around the heel, a cluster under the ball of the foot, and rows along the outer edge. Typically 60 to 80 nails per sandal. The hobnails serve the same function as modern boot cleats — providing traction on mud, gravel, and stone roads. Ensure all clinched nail points are hammered completely flat inside the sandal so they do not injure the foot. The finished caliga should weigh approximately 800 to 1200 grams per sandal, depending on size and the amount of hobnailing.
Materiais
5- 30-40 peçaReferência
- 1 m peçaReferência
- 2 pieces peçaReferência
- 1 piece peçaReferência
- 3 m peçaReferência
Ferramentas necessárias
6- Referência
- Referência
- Referência
- Referência
Related blueprints
Other builds that share materials, tools, or techniques with this one.
CC0 Domínio Público
Este blueprint é liberado sob CC0. Você é livre para copiar, modificar, distribuir e usar este trabalho para qualquer finalidade, sem pedir permissão.
Apoie o Maker comprando produtos através do Blueprint, onde ele ganha uma Comissão Maker definida pelos vendedores, ou crie uma nova versão deste Blueprint e inclua-o como conexão no seu próprio Blueprint para compartilhar receita.