Constructing a Roman Updraft Pottery Kiln — Ceramic Firing Technology
Instruções
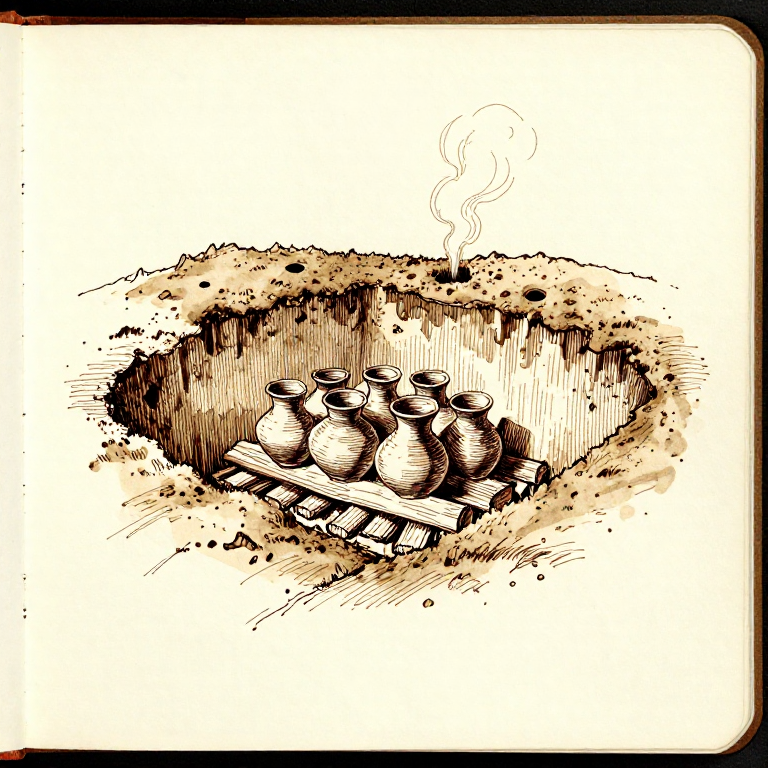
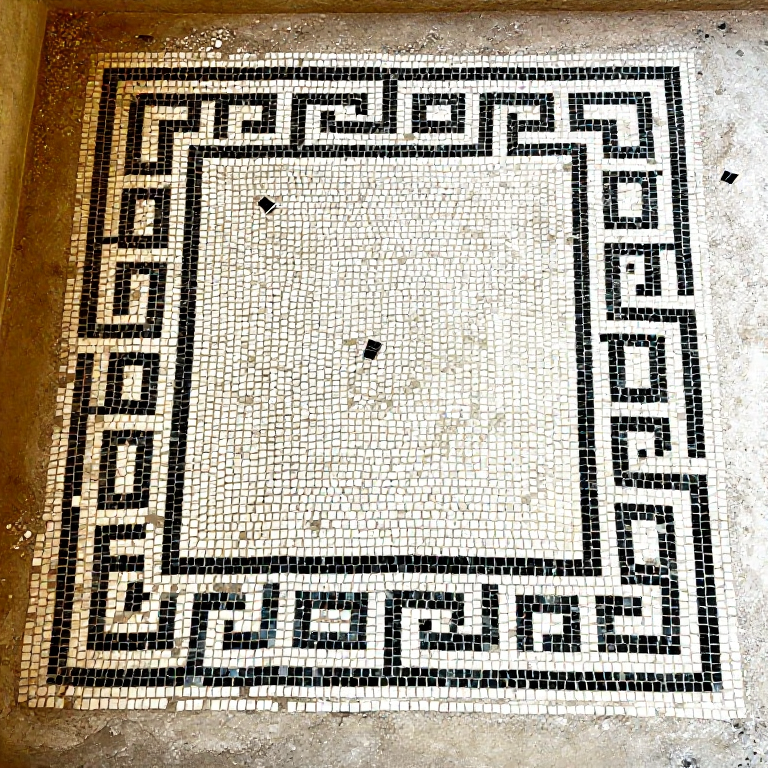
Excavate and Build the Fire Chamber
Excavate and Build the Fire Chamber
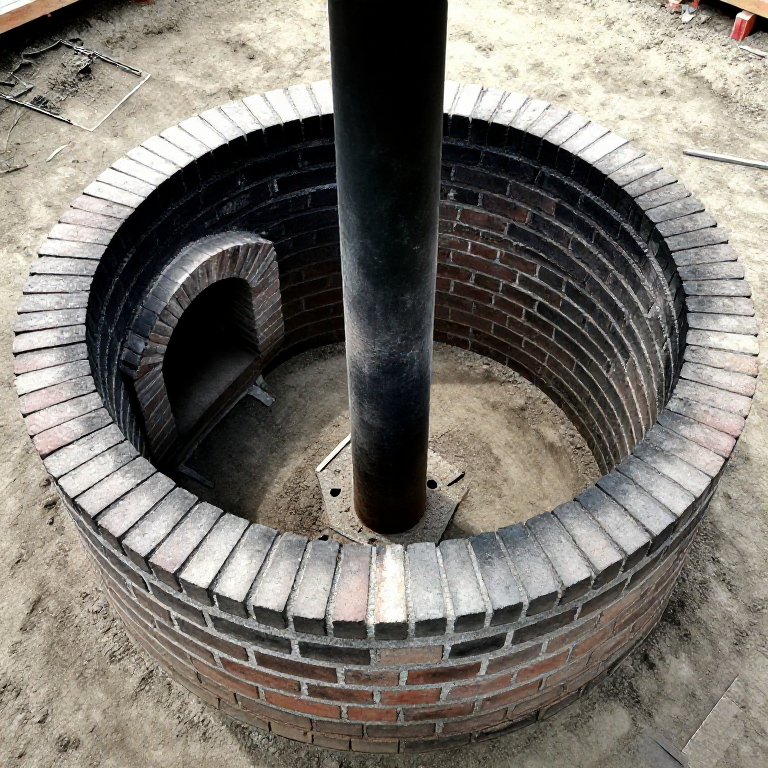
Excavate a circular or oval pit approximately 60 to 80 cm in diameter and 40 to 50 cm deep in well-drained ground. Line the pit with fireclay bricks laid in refractory mortar, building the walls up to ground level. Include a stoking arch (praefurnium) opening on one side — an arched opening approximately 25 to 30 cm wide and 30 cm tall at ground level through which fuel is fed. The fire chamber floor should be slightly dished (concave) to hold ash and create a firebox shape that concentrates heat upward. Build a central supporting pillar or spine wall of brick up to the level where the fire-floor will be installed — this pedestal supports the fire-floor from below while allowing combustion gases to flow around it. Roman kiln fire chambers often had a single central pillar or a T-shaped wall to optimise gas flow distribution.
Materiais para este passo:
 Clay20-30 kg kg
Construct the Fire-Floor
Construct the Fire-Floor
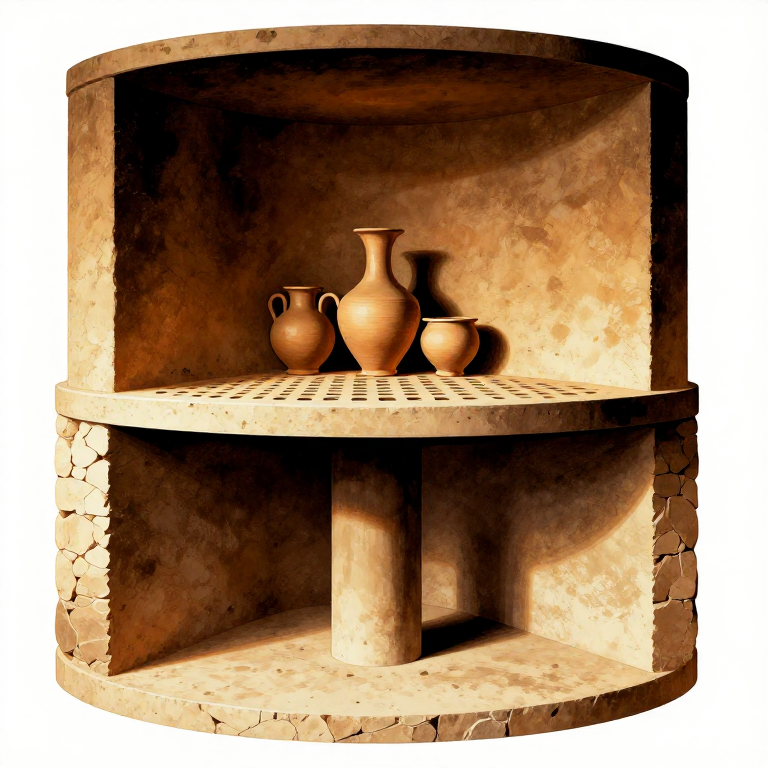
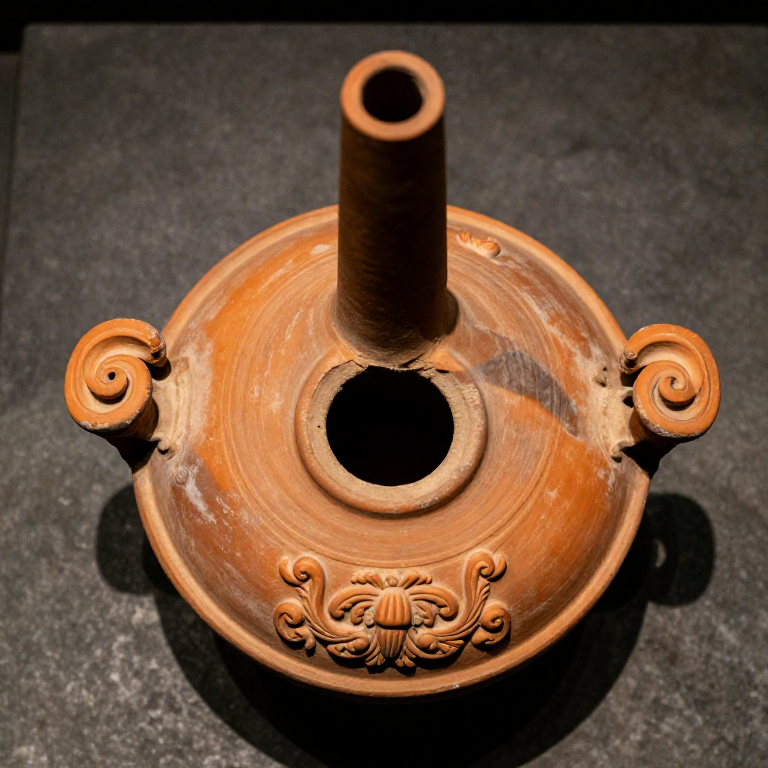
The fire-floor (or fire-bars) is the perforated platform that separates the fire chamber below from the firing chamber above. Lay iron bars across the kiln diameter, resting on the central pillar and the chamber walls. Over these bars, construct a flat clay slab approximately 5 to 8 cm thick from refractory clay mixed with coarse sand (grog — ground fired clay — is ideal). Before the slab dries, punch holes approximately 5 to 7 cm in diameter through it at regular intervals (every 10 to 12 cm) using a wooden dowel. These perforations allow hot combustion gases to rise from the fire below into the pottery stack above while supporting the weight of the kiln load. The total area of the perforations should be approximately 20 to 30 percent of the fire-floor area to allow adequate gas flow. Allow the fire-floor to dry thoroughly (at least one week) before firing, as moisture in the clay will cause cracking under heat.
Materiais para este passo:
Clay20-30 kg kgBuild the Firing Chamber
Build the Firing Chamber
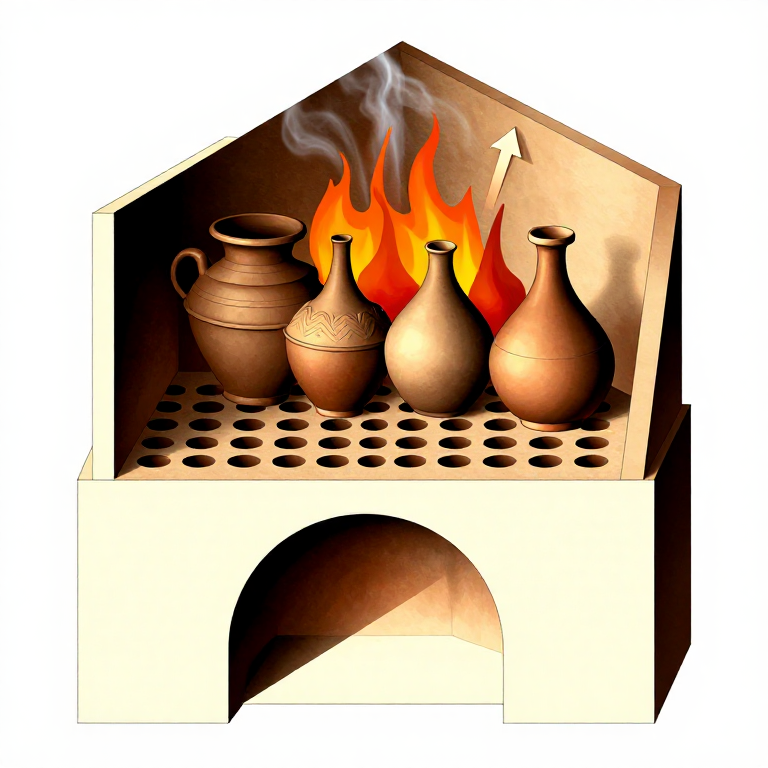
Above the fire-floor, build the cylindrical firing chamber walls from fireclay bricks, rising approximately 50 to 60 cm above the fire-floor level. The walls can be straight-sided or slightly tapered inward toward the top, which helps contain heat. Leave no gaps in the brickwork — all joints must be sealed with refractory mortar to prevent uncontrolled air leaks that would create cold spots. The top of the firing chamber can be left open (covered temporarily with pottery shards during firing) or fitted with a domed roof with a central flue hole for draft control. Many Roman kilns used a temporary roof of broken pottery shards and clay, which was dismantled to load and unload the kiln. The interior surface of the firing chamber should be smooth to prevent pottery from snagging when loading.
Materiais para este passo:
Clay20-30 kg kgLoad and Seal the Kiln
Load and Seal the Kiln
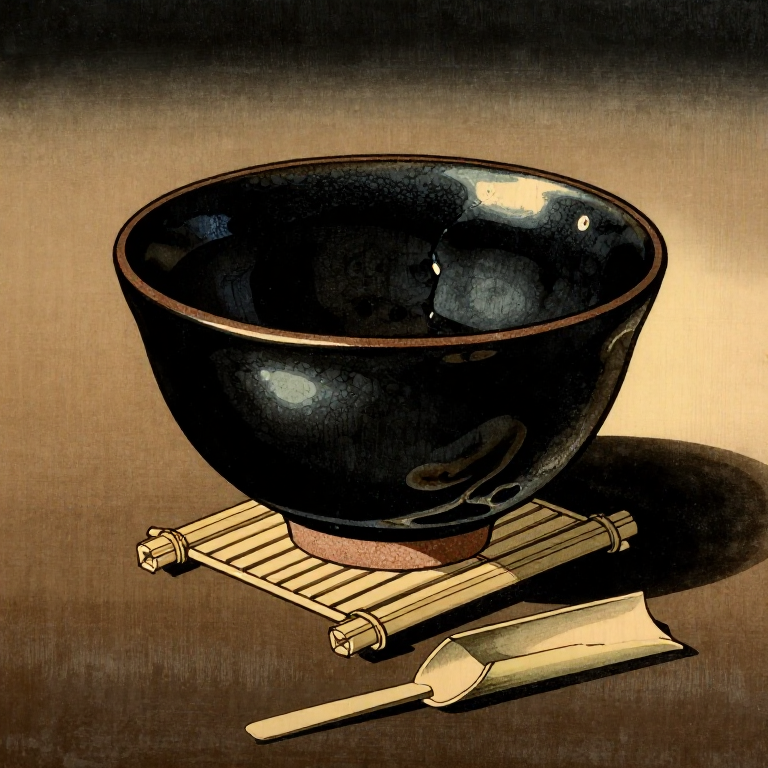
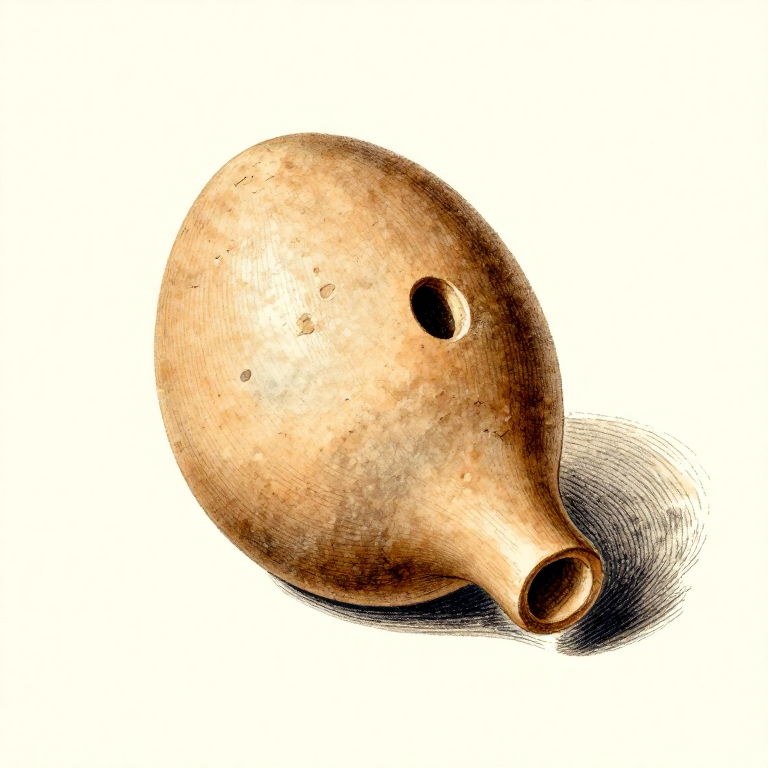
Stack bone-dry pottery in the firing chamber, arranging pieces to allow gas flow between them. Larger, heavier pieces go on the bottom near the fire-floor where temperatures are highest. Do not let pieces touch each other or the walls — use small clay wadding or kiln furniture (clay spacers) to maintain gaps. For terra sigillata (the fine red-slip Roman tableware), pieces were stacked in ceramic firing containers (saggars) to protect the glossy slip surface from direct flame contact and ash. Once loaded, seal the top of the kiln with a temporary cover of pottery shards overlapping like tiles, sealed with a layer of wet clay. Leave a small flue hole (approximately 10 cm diameter) in the cover for draft control and to observe the firing through. Block the stoking arch with a loose brick that can be removed for fuelling.
Fire the Kiln
Fire the Kiln
Begin firing with a small, gentle fire in the stoking arch to drive residual moisture from the kiln structure and pottery — this pre-heating phase (water smoking) should last 2 to 3 hours, with temperatures rising slowly to approximately 200 degrees Celsius. Then increase the fuel (hardwood or charcoal) gradually over the next 4 to 6 hours, building to the target temperature of 900 to 1050 degrees Celsius. At peak temperature, the interior of the kiln should glow bright orange-red, visible through the flue hole. For oxidation firing (producing red pottery), maintain a clear fire with adequate air supply through the stoking arch. For reduction firing (producing grey or black pottery), restrict air by partially blocking the stoking arch and flue, causing incomplete combustion that converts red iron oxide in the clay to black iron oxide. Hold the peak temperature for approximately 1 to 2 hours, then allow the kiln to cool slowly over 24 to 48 hours before opening. Rapid cooling causes thermal shock and cracking in the pottery.
Materiais
4- 200-300 bricks peçaReferência
- 30-40 kg peçaReferência
- 4-6 bars, 60-80 cm peçaReferência
Ferramentas necessárias
5- Referência
- Referência
- Referência
Related blueprints
Other builds that share materials, tools, or techniques with this one.
CC0 Domínio Público
Este blueprint é liberado sob CC0. Você é livre para copiar, modificar, distribuir e usar este trabalho para qualquer finalidade, sem pedir permissão.
Apoie o Maker comprando produtos através do Blueprint, onde ele ganha uma Comissão Maker definida pelos vendedores, ou crie uma nova versão deste Blueprint e inclua-o como conexão no seu próprio Blueprint para compartilhar receita.