ARTE
BELEZA E BEM-ESTAR
ARTESANATO
CULTURA E HISTÓRIA
ENTRETENIMENTO
MEIO AMBIENTE
COMIDA E BEBIDAS
ENGENHARIA REVERSA
CIÊNCIAS
ESPORTES
TECNOLOGIA
TECNOLOGIA VESTÍVEL
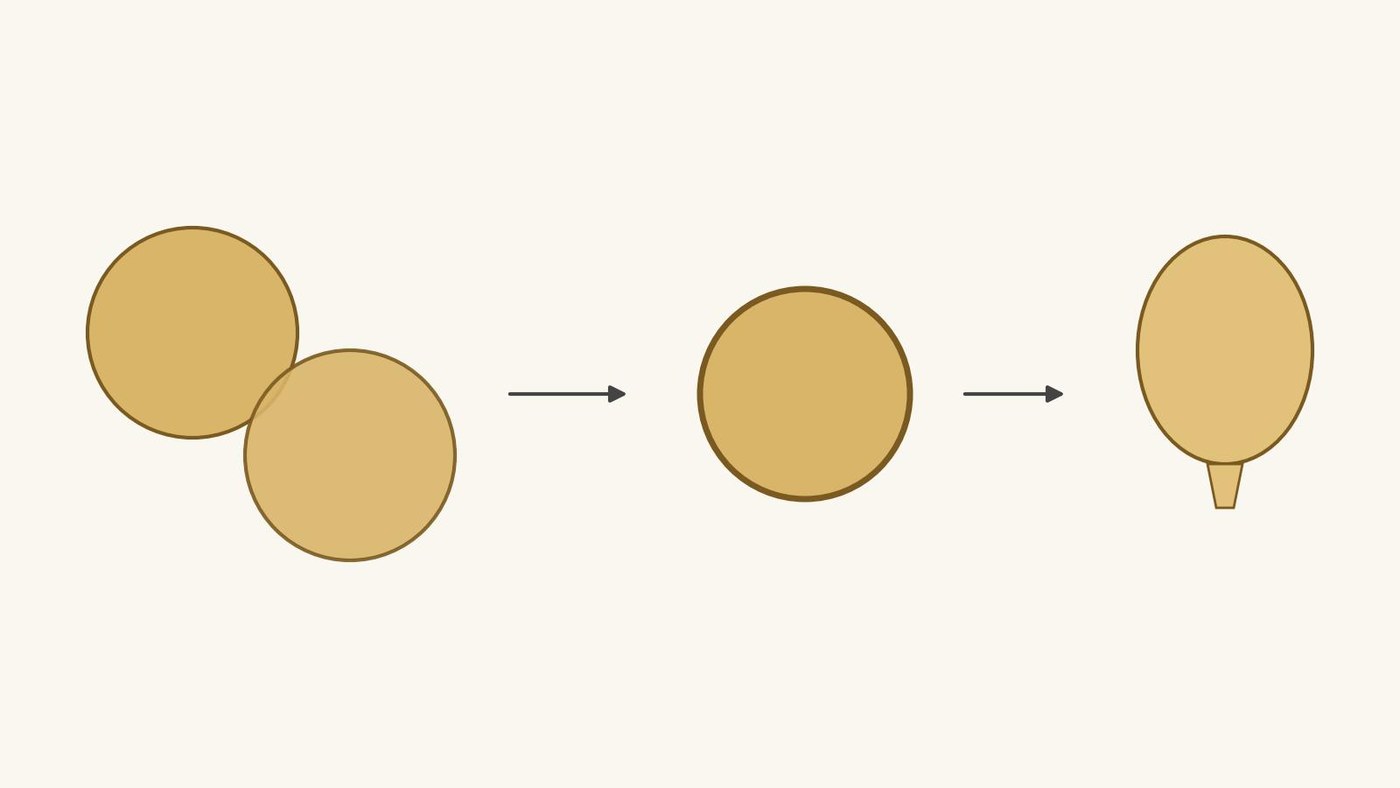


Rubber Balloons: Two Circles of Natural Rubber Sheet Pressed Together at the Edge
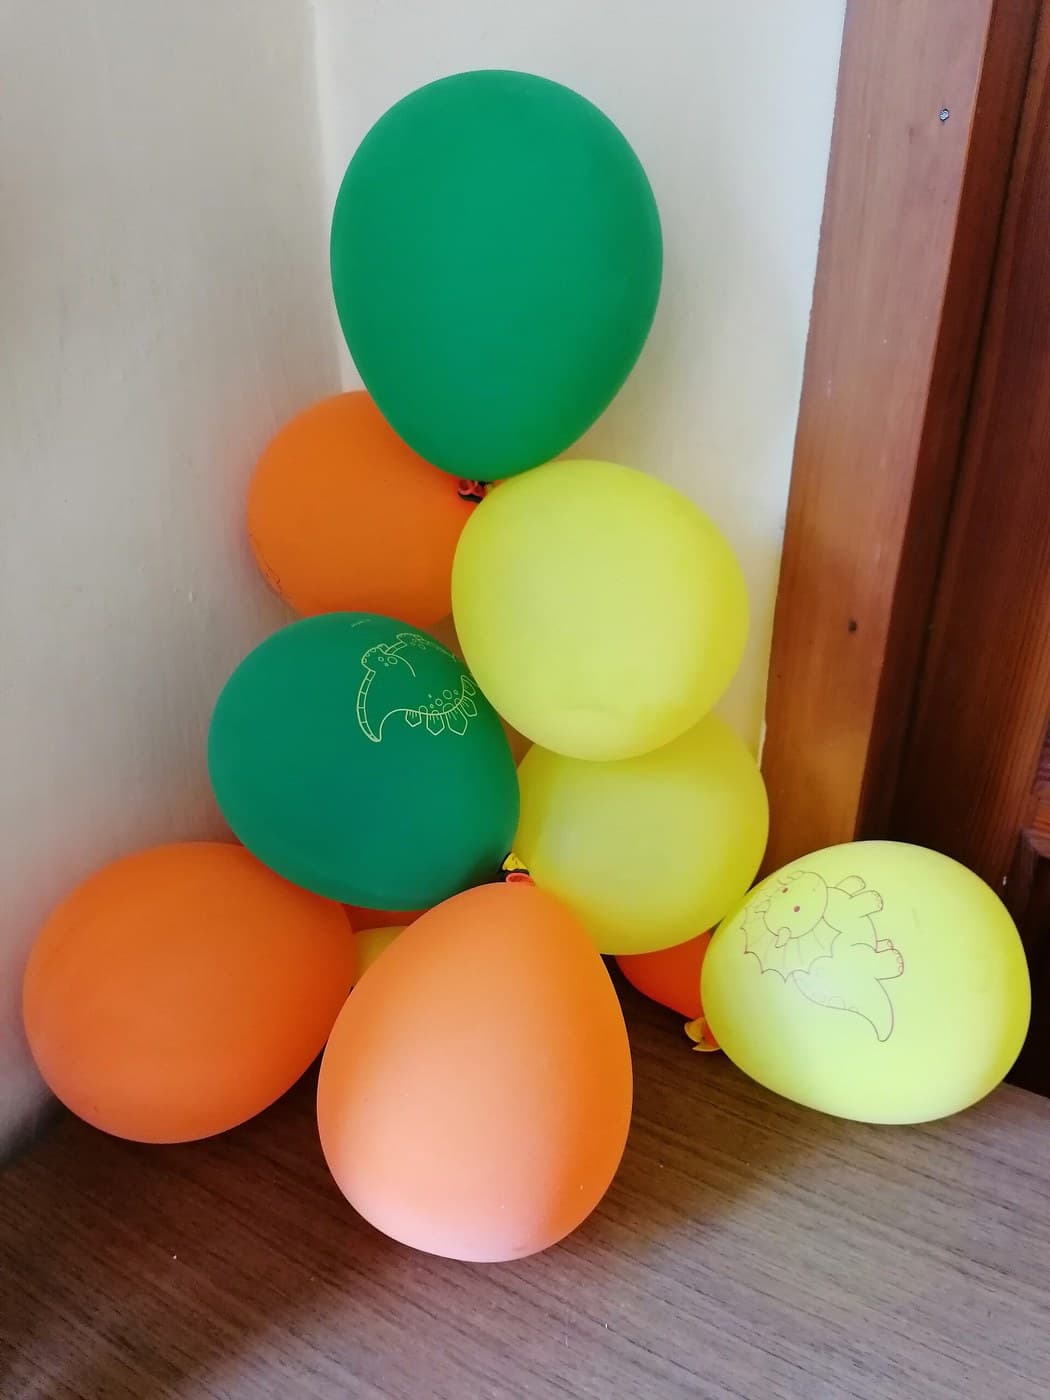
Michael Faraday made the first rubber balloon in 1824, and by 1825 Thomas Hancock sold them as two rubber circles to be joined by pressing their edges together. Cut two circles with a neck tab from thin natural rubber sheet, dust the inner faces, and press the fresh-cut edges hard together.
The picture: our diagram, two circles joined into a balloon.
Iniciante
Half an hour
Instruções
1
1
Cut the circles
Cut the circles
Draw a paper circle with a short neck tab, lay it on thin rubber sheet and cut two matching pieces.
Materiais para este passo:
 Placa de borracha natural0.05 m2
Ferramentas necessárias:
 Papel
 Lápis
 Tesoura
2
2
Dust the insides
Dust the insides
Dust the inner face of each piece lightly with talc, keeping it off the outer edge.
Ferramentas necessárias:
 Talco
3
3
Join the edges
Join the edges
Lay the two pieces together and press and rub the fresh-cut edges hard all round, leaving the neck open.
Ferramentas necessárias:
Tesoura4
4
Test
Test
Blow gently into the neck and listen for leaks; press any leaking edge again.
Ferramentas necessárias:
Talco5
5
Circle size
Circle size
A carregar o notebook Jupyter…
Materiais
1- 0.05 m2Referência
Este projeto faz
Blueprints relacionados
Estes blueprints compartilham conhecimento — técnicas, materiais ou princípios


CC0 Domínio Público
Este blueprint é liberado sob CC0. Você é livre para copiar, modificar, distribuir e usar este trabalho para qualquer finalidade, sem pedir permissão.
Apoie o Maker comprando produtos através do Blueprint, onde ele ganha uma Comissão Maker definida pelos vendedores, ou crie uma nova versão deste Blueprint e inclua-o como conexão no seu próprio Blueprint para compartilhar receita.