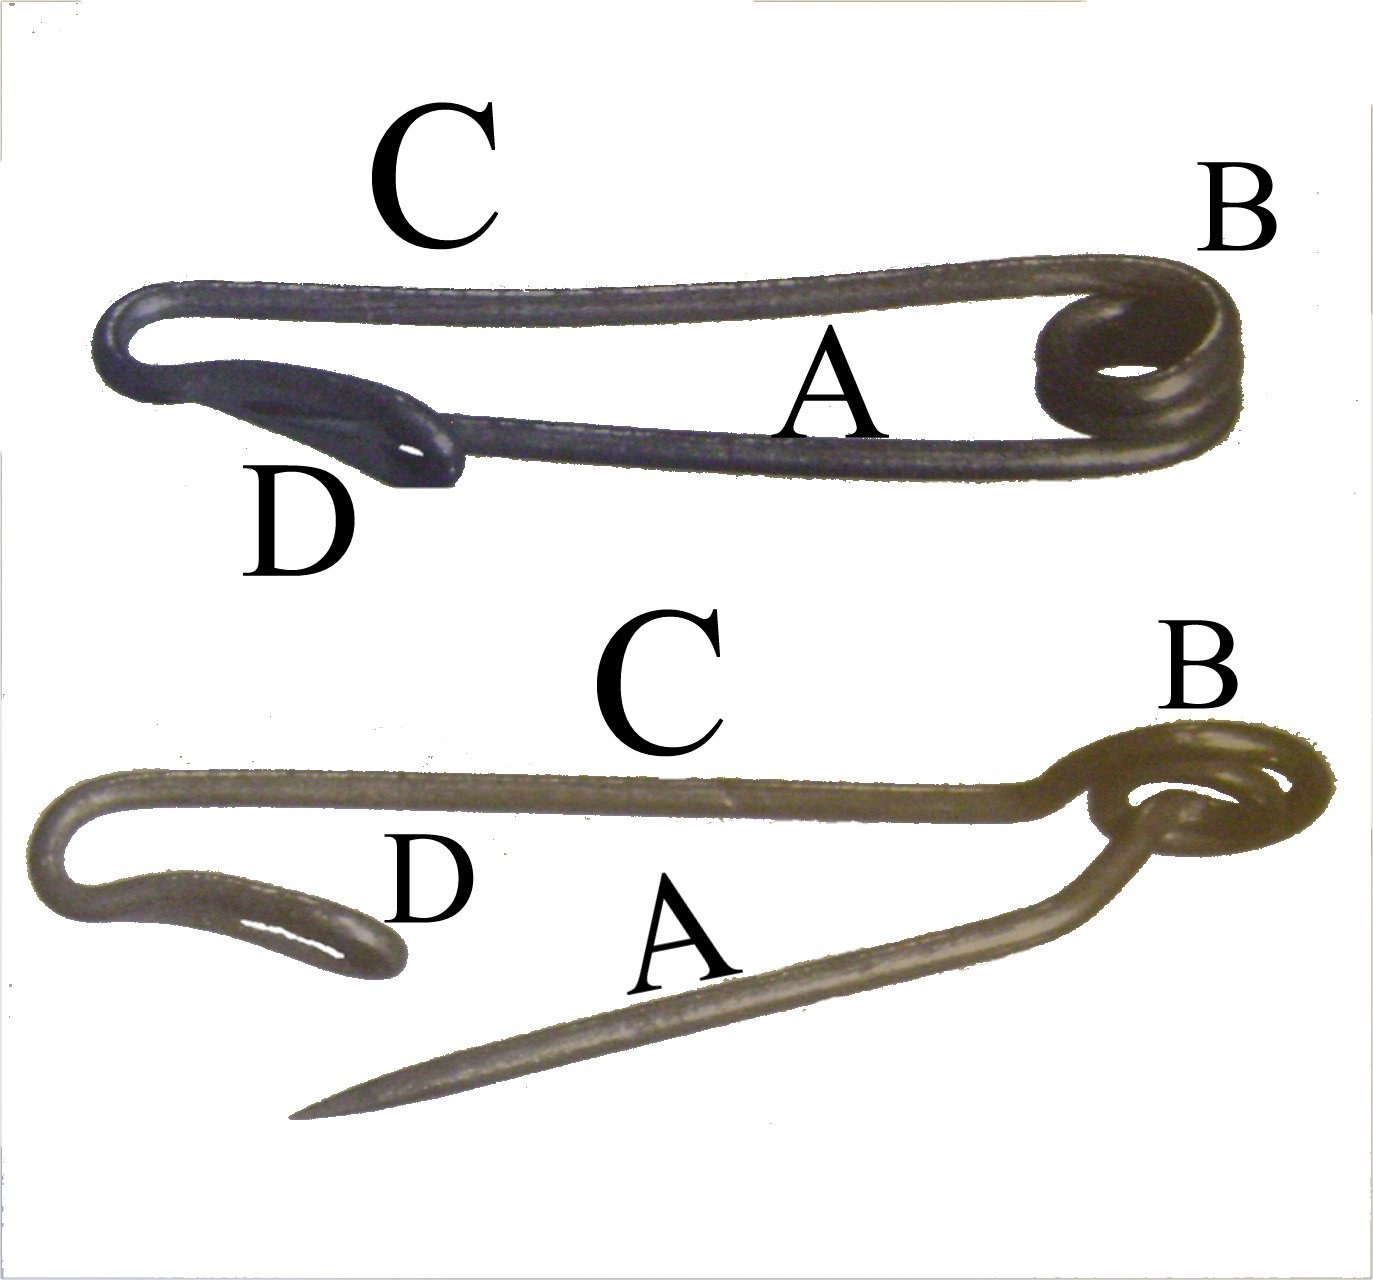


Safety Pin
Walter Hunt owed a man fifteen dollars. He sat down with a piece of brass wire, twisted it about for three hours, and produced the safety pin — a single length of wire that is simultaneously a spring, a point and a guard. He patented it, sold the rights outright for four hundred dollars, paid his debt, and never earned another cent from it.
The whole design is one continuous piece. There are no joints, no rivets and no separate parts: the coil in the middle stores the energy that keeps the point seated in the clasp, and the clasp covers the point so it cannot prick the wearer. Straighten it out and you have a piece of wire again.
It is the best possible first lesson in spring design, and it takes one afternoon and one pair of pliers.
Instruções
Wear eye protection while cutting wire
Wear eye protection while cutting wire
Cut wire ends fly. Goggles on before the first cut, and cut with the offcut pointing away from you and anyone else.
Ferramentas necessárias:
 Óculos de proteção antiembaciamento
Choose a springy wire
Choose a springy wire
Use hard-drawn brass or spring steel wire, 0.8-1.0 mm. Annealed or soft wire will not work — it bends and stays bent instead of springing back, and the pin simply falls open.
Materiais para este passo:
 Varão de latão1 metro
Cut a 120 mm length
Cut a 120 mm length
Cut one piece about 120 mm long for a 45 mm finished pin. Work with more than you need; the ends get trimmed at the finish.
Find the centre and mark it
Find the centre and mark it
Mark the midpoint of the wire. The coil goes here, and everything else is measured from it.
Ferramentas necessárias:
 Régua
RéguaWind two full turns around a 3 mm mandrel
Wind two full turns around a 3 mm mandrel
Grip a 3 mm rod or drill shank at the mark and wind the wire twice around it, so both legs come off the coil on the same side. This coil is the spring.
Ferramentas necessárias:
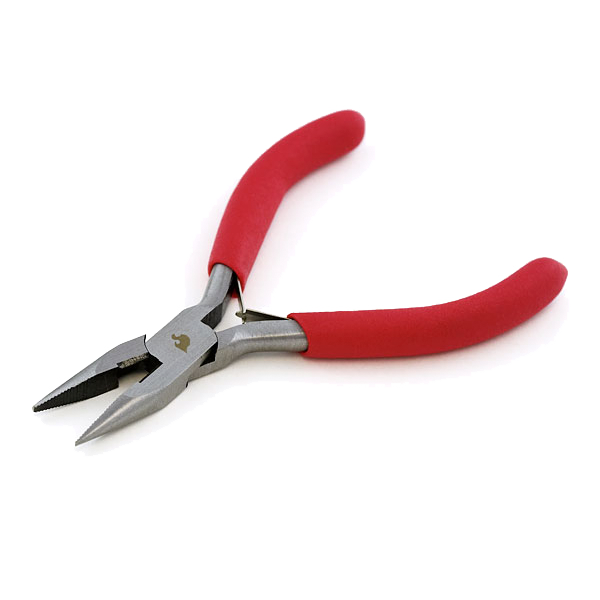 Needle Nose Pliers
Keep the two turns tight against each other
Keep the two turns tight against each other
Close the turns up so they touch. A loose, open coil stores far less energy and the finished pin will feel slack.
Bring the legs parallel
Bring the legs parallel
Bend both legs so they run parallel and lie in the same plane. If they are twisted out of plane the point will miss the clasp every time.
Set the legs slightly crossed under tension
Set the legs slightly crossed under tension
Adjust so the two legs press gently toward each other at rest. This preload is what keeps the point in the clasp once it is closed.
Form the clasp on the shorter leg
Form the clasp on the shorter leg
Bend the end of one leg back on itself into a narrow U, then squeeze it into a channel just wide enough to swallow the wire. The open side faces the coil.
Close the mouth of the clasp
Close the mouth of the clasp
Pinch the opening until the point has to be pushed past it with a small click. Too loose and it releases in use; too tight and you cannot close the pin.
Trim the other leg to length
Trim the other leg to length
Cut the remaining leg so it reaches about 2 mm past the back of the clasp when closed. Too short and it will not seat; too long and it protrudes.
File the point
File the point
File a long, gradual taper — not a needle. A short steep point tears cloth fibres instead of parting them.
Ferramentas necessárias:
 Limas (lima de mão)
Polish the point smooth
Polish the point smooth
Finish the taper with fine abrasive until it is bright. Any file burr left on the point snags every thread it passes through.
Test it on cloth twenty times
Test it on cloth twenty times
Open and close it repeatedly through a scrap of fabric. It should click shut each time and hold when tugged. If the spring fades, the wire was too soft — start again with harder wire.
History & Context — three hours' work, four hundred dollars
History & Context — three hours' work, four hundred dollars
The patent is real and the story is largely true. Walter Hunt was granted US Patent 6,281 on 10 April 1849 for a "dress pin", described in the filing as a pin made from one piece of wire combining a spring and a clasp that shields the point. The widely repeated account — that he devised it while idly twisting a wire to settle a fifteen-dollar debt, and sold the rights for four hundred dollars — appears consistently in the contemporary record. He made nothing further from it while the patent went on to earn its holders a fortune.
Hunt is the great cautionary tale of American invention. He also built an early lockstitch sewing machine, around 1833, and declined to patent it — reportedly out of concern that it would put seamstresses out of work. Elias Howe patented the lockstitch in 1846 and the resulting litigation made others rich. Hunt invented a repeating rifle, a fountain pen, a streetcar bell and an ice plough, and died with little to show for any of it.
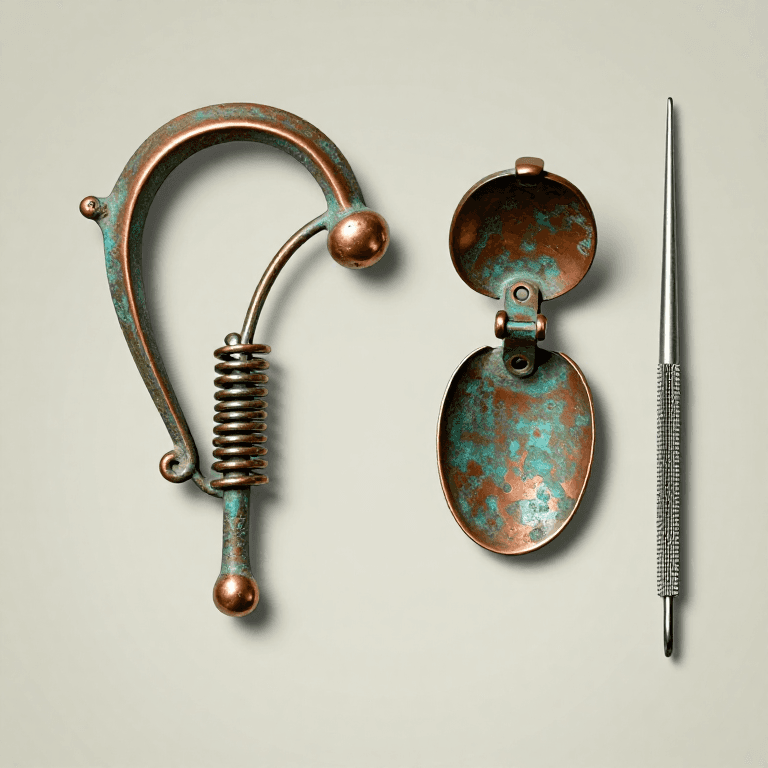
Why the design has not changed in 175 years. It solves three problems with one piece of wire and no assembly: a torsion spring at the coil supplies closing force; the clasp shields the point so it cannot injure the wearer or work loose; and because it is monolithic there is nothing to come apart in wear. Fibulae — the pinned brooches of the Bronze Age and antiquity — worked on the same spring-and-catch principle thousands of years earlier, so Hunt's leap was less the concept than the reduction to a single cheap piece of wire that a machine could make by the million.
The one thing that decides success. Wire temper. The geometry is easy; a safety pin made from soft wire looks perfect and fails immediately, because a spring is not a shape — it is a material property. That is the real lesson hiding inside a two-cent object.
Materiais
1- 1 metroReferência
Ferramentas necessárias
4- Referência
- Referência
- Needle Nose Pliers10% de comissãoR$13.07
- Referência
Materiais de Blueprints conectados

Blueprints relacionados
Estes blueprints compartilham conhecimento — técnicas, materiais ou princípios
CC0 Domínio Público
Este blueprint é liberado sob CC0. Você é livre para copiar, modificar, distribuir e usar este trabalho para qualquer finalidade, sem pedir permissão.
Apoie o Maker comprando produtos através do Blueprint, onde ele ganha uma Comissão Maker definida pelos vendedores, ou crie uma nova versão deste Blueprint e inclua-o como conexão no seu próprio Blueprint para compartilhar receita.