Colaboração
ARTE
BELEZA E BEM-ESTAR
ARTESANATO
CULTURA E HISTÓRIA
ENTRETENIMENTO
MEIO AMBIENTE
COMIDA E BEBIDAS
ENGENHARIA REVERSA
CIÊNCIAS
ESPORTES
TECNOLOGIA
TECNOLOGIA VESTÍVEL
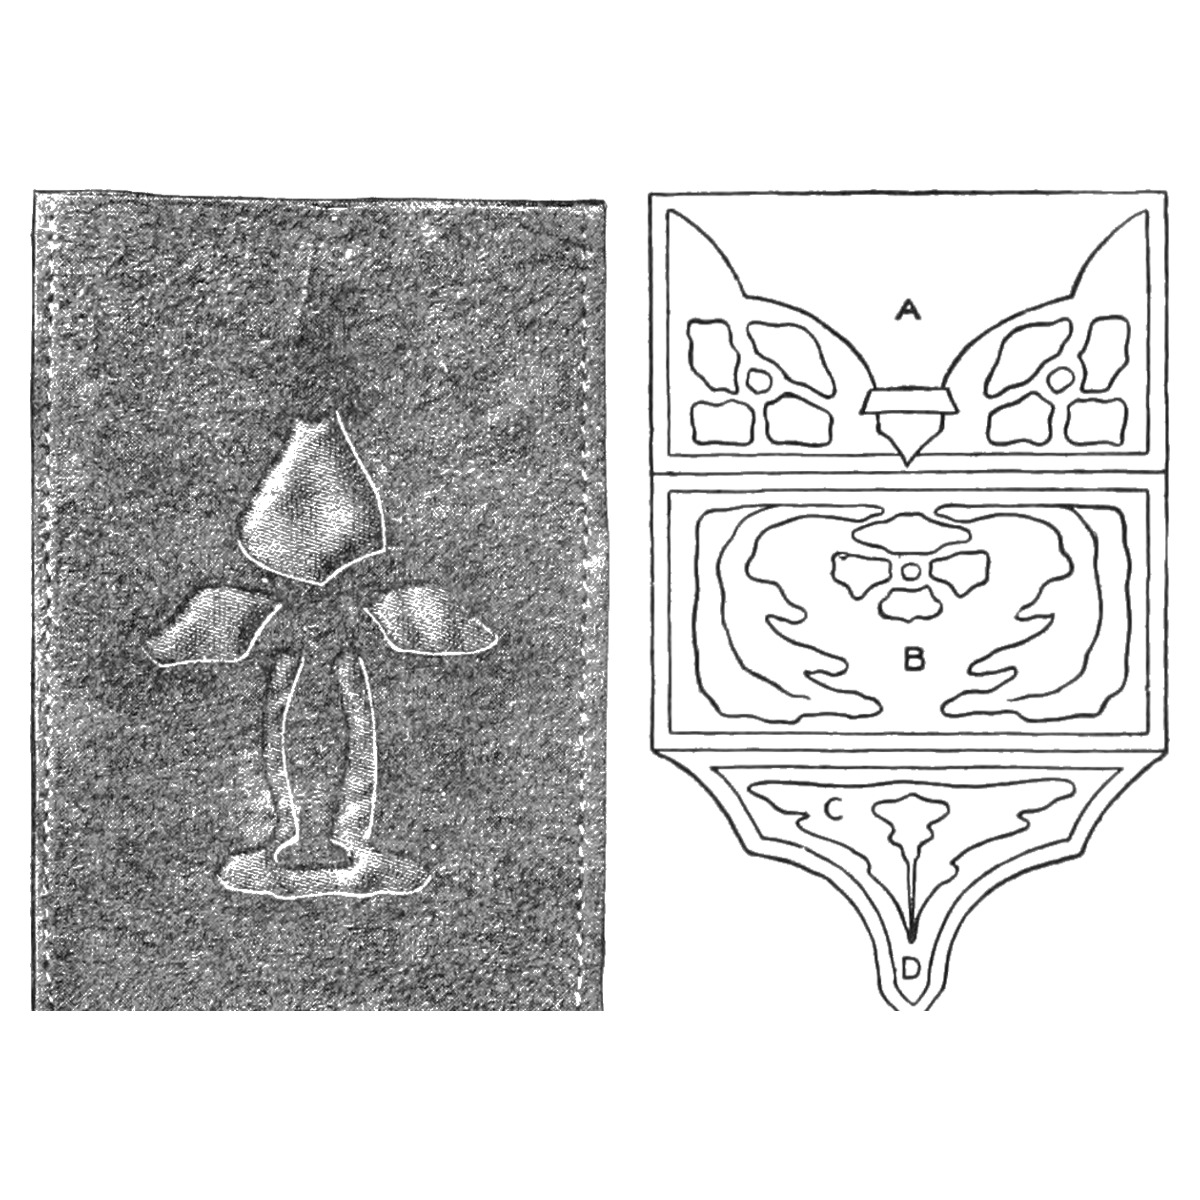


Tooled Stamp Case or Needle Book: Three-Part Fold With a Tongue-and-Slit Closure (Boy Mechanic, 1915)
Mary C. Scovel's needle book or stamp case (The Boy Mechanic, Book 2, 1915): a 6-1/4 by 3-3/4 in piece of Russian calf folded in three, the flap ending in a long narrow tongue that slips through two slits in the front.
Iniciante
About 2 hours
Instruções
1
1
Her sizes in centimetres
Her sizes in centimetres
A carregar o notebook Jupyter…
2
2
Read The Boy Mechanic, Book 2
Read The Boy Mechanic, Book 2
Her outfit: "two special tools costing 50 cents each, one with a narrow edge for lining patterns, and one with broad ends for tooling; and a piece of tin, plate glass, or very smooth hard wood, which should not be smaller than 9 by 12 in. A soft sponge, a triangle, a rule, tracing paper and a hard pencil are also needed." Russian calfskin is best for tooling and stamping.
3
3
Make the paper pattern
Make the paper pattern
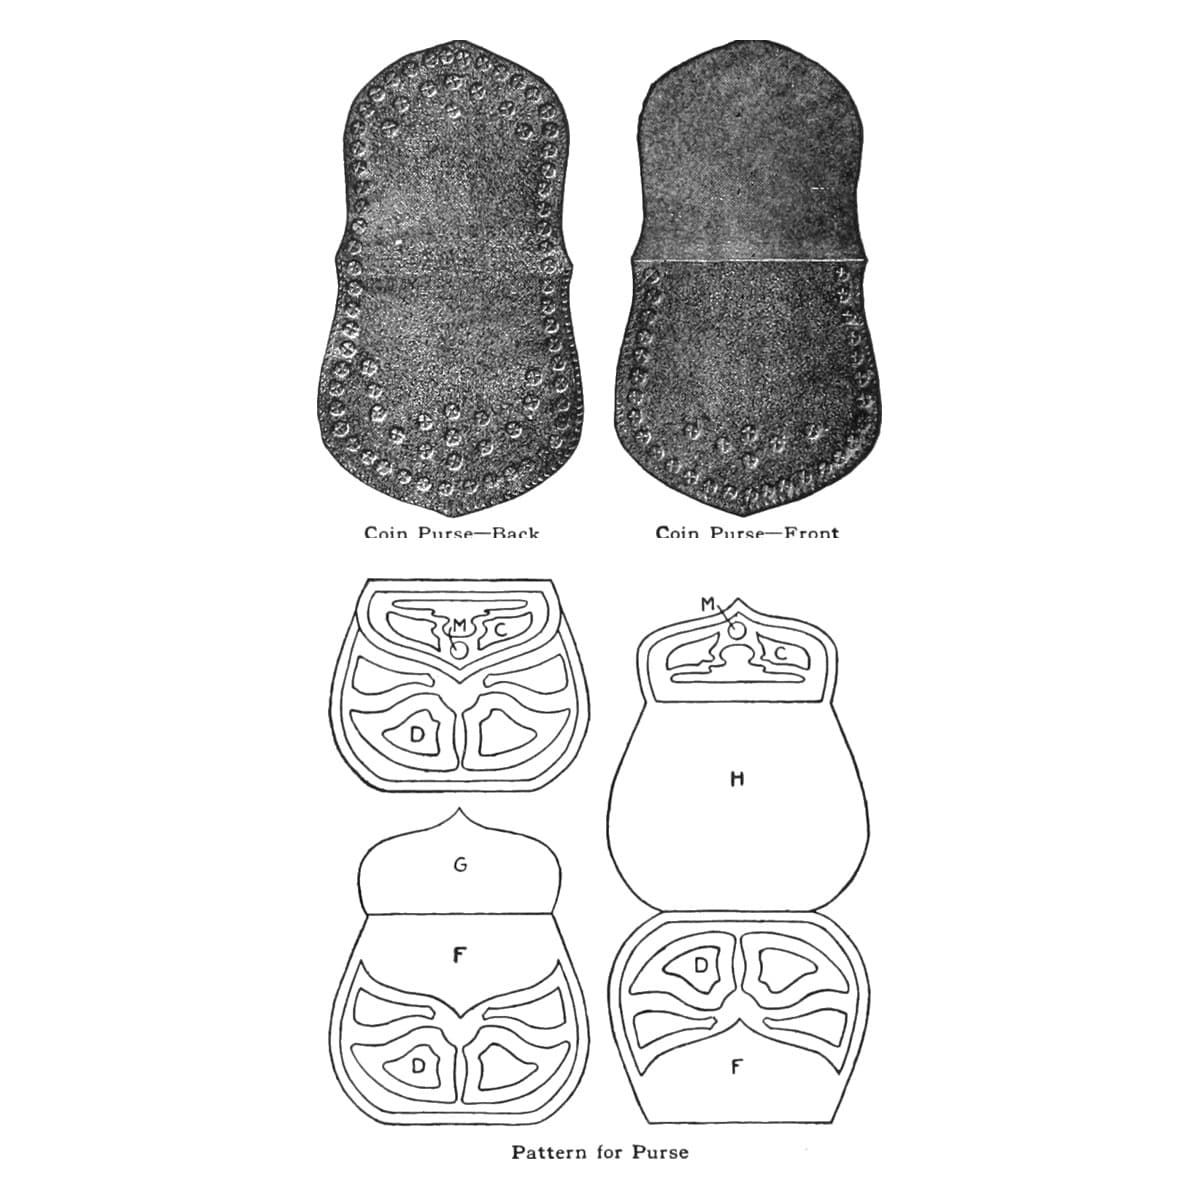
Cut Russian calf 6-1/4 by 3-3/4 in, which allows 1/4 in on each side and end for pinning. Fold paper into three equal parts: A the front; B the back, folded under A; C the flap, which folds up with B and over A. With the pattern open, all the design is on the same side; the design for B goes on upside down so it reads upright when folded. Shape C as you like, but keep its tongue D long and narrow.
Materiais para este passo:
 Couro de vitela1 peça
Ferramentas necessárias:
 Papel vegetal
 Lápis
 Tesoura
 Régua
4
4
Damp the leather and transfer the design
Damp the leather and transfer the design
Draw the whole design for the stamp case on tracing paper. Wet the leather on the wrong (unfinished) side with a soft sponge: pat it to moisten, not soak, it; too wet and the tool sticks and leaves an uneven background. Pin the design firmly on the leather, tack the leather down on its outer margin to the glass or board, and go over every line with a hard pencil, with firm, even pressure. Lift the paper and go over the lines with the narrow lining tool, with a strong, firm stroke. A line design can stop here.
Materiais para este passo:
Couro de vitela1 peçaFerramentas necessárias:
 EsponjaPapel vegetalLápis
 Pioneses (caixa de 50)
 Placa de vidro
 Modelador de couro
5
5
Tool or stamp the background
Tool or stamp the background
Leave at least 1/8 in between the edge of the pattern and the design. To tool, press the background down with the broad end in even, long strokes; if it will not go down, the leather is too dry, so take it off and damp the back again. Keep the edges sharp between pressed and raised parts. To stamp instead, strike a small carpenter's nail set lightly with a wooden mallet in rows of circles; too hard a blow cuts the leather.
Ferramentas necessárias:
Modelador de couro Puncionador de pregos
 Maço de madeiraEsponja
6
6
Cut the slits and sew
Cut the slits and sew
Make two horizontal cuts in the front A about 3/16 in apart, a little wider than the tongue, as far from the bottom of A as the narrowest part of the tongue is from its end, so the tongue fits them. Sew parts A and B together. Stitch on a sewing machine with a long stitch, a large needle and silk as heavy as the needle takes; try it on a scrap first, and put tissue paper over the leather if the foot marks it. Without a machine, prick holes with an awl and sew with needle and silk, running or over-and-over; going over-and-over to the end and back gives an X stitch.
Materiais para este passo:
 Linha de seda1 peça
Ferramentas necessárias:
 X-ato (faca de precisão)Régua
 Máquina de costura
 Sovela
 Duas agulhas de correeiro
7
7
Troubleshooting
Troubleshooting
Stamp case troubleshooting.
Flow
Loading...
8
8
History and honest limits
History and honest limits
From Mary C. Scovel, "Arts-Crafts Leather Work", in **The Boy Mechanic, Book 2**, Popular Mechanics, 1915 (Project Gutenberg 44585; checked on the archive.org scan boymechanicbook200chic2, pp. 432-441), Part I. Part II adds that ooze cow or calf can be used with a cut-out design lined with silk; that version is not made here. The tools and metric figures are ours.
Materiais
2- 2 peçasReferência
- 1 peçaReferência
Ferramentas necessárias
14- Referência
- 1 vendor sell this, none ship to you yetReferência
- Referência
- Referência
- Referência
- Referência
- Referência
- Referência
- Referência
- Referência
- Referência
- Referência
- Referência
- Referência
Este projeto faz
Blueprints relacionados
Estes blueprints compartilham conhecimento — técnicas, materiais ou princípios
CC0 Domínio Público
Este blueprint é liberado sob CC0. Você é livre para copiar, modificar, distribuir e usar este trabalho para qualquer finalidade, sem pedir permissão.
Apoie o Maker comprando produtos através do Blueprint, onde ele ganha uma Comissão Maker definida pelos vendedores, ou crie uma nova versão deste Blueprint e inclua-o como conexão no seu próprio Blueprint para compartilhar receita.