ARTE
BELEZA E BEM-ESTAR
ARTESANATO
CULTURA E HISTÓRIA
ENTRETENIMENTO
MEIO AMBIENTE
COMIDA E BEBIDAS
ENGENHARIA REVERSA
CIÊNCIAS
ESPORTES
TECNOLOGIA
TECNOLOGIA VESTÍVEL
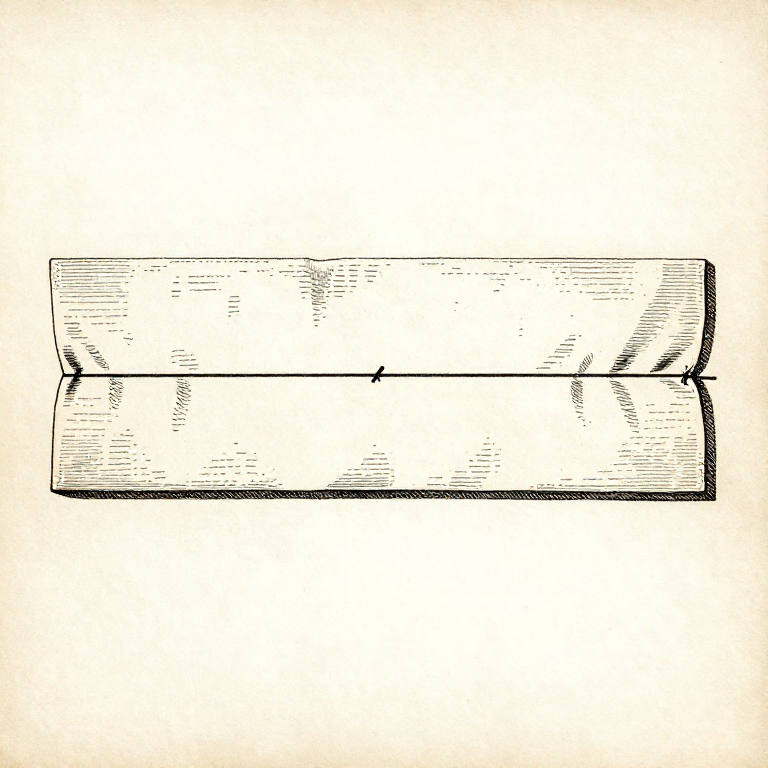


Seam Allowance: One Number, Everywhere, or Nothing Fits
The seam allowance is the strip of cloth between the cut edge and the line of stitching. It is not decoration and it is not spare: it is the difference between the size you cut and the size you get.
Every seam removes twice the allowance from the finished width, because there is an allowance on each of the two pieces. Sew a 15 mm allowance instead of a 10 mm one on a garment with eight seams and you have removed 80 mm from its circumference — a whole size.
Which is why the number has to be the SAME everywhere, and why it has to be the number the pattern was drafted with. A consistent wrong allowance produces a garment of the wrong size; an inconsistent one produces a garment that does not go together at all.
Iniciante
2 hours
Instruções
1
1
Know which number the pattern uses
Know which number the pattern uses
Commercial patterns usually include the allowance in the printed piece — often 15 mm, sometimes 10 mm — and say so on the instruction sheet. Many drafted and downloaded patterns do NOT include it, and expect you to add it yourself.
Find out before cutting. A pattern drafted to the finished line, cut as though it included allowance, produces a garment two allowances too small on every seam — and it is discovered at the fitting.
Write the number on the pattern piece, large. In six months, or halfway through a project that was interrupted, it is the first thing you will not remember and the hardest to work out from the pieces.
Materiais para este passo:
 Papel1 peça
Ferramentas necessárias:
 Régua
Régua2
2
Sew to the allowance, not to the edge
Sew to the allowance, not to the edge
The stitching line is a fixed distance from the cut edge, so the guide is the EDGE, not the seam. Use the marked plate on a machine, a piece of tape stuck to it, or a chalk line, and keep the cut edge running against the guide.
That is why an uneven cut edge matters so much: the stitching follows it, so a wobble in the cutting becomes a wobble in the seam and a bulge in the finished garment.
Different allowances have different jobs. A 15 mm allowance gives room to let out and to finish the edge; a 6 mm allowance is right for curved seams and small work, where a wide allowance cannot lie flat round the curve. Choosing per seam is fine — writing it down is what makes it work.
Materiais para este passo:
 Pano de algodão1 peça
 Linha de algodão1 peça
Ferramentas necessárias:
 Máquina de costura
 Giz de alfaiateRégua
3
3
What it costs to get it wrong
What it costs to get it wrong
A carregar o notebook Jupyter…
Materiais para este passo:
Pano de algodão1 peçaLinha de algodão1 peçaFerramentas necessárias:
 Computador de secretáriaRégua
 Calculadora
4
4
Notches and marks are how the pieces find each other
Notches and marks are how the pieces find each other
A notch is a small mark cut or snipped into the allowance to show where two pieces line up. Matching the notches is what makes a curved seam of two different-looking edges come out right.
Cut notches OUTWARD as little triangles, or snip inward no more than 3 mm. A deep snip into a 6 mm allowance leaves almost nothing holding the seam, and it will eventually tear from that point.
Transfer every mark before the pattern comes off — notches, dots, dart points, the grainline if you may need it again. Once the paper is removed those positions cannot be recovered, and finding out mid-assembly is the commonest reason a piece gets cut a second time.
Materiais para este passo:
Pano de algodão1 peçaPapel1 peçaFerramentas necessárias:
 TesouraGiz de alfaiate
 Alfinetes de costura
Materiais
3- 2 peçasReferência
- 3 peçasReferência
- 2 peçasReferência
Blueprints relacionados
Estes blueprints compartilham conhecimento — técnicas, materiais ou princípios

CC0 Domínio Público
Este blueprint é liberado sob CC0. Você é livre para copiar, modificar, distribuir e usar este trabalho para qualquer finalidade, sem pedir permissão.
Apoie o Maker comprando produtos através do Blueprint, onde ele ganha uma Comissão Maker definida pelos vendedores, ou crie uma nova versão deste Blueprint e inclua-o como conexão no seu próprio Blueprint para compartilhar receita.