ARTE
BELEZA E BEM-ESTAR
ARTESANATO
CULTURA E HISTÓRIA
ENTRETENIMENTO
MEIO AMBIENTE
COMIDA E BEBIDAS
ENGENHARIA REVERSA
CIÊNCIAS
ESPORTES
TECNOLOGIA
TECNOLOGIA VESTÍVEL



Setting Out a Right Angle on the Ground
A carpenter's square is 300 millimetres long. A building is twenty metres long. Put the square on a corner and extend the line, and an error of half a degree you cannot even see becomes 170 millimetres of skew at the far end.
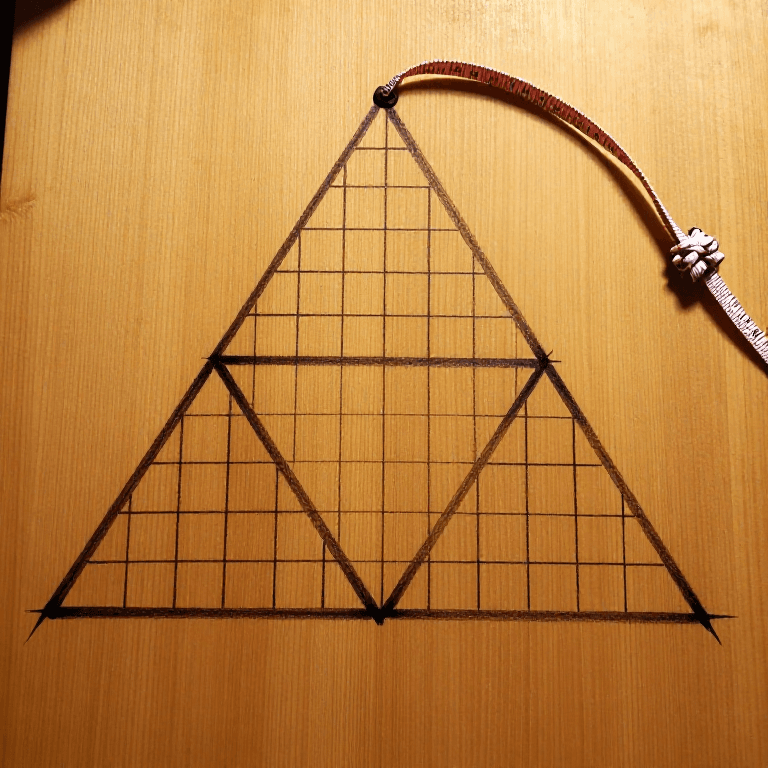
So a right angle on the ground is never set with a square. It is set with a measurement, using the 3-4-5 triangle the Egyptian rope-stretchers used and Pythagoras later explained — and the longer you make the triangle, the more accurate the corner.
This rung is short, it uses only a tape and some pegs, and getting it wrong is the reason a great many sheds have a trapezoid floor. It is also the foundation the setting-out and traverse rungs later in this batch both stand on.
Iniciante
3 hours
Instruções
1
1
Set the base line first, and make it the long one
Set the base line first, and make it the long one
Drive two pegs and stretch a taut line between them. This is your base, and everything else is measured from it.
Choose the LONGEST edge of your layout as the base, because every angular error you make will be amplified by whatever you build off it. Tap a nail into the top of each peg and work to the nail, not the peg — a peg is 40 millimetres across and 'the middle of the peg' is a 40-millimetre uncertainty at the very start of the job.
Materiais para este passo:
 Cavilhas de madeira8 peças
 Fio de prumada50 metre
 Pregos galvanizados20 peças
Ferramentas necessárias:
 Martelo de unha
 Fita métrica
2
2
Lay out 3-4-5 as large as the site allows
Lay out 3-4-5 as large as the site allows
From the corner, measure 3 units along the base and 4 units along the line you want at right angles. Adjust the second until the diagonal between the two marks reads exactly 5 units.
Use metres, not the tape's own numbers: 3-4-5 metres is good, 6-8-10 is better, 9-12-15 better still. The triangle's accuracy depends on how large it is relative to your measuring error, and a 30-metre tape costs nothing to use fully. This is the single highest-leverage choice in the whole layout.
Materiais para este passo:
Cavilhas de madeira8 peçasFerramentas necessárias:
Fita métricaMartelo de unha3
3
Check the diagonals, always
Check the diagonals, always
Once all four corners are pegged, measure both diagonals of the rectangle. They must be equal.
Equal diagonals with equal opposite sides is the definitive test that a quadrilateral is a rectangle — it checks all four corners at once, including errors that individual corner checks can hide. If they differ, move two adjacent corners by half the difference each, in opposite directions along their own lines, and re-measure. Two iterations usually converge.
Ferramentas necessárias:
Fita métrica4
4
Deal with the tape itself
Deal with the tape itself
Pull the tape with a consistent, firm tension, keep it horizontal, and do not let it sag or drag through grass.
A steel tape stretches measurably under hand tension and sags into a catenary under its own weight, both of which make the distance you read LONGER than the straight line you wanted. Over 30 metres, careless sag is easily 30 millimetres. Consistency matters more than correctness: if you pull the same way every time, the error cancels in the diagonal comparison.
Ferramentas necessárias:
Fita métrica5
5
How big to make the triangle
How big to make the triangle
A carregar o notebook Jupyter…
Ferramentas necessárias:
Fita métrica6
6
Make a large fixed square for repeat work
Make a large fixed square for repeat work
If you are setting out many corners, build a permanent 3-4-5 frame from three light battens, braced and screwed, with the hypotenuse checked before every session.
A 1.5-2-2.5 metre frame is portable and five times more accurate than a carpenter's square. Check it by flipping it over and comparing the line it gives against the line it gave the other way up: any error DOUBLES between the two, which makes it easy to see and easy to halve out.
Materiais para este passo:
 Viga de pinho-de-oregão3 lengthPregos galvanizados20 peças
Ferramentas necessárias:
 SerroteFita métricaMartelo de unha
Materiais
4- 8 peçasReferência
- 50 metreReferência
- 40 peçasReferência
- 3 lengthReferência
Blueprints relacionados
Estes blueprints compartilham conhecimento — técnicas, materiais ou princípios


CC0 Domínio Público
Este blueprint é liberado sob CC0. Você é livre para copiar, modificar, distribuir e usar este trabalho para qualquer finalidade, sem pedir permissão.
Apoie o Maker comprando produtos através do Blueprint, onde ele ganha uma Comissão Maker definida pelos vendedores, ou crie uma nova versão deste Blueprint e inclua-o como conexão no seu próprio Blueprint para compartilhar receita.