ARTE
BELEZA E BEM-ESTAR
ARTESANATO
CULTURA E HISTÓRIA
ENTRETENIMENTO
MEIO AMBIENTE
COMIDA E BEBIDAS
ENGENHARIA REVERSA
CIÊNCIAS
ESPORTES
TECNOLOGIA
TECNOLOGIA VESTÍVEL
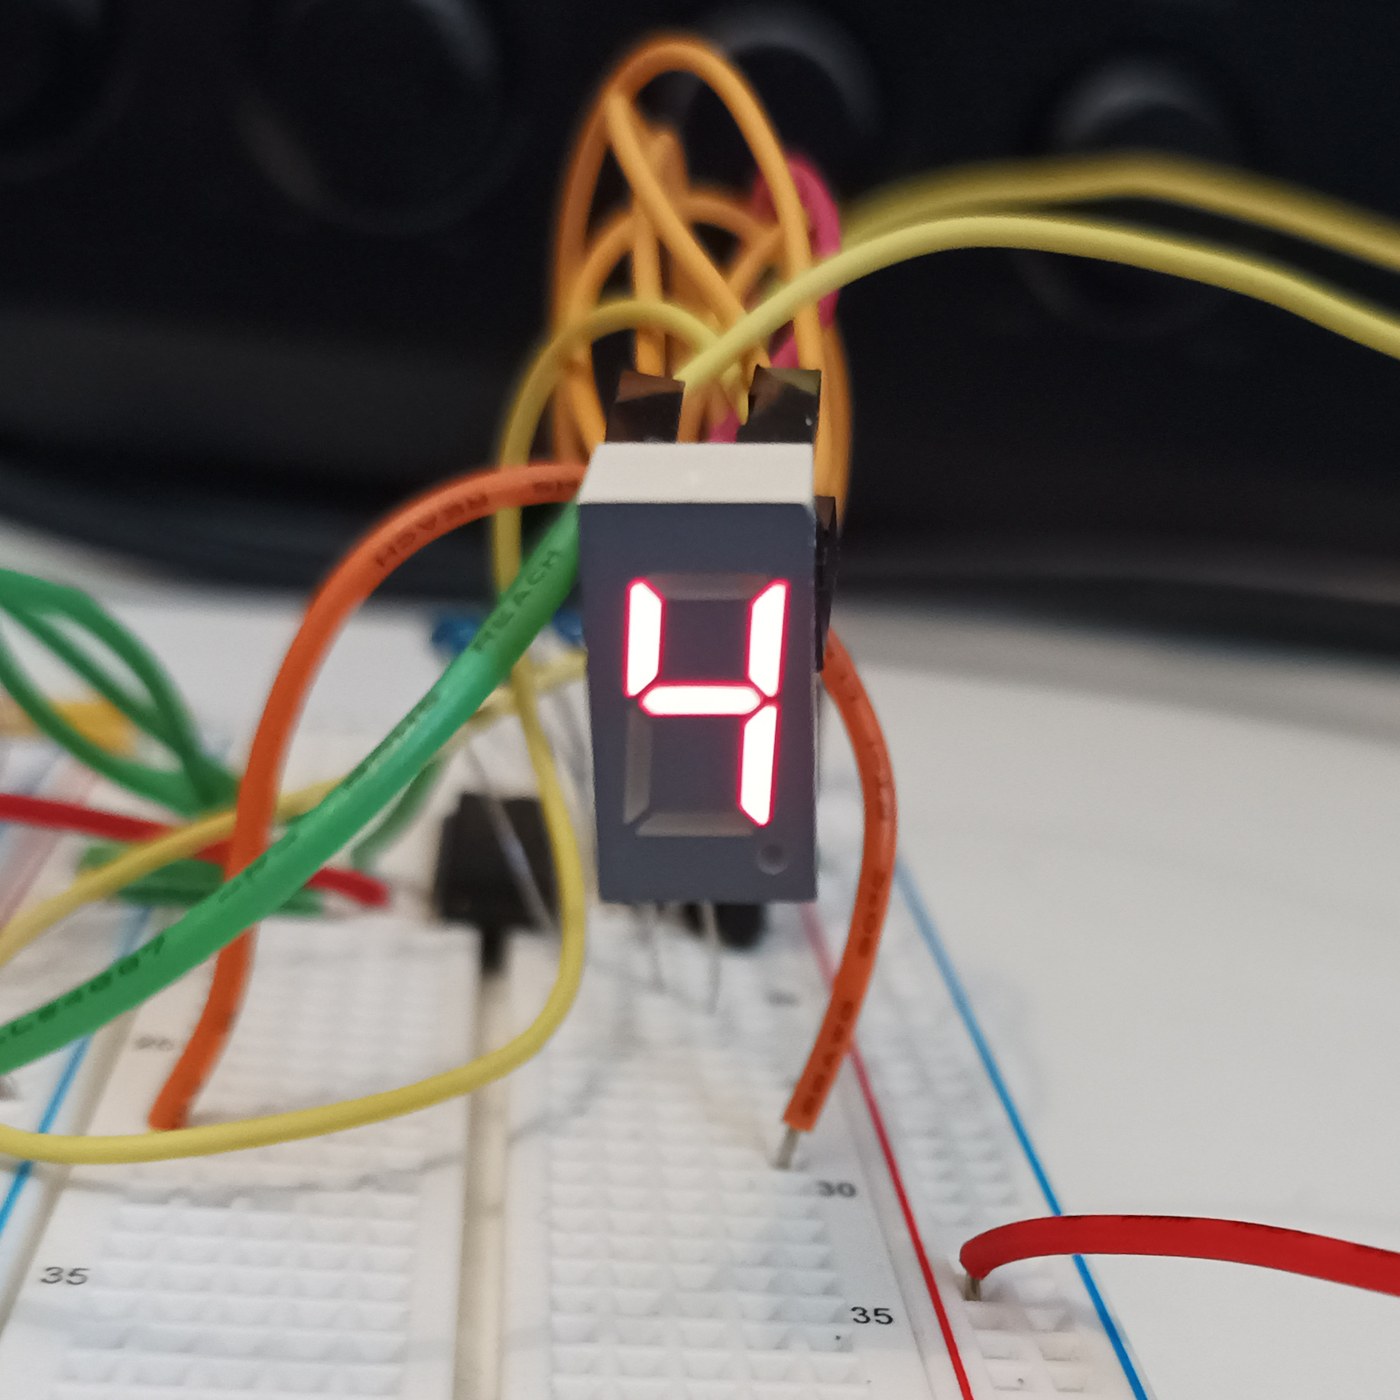


The Seven-Segment LED Display
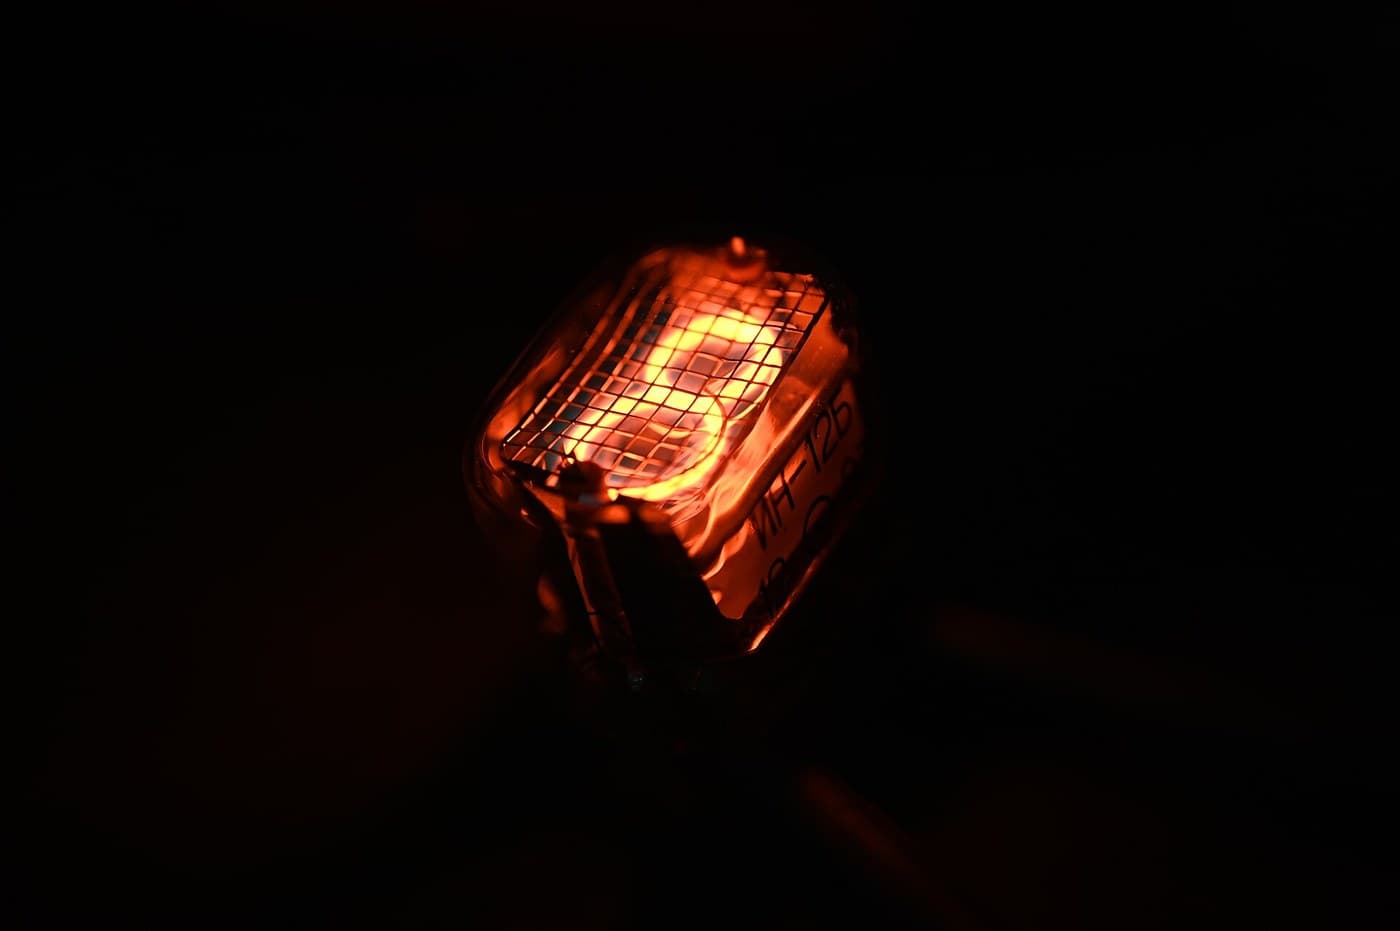
The opposite of the Nixie: instead of a shaped numeral at 170 V, the fewest straight lines that still make every digit — seven bars in a figure eight, at 2 V and pennies. It looks like sticks and nobody cares, because it is seven LEDs and never wears out. You will build a four-digit display and confront its one clever idea, multiplexing, then measure the refresh rate at which the flicker vanishes for your own eyes.
Iniciante
4 hours
Instruções
1
1
Seven sticks, ten digits, and the sibling that used 170 volts
Seven sticks, ten digits, and the sibling that used 170 volts
Nixie versus seven-segment: the same job, opposite answers. The Nixie shows the real numeral shape at 170 V and poisons its cathodes; the seven-segment builds each digit from seven bars (a-g) at 2 V and never wears out. Before wiring, draw a figure eight, label the bars a-g, and write which bars light for each digit 0-9. That table is the whole interface and becomes the lookup table in the code step.
Materiais para este passo:
 Visor de 7 segmentos e 4 dígitos (TM1637)1 peça
2
2
Wire it: seven segment resistors, one transistor per digit
Wire it: seven segment resistors, one transistor per digit
The multiplex wiring. All four digits' matching segments share one pin through ONE resistor — seven segment lines, seven resistors, whatever the digit count. Each digit's common cathode switches to ground through one NPN. Resistors go on the SEGMENTS, not the digits, or an 8 shares one resistor seven ways and dims. Four digits: eleven pins instead of twenty-eight. That saving is why you multiplex.
Carregando visualizador KiCanvas...
Visualizador profissional de design PCB
Materiais para este passo:
Visor de 7 segmentos e 4 dígitos (TM1637)1 peça Kit de resistências1 kit
 Sortido de transístores1 conjunto
Ferramentas necessárias:
 Breadboard
 Estação de soldagem
3
3
Drive it, and find the flicker frequency for your own eyes
Drive it, and find the flicker frequency for your own eyes
The sketch multiplexes the four digits, then sweeps the refresh rate down so YOU find the frequency at which the steady number breaks into flicker — your flicker-fusion threshold, higher in peripheral vision. Each digit is lit a quarter of the time, so to stay bright it must be driven harder while on: refresh too slow and it flickers, drive too hard and you exceed the LED peak current. You have measured one wall of that box.
sevenseg_mux.inocpp
Materiais para este passo:
Visor de 7 segmentos e 4 dígitos (TM1637)1 peçaFerramentas necessárias:
 Placa de desenvolvimento ESP32
 Conjunto de fios de ligação
4
4
Multiplex duty cycle versus perceived brightness
Multiplex duty cycle versus perceived brightness
A carregar o notebook Jupyter…
Ferramentas necessárias:
 Computador de secretária
Materiais
3- Referência
- desdeR$29.19
- 1 conjuntoReferência
Ferramentas necessárias
5- Breadboard - Classic10% de comissãoR$48.79
- Referência
- Referência
- Referência
- Referência
Blueprints relacionados
Estes blueprints compartilham conhecimento — técnicas, materiais ou princípios

CC0 Domínio Público
Este blueprint é liberado sob CC0. Você é livre para copiar, modificar, distribuir e usar este trabalho para qualquer finalidade, sem pedir permissão.
Apoie o Maker comprando produtos através do Blueprint, onde ele ganha uma Comissão Maker definida pelos vendedores, ou crie uma nova versão deste Blueprint e inclua-o como conexão no seu próprio Blueprint para compartilhar receita.