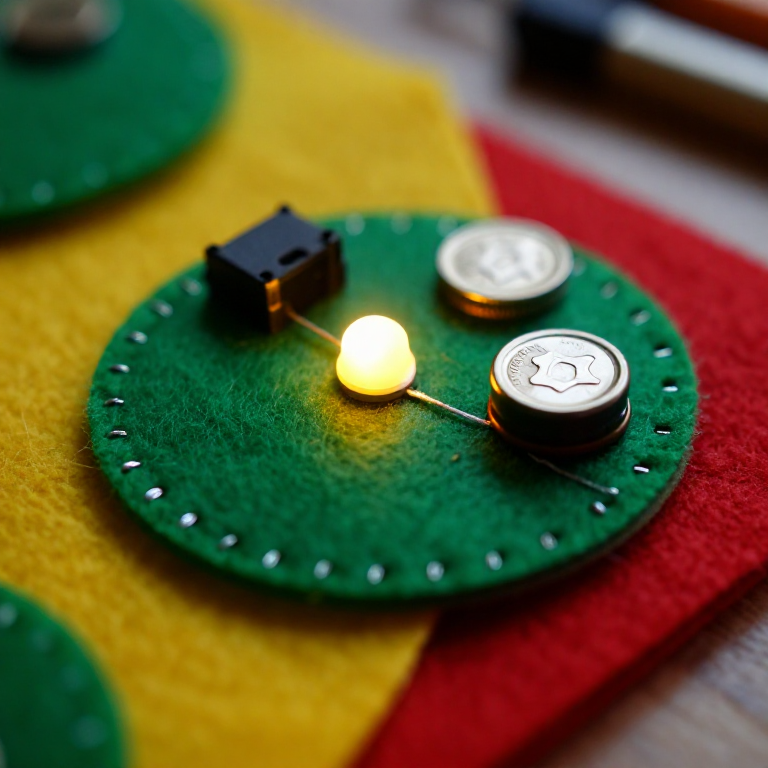


Sewing a LilyPad LED Circuit
Sewable electronics — 'e-textiles' — build circuits into fabric with conductive thread instead of wires. This first project sews a LilyPad LED to a coin-cell battery so it lights up, teaching the two rules of e-textiles: connect + to + and - to -, and never let the two thread lines cross. The 'hello world' of wearable electronics.
Instruções
Plan the circuit on fabric
Plan the circuit on fabric
Pin a LilyPad LED and a LilyPad coin-cell battery holder a few centimetres apart on a piece of felt. Find each board's + and - sew tabs, and plan two thread paths — one joining the + tabs, one joining the - tabs — that never cross.
Materiais para este passo:
 LilyPad LED - 5 pcs1 pacote
 LilyPad Coin Cell Battery Holder - w/Switch - 20mm1 peça
 Folha de feltro de lã1 folha
Sew the positive line
Sew the positive line
Thread a needle with conductive stainless-steel thread. Stitch from the + tab of the battery holder to the + tab of the LED, looping 3–4 times through each tab hole for firm electrical contact. Knot tightly and trim the tail short — stray strands cause shorts.
Materiais para este passo:
 Conductive Thread - 60g (Stainless Steel)1 bobina
 Agulhas de costura à mão1 pacote
Sew the negative line
Sew the negative line
With a fresh length of thread, stitch the - tab of the battery holder to the - tab of the LED the same way. Keep this line clear of the + line everywhere — if the two conductive paths touch, the circuit shorts and the LED won't light.
Power it up
Power it up
Slide a CR2032 coin cell into the holder, + side up, and switch it on. The LED lights — no separate resistor is needed, because the 3 V coin cell can't push enough current to harm it. If it stays dark, check the battery direction, loose knots, or threads touching.
Materiais para este passo:
 Pilha de botão CR20321 peça
Secure the knots
Secure the knots
Dab a little clear nail polish or fabric glue on each knot so it can't work loose or fray. Use the holder's switch to turn your LED on and off — your first wearable circuit is done.
Materiais
6- LilyPad LED - 5 pcs10% de comissão1 pacoteR$21.35
- LilyPad Coin Cell Battery Holder - w/Switch - 20mm10% de comissão1 peçaR$25.70
- 1 folhaReferência
- Conductive Thread - 60g (Stainless Steel)10% de comissão1 bobinaR$204.30
- 1 pacoteReferência
- 1 peçaReferência
Ferramentas necessárias
1- Referência
Blueprints relacionados
Estes blueprints compartilham conhecimento — técnicas, materiais ou princípios


CC0 Domínio Público
Este blueprint é liberado sob CC0. Você é livre para copiar, modificar, distribuir e usar este trabalho para qualquer finalidade, sem pedir permissão.
Apoie o Maker comprando produtos através do Blueprint, onde ele ganha uma Comissão Maker definida pelos vendedores, ou crie uma nova versão deste Blueprint e inclua-o como conexão no seu próprio Blueprint para compartilhar receita.