Reading a Potentiometer — SIK Circuit 2
Instruções
Parts & Introduction
Parts & Introduction
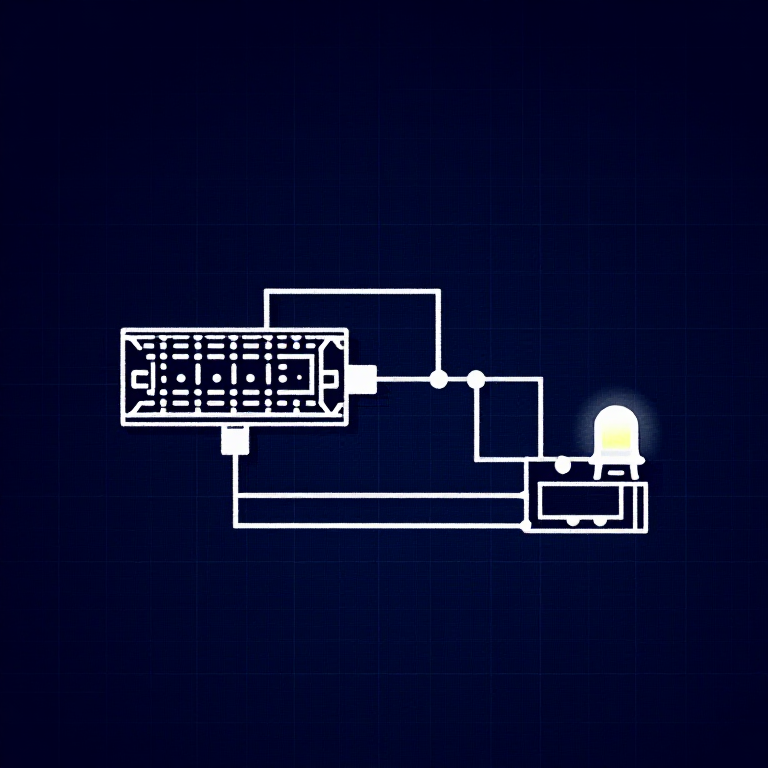
In this experiment you'll use a potentiometer (a variable resistor with a knob) to control how fast an LED blinks. This introduces analogRead() — reading voltage levels between 0 and 5V as values from 0 to 1023.
Parts Needed
- 1x Arduino Uno + USB cable
- 1x Breadboard
- 1x Potentiometer (10K)
- 1x LED (any color)
- 1x 330Ω Resistor
- 6x Jumper Wires
Materiais para este passo:
 SparkFun Inventors Kit - V3.21 kit
 Arduino Uno R31 peça
 Breadboard1 peça
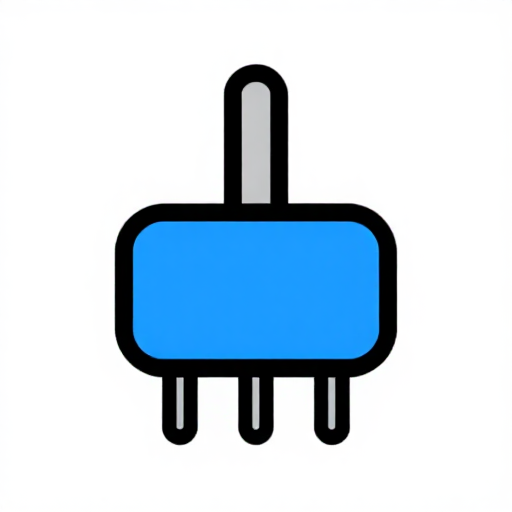 Potentiometer (10K)1 peça
 5mm LED1 peça
 330 Ohm Resistor1 peça
 Jumper Wires6 peças
Ferramentas necessárias:
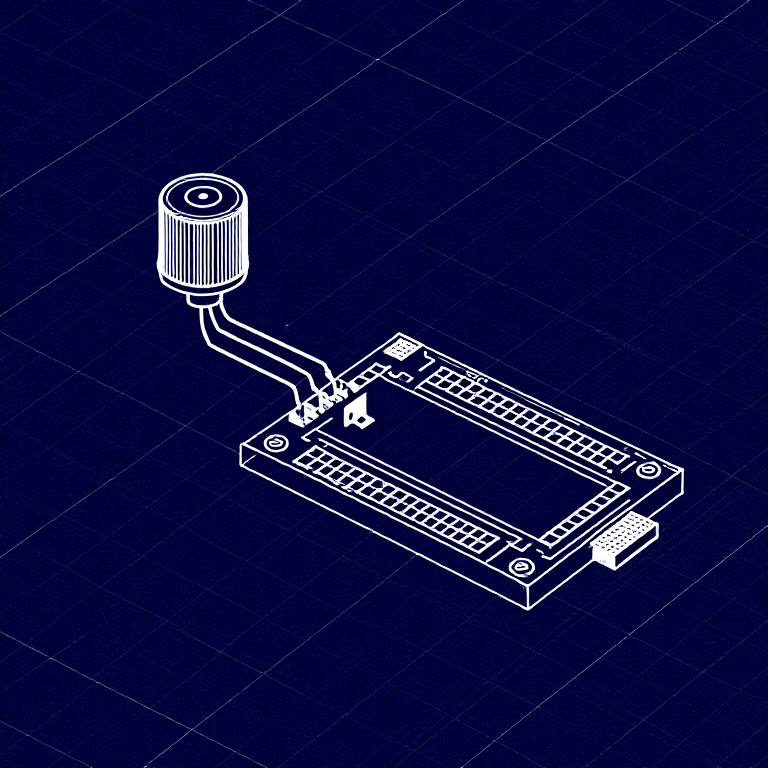
Hardware Hookup
Hardware Hookup
Wiring Instructions
- Place the potentiometer in the breadboard. It has three pins.
- Connect the left pin to GND and the right pin to 5V (or vice versa).
- Connect the middle pin (wiper) to Analog Pin A0.
- Place an LED in the breadboard. Connect the positive leg (longer) to Digital Pin 13.
- Connect the negative leg (shorter) through a 330Ω resistor to GND.
- Connect the 5V and GND rails on the breadboard to the Arduino.
Materiais para este passo:
Potentiometer (10K)1 peça5mm LED1 peça330 Ohm Resistor1 peçaBreadboard1 peçaJumper Wires6 peçasArduino Code
Arduino Code
Open the Arduino IDE and upload the following sketch to your Arduino board.
Materiais para este passo:
Arduino Uno R31 peçaFerramentas necessárias:
Test & Experiment
Test & Experiment
What You Should See
The LED blinks faster or slower as you turn the potentiometer knob. At one extreme it blinks very fast, at the other it blinks slowly.
Troubleshooting
- Sporadically working: The potentiometer pins may not be making good contact. Press it firmly into the breadboard.
- Not working: Make sure the wiper (middle pin) goes to Analog pin 0, not Digital pin 0.
- LED not lighting: LEDs only work in one direction. Flip it around.
Experiments to Try
- Open the Serial Monitor and print the
sensorValueto see the raw numbers (0-1023). - Use
map()to convert the sensor range to a brightness range and control LED brightness withanalogWrite().
Materiais
7- R$545.00
- 1 peçaReferência
- 1 peçaReferência
- 1 peçaReferência
- Referência
- R$14.00
- R$22.00
You can swap these in
Can't get one of the materials? Swap it for an equivalent — these work just as well.
- Instead of Arduino Uno R3, try:
 Prototyping Shield for Arduino Uno (3-Pack)
 Arduino Uno R3 BoardArduino Uno
 - Instead of 5mm LED Assortment Kit (300pcs, 5 Colors), try:
 WS2812B NeoPixel LED Strip (1m, 60 LEDs)
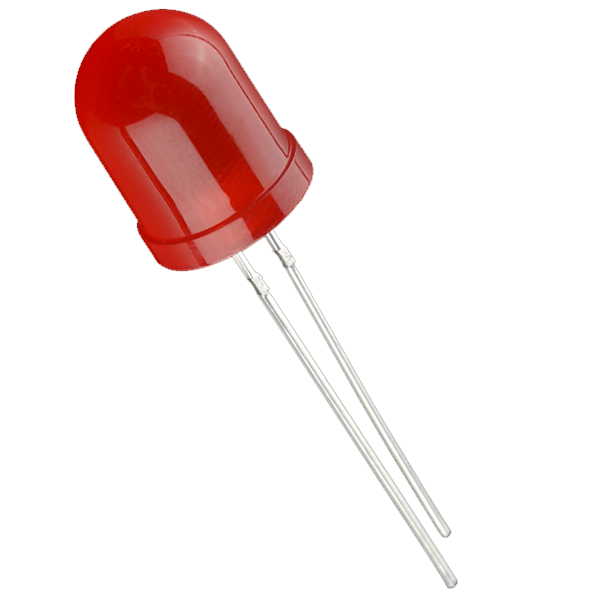 Diffused LED - 10mm
 RGB LED Strip 5050 (5m, Non-Addressable)
 LilyPad Tri-Color LED
 - Instead of Potentiometer, try:
 Digital Potentiometer - 10K
 SoftPot Membrane Potentiometer - 100mm
 SoftPot Membrane Potentiometer - 50mm
 - Instead of Resistor 330 Ohm 1/6 Watt PTH - 20 pack, try:
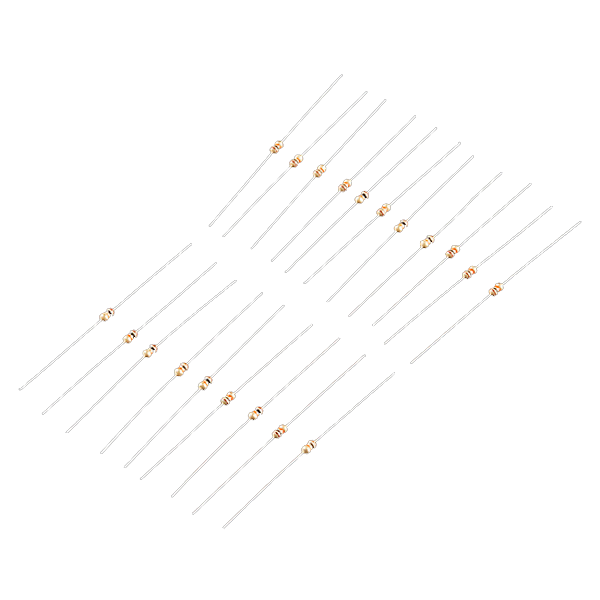 Resistor 10K Ohm 1/6th Watt PTH - 20 pack
 AVR ISP Shield - PTH Kit
Recommended for this build
Products makers often use with builds like this one.
Resistor 10K Ohm 1/6th Watt PTH - 20 packUsed together and in similar builds Push Button - 33mmFrequently used with this build's materials
 PhotoresistorUsed in similar buildsSoftPot Membrane Potentiometer - 50mmUsed in similar builds
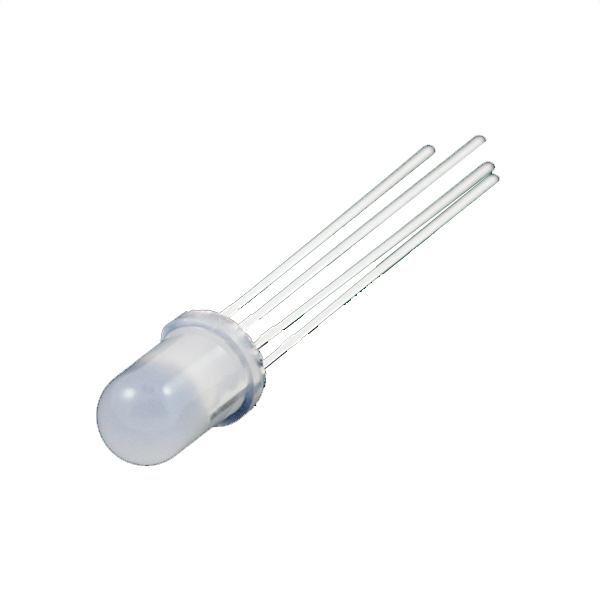 LED - RGB Diffused Common Cathode - 5mmUsed together and in similar builds
 Diode KitFrequently used with this build's materials
 Piezo ElementFrequently used with this build's materials
Related blueprints
Other builds that share materials, tools, or techniques with this one.


CC0 Domínio Público
Este blueprint é liberado sob CC0. Você é livre para copiar, modificar, distribuir e usar este trabalho para qualquer finalidade, sem pedir permissão.
Apoie o Maker comprando produtos através do Blueprint, onde ele ganha uma Comissão Maker definida pelos vendedores, ou crie uma nova versão deste Blueprint e inclua-o como conexão no seu próprio Blueprint para compartilhar receita.