

Driving Multiple LEDs — SIK Circuit 4
Instruções
Parts & Introduction
Parts & Introduction
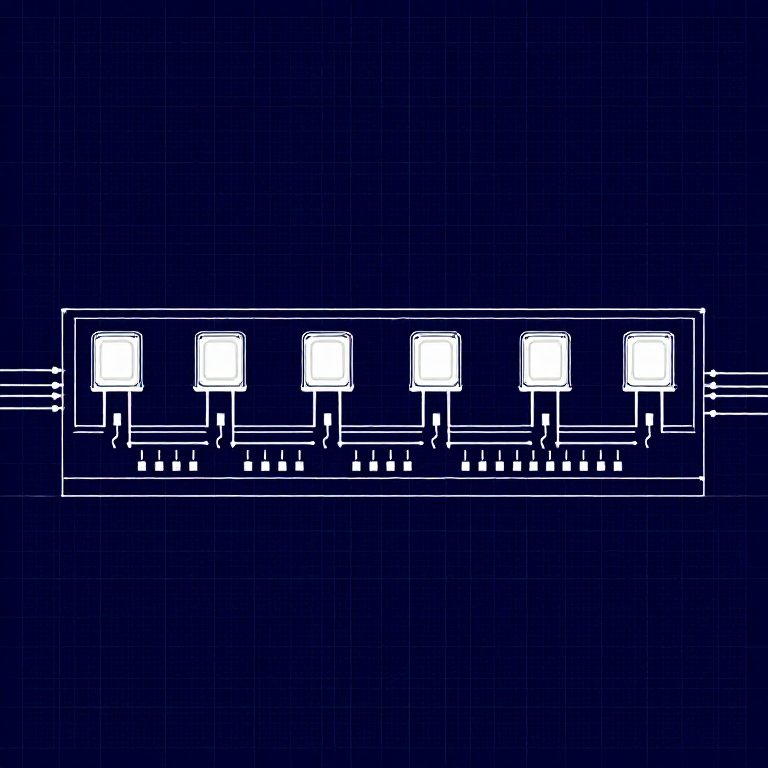
This experiment uses 8 LEDs to create light patterns. You'll learn about arrays (grouping related variables) and for loops (repeating actions efficiently). The sketch includes 6 different animation functions you can try.
Parts Needed
- 1x Arduino Uno + USB cable
- 1x Breadboard
- 8x LEDs (any color)
- 8x 330Ω Resistors
- 9x Jumper Wires
Materiais para este passo:
 SparkFun Inventor's Kit - V3.21 kit
Ferramentas necessárias:
 Computer with Arduino IDE
Hardware Hookup
Hardware Hookup
Wiring Instructions
- Place 8 LEDs in a row on the breadboard.
- For each LED, connect the negative leg (shorter) through a 330Ω resistor to GND.
- Connect the positive leg (longer) of each LED to Arduino digital pins 2 through 9 (LED 1 = pin 2, LED 2 = pin 3, etc.).
- Connect the GND rail on the breadboard to Arduino GND.
Tip: Keep the LEDs neatly spaced for the best visual effect.
Materiais para este passo:
 Breadboard1 peça
 Jumper Wires9 peças
Arduino Code
Arduino Code
Open the Arduino IDE and upload the following sketch to your Arduino board.
Materiais para este passo:
 Arduino Uno R31 peça
Ferramentas necessárias:
Computer with Arduino IDETest & Experiment
Test & Experiment
What You Should See
All 8 LEDs light up one after another, then turn off in reverse order. This repeats continuously.
Troubleshooting
- Some LEDs don't light: Easy to insert an LED backwards. Check polarity.
- Out of sequence: With 8 wires, it's easy to cross a couple. Verify LED 1 is on pin 2, then each pin in order.
- Starting fresh: Sometimes pulling everything out and re-wiring is faster than debugging.
Experiments to Try
- Uncomment the other functions in
loop()to try:oneOnAtATime(),pingPong(),marquee(),randomLED(). - Create your own animation pattern!
- Modify the delay times to change the speed.
Materiais
6- SparkFun Inventor's Kit - V3.210% de comissão1 kitR$544.05
- desdeR$48.79
- desdeR$21.35
- desdeR$138.96
- 8 peçasReferência
Ferramentas necessárias
1- Referência
CC0 Domínio Público
Este blueprint é liberado sob CC0. Você é livre para copiar, modificar, distribuir e usar este trabalho para qualquer finalidade, sem pedir permissão.
Apoie o Maker comprando produtos através do Blueprint, onde ele ganha uma Comissão Maker definida pelos vendedores, ou crie uma nova versão deste Blueprint e inclua-o como conexão no seu próprio Blueprint para compartilhar receita.