ARTE
BELEZA E BEM-ESTAR
ARTESANATO
CULTURA E HISTÓRIA
ENTRETENIMENTO
MEIO AMBIENTE
COMIDA E BEBIDAS
ENGENHARIA REVERSA
CIÊNCIAS
ESPORTES
TECNOLOGIA
TECNOLOGIA VESTÍVEL
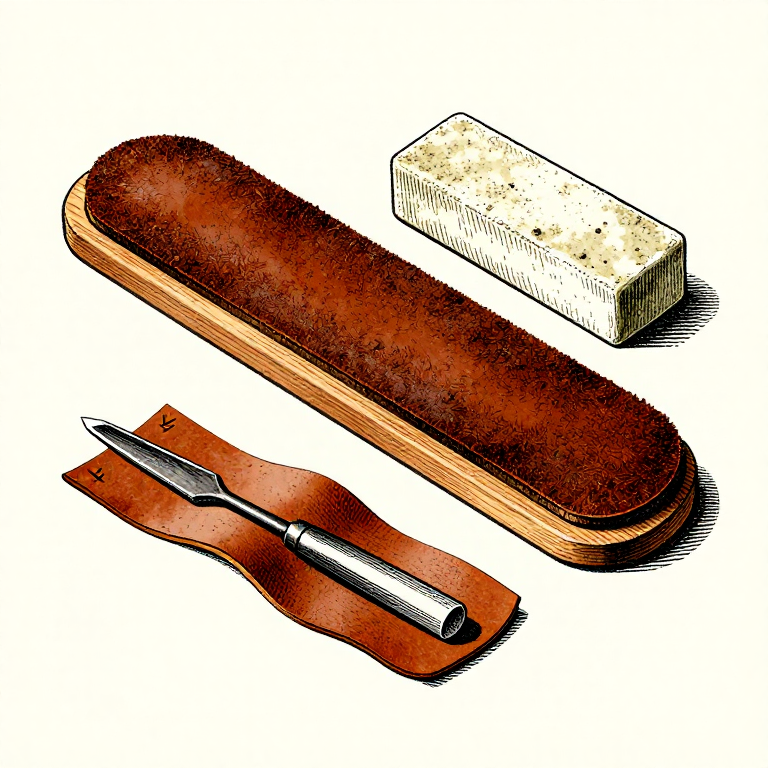


Stropping: A Strip of Leather That Outperforms Another Stone
A strop is leather charged with a fine abrasive compound, and it does two jobs no stone does well: it removes the last remnant of the wire edge without tearing it, and it brings a working edge back to sharp without removing measurable metal.
The second is what makes it valuable. A carver who strops every few minutes may go weeks between stones, because the edge never gets far enough from sharp to need one. The tool lasts decades longer for exactly the same reason.
This rung makes a strop — the whole thing is a board, a piece of leather and some compound — and covers the one rule that matters: strop AWAY from the edge, always.
Iniciante
3 hours
Instruções
1
1
Make the strop
Make the strop
Glue a strip of vegetable-tanned leather, rough side up, to a flat hardwood board about 300 x 60 mm. Press it flat under weights until the glue cures.
Rough side up because the nap holds the compound. Vegetable-tanned because chrome-tanned leather carries salts that will spot a carbon steel blade. The board matters as much as the leather — a strop that flexes is a strop that rounds your edge, which is the one thing stropping must not do.
Leave the other face bare. A clean, uncharged leather surface is useful for the final few passes once the compound has done its work.
Materiais para este passo:
 Couro1 peça
 Tábua de madeira de lei1 peça
 Cola de madeira1 peça
Ferramentas necessárias:
 Pano de algodão
2
2
Charge it, and do not overdo it
Charge it, and do not overdo it
Rub the compound bar across the leather until the surface is evenly coloured, then work it in with a finger or a smooth offcut. A charged strop looks uniformly tinted, not caked.
Too much compound builds a soft layer that the edge sinks into, and that layer rounds the apex — the exact failure stropping is supposed to avoid. Recharge when the surface goes shiny and stops cutting, which on a hand-tool strop is every few months, not every session.
Compound grades run from coarse to fine; a single fine compound around one micrometre is enough for nearly all workshop tools. Keep one strop per grade if you use more than one, and never mix them on one surface.
Materiais para este passo:
 Massa de polir1 peça
Ferramentas necessárias:
 Assentador de couroPano de algodão
3
3
Stroke away from the edge — every time, without exception
Stroke away from the edge — every time, without exception
Lay the bevel flat on the leather and draw the blade BACKWARDS, spine first, away from the cutting edge. Then turn it over and do the same on the other side. Light pressure, ten to twenty passes a side.
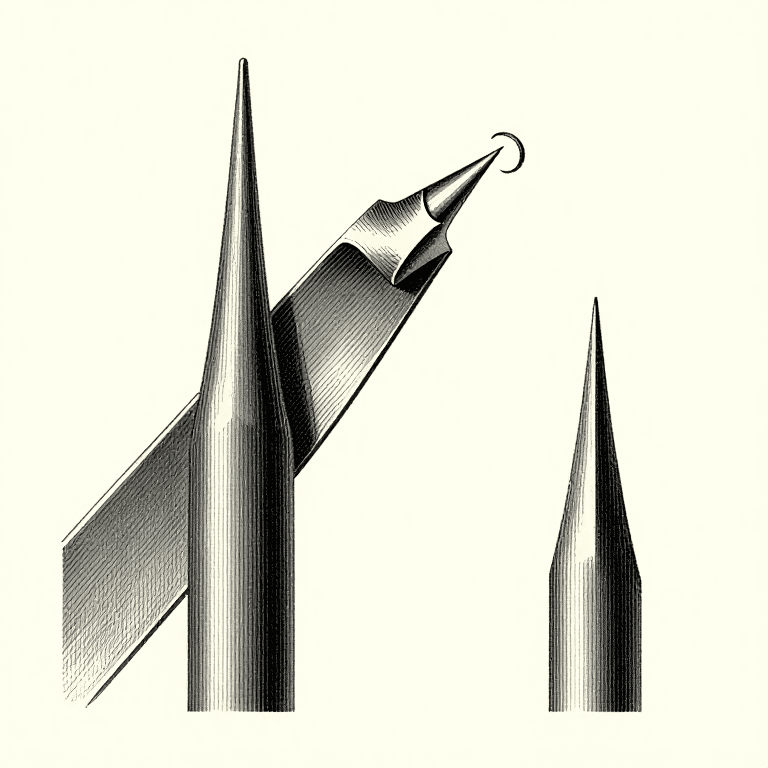
Pushing edge-first into leather does two things and both are bad: the edge digs in and cuts the strop, and the leather rolls up ahead of it and folds the apex over. A blade that came off the finish stone sharp will come off a wrongly-stropped strop blunt.
Keep the bevel flat. Lifting the spine as you draw back is the other common fault; it rounds the edge into a convex profile a little more with every pass, and after a few months the tool needs a full regrind to recover.
Ferramentas necessárias:
Assentador de couro Conjunto de formões - de bisel
 Faca de cozinha
4
4
Strop often, sharpen seldom
Strop often, sharpen seldom
Make stropping the thing you do between cuts rather than a stage of sharpening. Twenty passes takes fifteen seconds and restores an edge that has only just started to dull.
The economics are plain: a strop removes a fraction of a micrometre and a coarse stone removes tens of micrometres. Every trip to the stone shortens the tool. A chisel kept sharp by stropping will outlive the maker; one allowed to go blunt and then reground each time will be worn out in a career.
It stops working when the edge has real damage — a nick, a rolled section, a flat you can see under the lamp. At that point go back to the stone and follow the progression. Stropping maintains an edge; it does not create one.
Ferramentas necessárias:
Assentador de couro Assentador e pasta de afiar
 Lupa de joalheiro
Materiais
4- 1 peçaReferência
- 1 peçaReferência
- 1 peçaReferência
- 1 peçaReferência
Ferramentas necessárias
6- Referência
- Referência
- Referência
- Referência
- Referência
- Referência
Blueprints relacionados
Estes blueprints compartilham conhecimento — técnicas, materiais ou princípios
CC0 Domínio Público
Este blueprint é liberado sob CC0. Você é livre para copiar, modificar, distribuir e usar este trabalho para qualquer finalidade, sem pedir permissão.
Apoie o Maker comprando produtos através do Blueprint, onde ele ganha uma Comissão Maker definida pelos vendedores, ou crie uma nova versão deste Blueprint e inclua-o como conexão no seu próprio Blueprint para compartilhar receita.