
ARTE
BELEZA E BEM-ESTAR
ARTESANATO
CULTURA E HISTÓRIA
ENTRETENIMENTO
MEIO AMBIENTE
COMIDA E BEBIDAS
ENGENHARIA REVERSA
CIÊNCIAS
ESPORTES
TECNOLOGIA
TECNOLOGIA VESTÍVEL
Plastic Syringe Set: Moulded Barrel and a Soft Polyethylene Piston
Emma

Criado por

Emma

26. outubro 2026SE
3
0
0
0
0

Plastic Syringe Set: Moulded Barrel and a Soft Polyethylene Piston

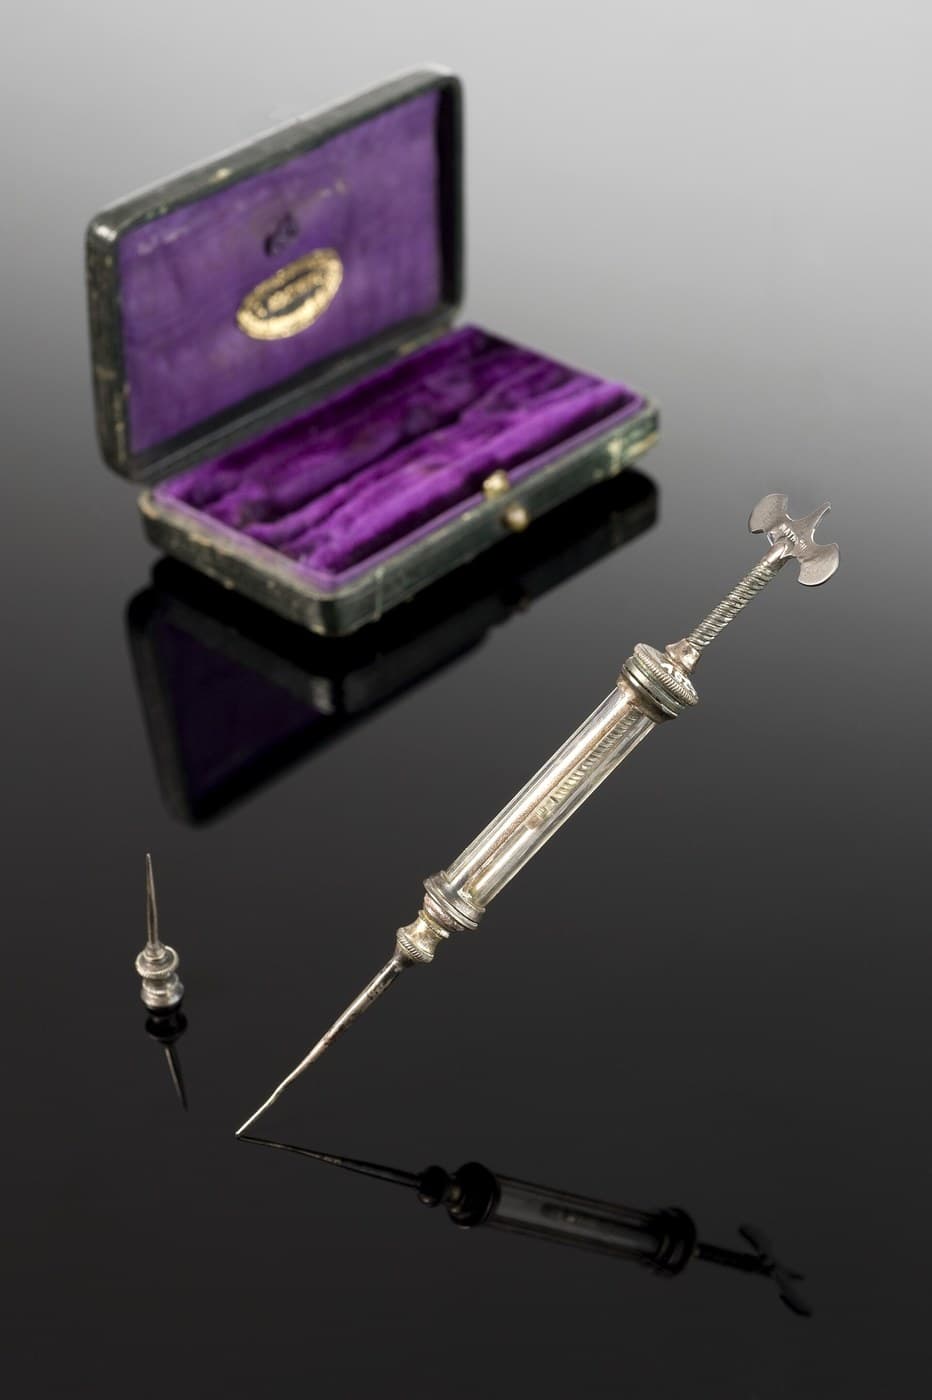
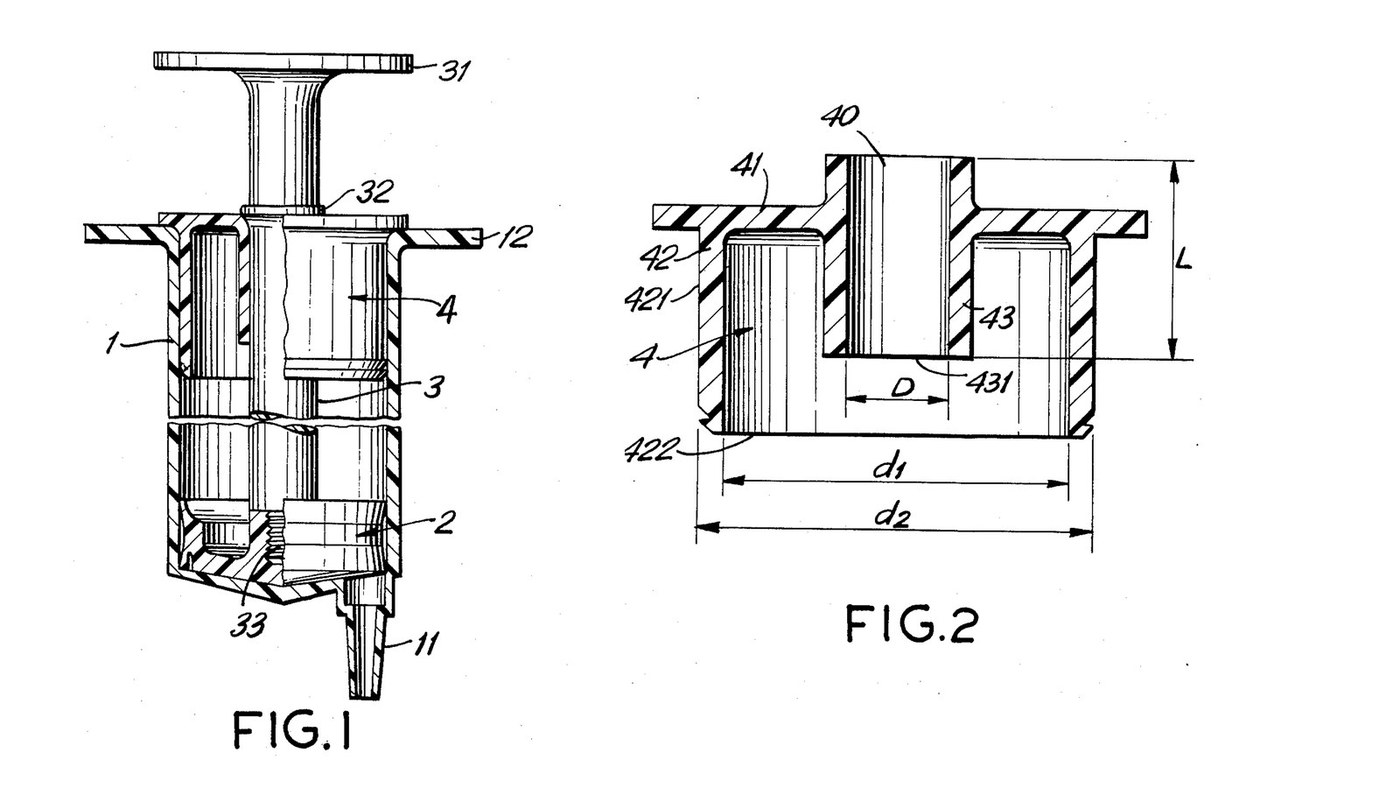
Four moulded parts make a plastic syringe with no rubber seal and no grease: a stiff barrel with a taper nozzle, a bell-shaped piston whose thin polyethylene lips seal against the wall, a slim plunger shaft, and a cap whose long sleeve guides the shaft so it cannot bend and tilt the piston (Adorján & Dávid, US 4,704,105, 1987). Mould one set of moulds per size for a set of syringes for hydraulic models. The piston figures are the patent's. Polypropylene, LDPE, the sizes and the mould making are ours. Not for medical use. The picture: Figs. 1-2.
Avançado
3 days (moulds) + 1 hour per batch

Instruções

1

The moulding process

Drying, mould, injection, cooling and inspection all follow this blueprint. The steps below add only what the syringe needs.
2

Mill the barrel mould

Mill a two-plate mould for the barrel (1): a stiff-walled tube closed at one end by a nozzle (11) with a standard needle taper (ours: the Luer taper), and two finger grips (12) at the open end. One mould per syringe size you want, for example 5, 50 and 60 ml (ours).

Ferramentas necessárias:

FresadoraFresadora
Bloco de alumínio para molde de injeção (2 placas)Bloco de alumínio para molde de injeção (2 placas)
Estrutura de molde de injeçãoEstrutura de molde de injeção
3

Mill the piston mould

The piston (2) is a bell: a rim 5-7 mm high whose two edges flare out into lips 0.3-0.5 mm thick, a front groove 0.3-0.5 mm wide and 2-2.5 mm deep, and a central shank. The lips must come out 0.2-0.6 mm wider than the barrel bore; the rim between them no wider than the bore.

Ferramentas necessárias:

FresadoraFresadora
Bloco de alumínio para molde de injeção (2 placas)Bloco de alumínio para molde de injeção (2 placas)
Estrutura de molde de injeçãoEstrutura de molde de injeção
Paquímetro digital de 6 polegadasPaquímetro digital de 6 polegadas
4

Mill the shaft and cap moulds

Shaft (3): thumb rest (31), a bead (32) and an end projection (33) a little larger than the piston's bore. Cap (4): a disc with an outer collar (42) that force-fits the barrel and an inner sleeve (43) at least as long as the shaft is thick.

Ferramentas necessárias:

FresadoraFresadora
Bloco de alumínio para molde de injeção (2 placas)Bloco de alumínio para molde de injeção (2 placas)
Estrutura de molde de injeçãoEstrutura de molde de injeção
5

Mould the barrels

Mould the barrels from virgin plastic. The patent asks only for a rigid plastic; ours: polypropylene.

Materiais para este passo:

Granulado de polipropilenoGranulado de polipropileno1 batch

Ferramentas necessárias:
Secador de granuladoSecador de granulado
Máquina de moldação por injeçãoMáquina de moldação por injeção
6

Mould the pistons

Mould the pistons from virgin polyethylene, which the patent wants at 65-90 degrees Shore (scale not stated). Ours: LDPE; check your grade's data sheet.

Materiais para este passo:

Granulado de LDPEGranulado de LDPE1 batch

Ferramentas necessárias:

Secador de granuladoSecador de granulado
Máquina de moldação por injeçãoMáquina de moldação por injeção
7

Mould the shafts and caps

Mould shafts and caps. These may be reprocessed plastic, as they never touch the liquid. Ours: polypropylene.

Materiais para este passo:

Granulado de polipropilenoGranulado de polipropileno1 batch

Ferramentas necessárias:

Máquina de moldação por injeçãoMáquina de moldação por injeção
8

Check the lip size

Measure the barrel bore and a piston's lips. The lips must be 0.2-0.6 mm wider than the bore. Adjust the mould if not.

Ferramentas necessárias:

Paquímetro digital de 6 polegadasPaquímetro digital de 6 polegadas
9

Snap the shaft into the piston

Push the shaft's projection through the small bore at the back of the piston until it snaps into the wider cavity behind it.
10

Assemble

Push the piston into the barrel. Thread the shaft through the cap's sleeve and force the cap's outer collar into the open end of the barrel. Its end face now stops the piston when you draw it fully back.
11

Lock the cap

Press two dents, opposite each other, through the barrel wall into the cap collar with a hot tool so the cap cannot pull out. Ours: a soldering iron tip.

Ferramentas necessárias:

Ferro de solda elétricoFerro de solda elétrico
12

Test the seal

Draw water and push it out, along the whole stroke, with no grease. It should move smoothly from the start and not leak past the lips. Note the size and file it into your set.

Ferramentas necessárias:

ÁguaÁgua
Copo de vidro (gobelé)Copo de vidro (gobelé)

Materiais

2

Ferramentas necessárias

9

Blueprints relacionados

Estes blueprints compartilham conhecimento — técnicas, materiais ou princípios
CC0 Domínio Público

Este blueprint é liberado sob CC0. Você é livre para copiar, modificar, distribuir e usar este trabalho para qualquer finalidade, sem pedir permissão.

Apoie o Maker comprando produtos através do Blueprint, onde ele ganha uma Comissão Maker definida pelos vendedores, ou crie uma nova versão deste Blueprint e inclua-o como conexão no seu próprio Blueprint para compartilhar receita.

Discussão

(0)

Entrar para participar da discussão

Carregando comentários...