
ARTE
BELEZA E BEM-ESTAR
ARTESANATO
CULTURA E HISTÓRIA
ENTRETENIMENTO
MEIO AMBIENTE
COMIDA E BEBIDAS
ENGENHARIA REVERSA
CIÊNCIAS
ESPORTES
TECNOLOGIA
TECNOLOGIA VESTÍVEL
Bamboo Felling and Selection — From Madake Bamboo Harvest to Oil Removal
English
SakuraSan

Criado por

SakuraSan

22. abril 2026JP
28
0
0
0
0

Bamboo Felling and Selection — From Madake Bamboo Harvest to Oil Removal

Explanation of traditional Japanese bamboo felling techniques. Assessing maturity of madake bamboo (Phyllostachys bambusoides), proper felling timing, branch trimming, drying, and oil removal. The essential first step in securing raw materials for bamboo crafts, construction, and tea ceremony utensils.

Iniciante
4-6 hours

Instruções

1

Identify mature bamboo

Select 3 to 5-year-old bamboo from the grove. Mature bamboo is deep green, with hard nodes, and produces a clear ringing sound when the trunk is struck. Bamboo 1 to 2 years old is bright green and too soft, while bamboo over 6 years old has begun to deteriorate.

2

Check the felling time

Bamboo felling is carried out from autumn to winter (October to February). During this period, the flow of tree sap is minimal and the moisture content is low, which prevents cracking and mold after drying. Bamboo felled in spring to summer contains more moisture and can cause insect damage and mold.

3

Avoid harvesting on rainy days

Avoid harvesting bamboo on rainy days or shortly after rain. Wet bamboo is prone to uneven drying and increased risk of mold. Ideally, harvest after at least 2 consecutive days of clear weather.
4

Select straight bamboo with evenly spaced internodes

Select bamboo with minimal curvature. High-quality bamboo has uniform spacing between nodes and a diameter that gradually tapers from the base to the tip. Madake bamboo with a diameter of 8-12cm is suitable for general craft purposes.

Materiais para este passo:

Mature Bamboo Culm (3-5 years)Mature Bamboo Culm (3-5 years)1 peça
5

Mark the selected bamboo

Tie a cloth ribbon or string at eye level on the bamboo you plan to harvest. In a bamboo grove, similar culms are densely packed and it is easy to lose track of your selected bamboo.

Materiais para este passo:

Cloth Marking RibbonCloth Marking Ribbon3 peças
6

Clear the area around the base

Remove fallen leaves, dead branches, and bamboo shoot remnants from around the base of the bamboo to be harvested. This ensures adequate working space and allows the saw to be positioned accurately.

Ferramentas necessárias:

Garden RakeGarden Rake
7

Determine the position of the cut

Cut at a height of 10–15 cm from the ground, just above the first node. By cutting above the node, you prevent rainwater from accumulating on the stump and causing it to rot.

8

Cut with a bamboo saw

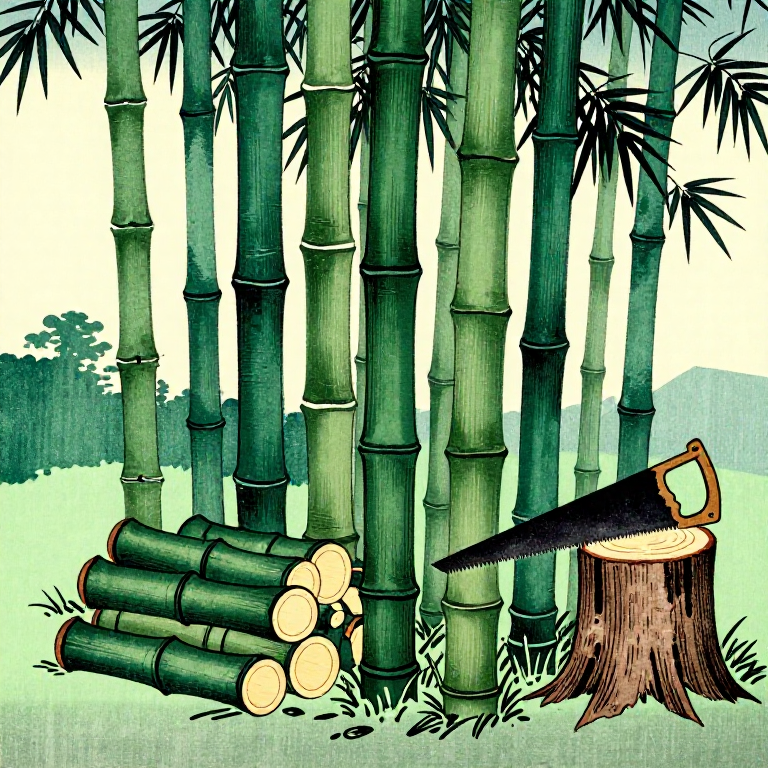
Using a bamboo-specific saw (take-biki noko), cut at a slight angle. An angled cut allows rainwater to drain off the stump. Saw with a steady rhythm without pressing too hard. Bamboo splits easily, so cut the last 2 cm especially slowly.

Ferramentas necessárias:

Bamboo Saw (Take-nokogiri)Bamboo Saw (Take-nokogiri)
9

Support the falling bamboo

Just before the bamboo separates, guide it by hand so it leans against a neighboring bamboo. Bamboo is light but long, and if allowed to free-fall, the tip can break or damage surrounding bamboo.

Ferramentas necessárias:

Work Gloves (Leather)
10

Remove the branches

Using a nata (hatchet), cut off the branches growing from each node, striking along the culm from top to bottom. Cutting from the branch base downward toward the trunk produces a clean removal. Be careful not to damage the culm surface.

Ferramentas necessárias:

Hatchet (Nata)Hatchet (Nata)
11

Cut to a length suitable for the intended use

The bamboo is cut according to its intended use. For general craft work, sections of 3-4m are typical. For tea ceremony tools, it is cut shorter with consideration for the position of the nodes. Always confirm the position of the nodes and determine the cutting position to include the necessary number of nodes.

Ferramentas necessárias:

Measuring TapeMeasuring Tape
12

Inspect for insect damage

Carefully examine the surface of the harvested bamboo. Small holes 1-2 mm in diameter indicate bamboo borer (chikutoumushi) damage. Fine powder (frass) around holes means insects are currently active. Severely damaged sections should be cut off and discarded.
13

Check for discoloration and rot

Darkened spots or gray discoloration indicate internal decay. Sections that feel soft when pressed cannot be used. Sound bamboo is hard and produces a dry knock-knock sound when tapped.
14

Stand upright for initial drying

Stand the harvested bamboo upright for drying. Lean them against a wall or a dedicated drying rack with the root end up, so remaining sap drains downward by gravity. A well-ventilated, covered location is ideal.

Ferramentas necessárias:

Bamboo Drying RackBamboo Drying Rack
15

2-4 weeks of natural drying

Dry in a covered, well-ventilated location for 2-4 weeks. Avoid direct sunlight as it causes cracking from rapid drying. As drying progresses, the bamboo color changes from green to pale yellow.
16

Check the dryness level

Dried bamboo produces a high-pitched kan-kan ring when tapped. Wet bamboo makes a dull boko sound. The weight should also be noticeably lighter. When moisture content is below 15%, the bamboo is ready for craft use.
17

Oil removal (aburanuki)

Slowly rotate the bamboo over a charcoal fire or gas burner flame. Oil and moisture seep out of the bamboo surface and are wiped off with a cloth. Oil removal increases the durability of the bamboo and produces a beautiful amber luster. Temperature should be around 200-250 degrees C. Keep the bamboo constantly moving to prevent scorching.

Ferramentas necessárias:

Gas Burner or Charcoal FireGas Burner or Charcoal Fire
Cotton ClothCotton Cloth
18

Store horizontally

After oil removal, store the bamboo horizontally on shelves raised off the ground. Arrange them so they do not overlap, ensuring air circulation. Stored in a low-humidity location, bamboo can maintain its quality for several years.

Ferramentas necessárias:

Storage RackStorage Rack

Materiais

2

Ferramentas necessárias

9

CC0 Domínio Público

Este blueprint é liberado sob CC0. Você é livre para copiar, modificar, distribuir e usar este trabalho para qualquer finalidade, sem pedir permissão.

Apoie o Maker comprando produtos através do Blueprint, onde ele ganha uma Comissão Maker definida pelos vendedores, ou crie uma nova versão deste Blueprint e inclua-o como conexão no seu próprio Blueprint para compartilhar receita.

Discussão

(0)

Entrar para participar da discussão

Carregando comentários...